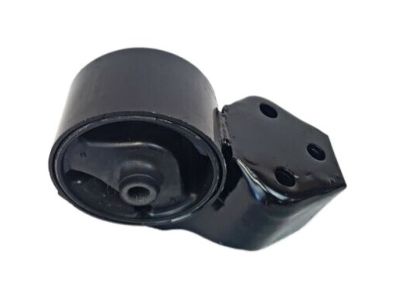
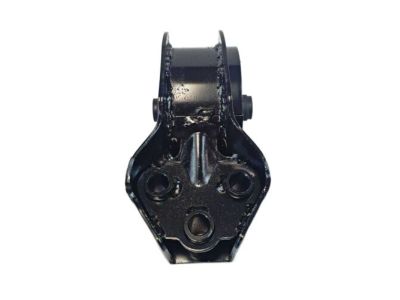
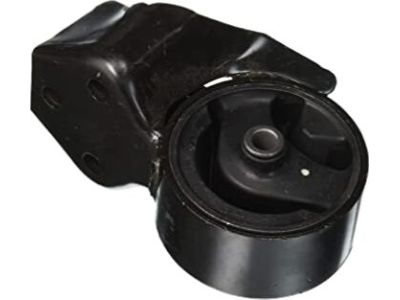
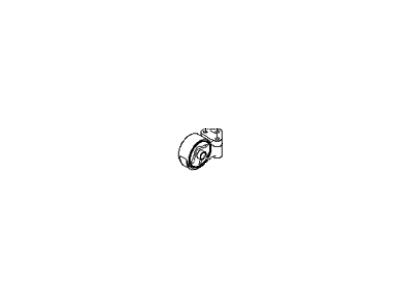
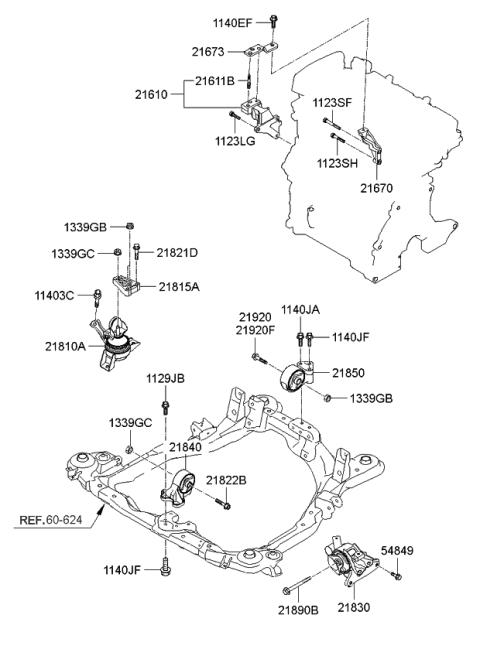
There are four engine/trans axle mounts on these models, the front engine mount, the passenger side engine mount next to the timing belt upper cover, the rear lower engine mount under the intake manifold, and the trans axle mount under the air filter housing. To check the mounts, raise the vehicle securely on jack stands and position a jack under the engine oil pan with a block of wood to take the weight off the mounts. Inspect the mounts for cracked, hardened rubber or separation from the casing, and check for relative movement between the mount plates and the engine or frame, using a large screwdriver or pry bar. If movement is noted, lower the engine and tighten the mount fasteners, applying rubber preservative to slow deterioration. For replacement, support the engine and remove the through-bolt and fasteners for the right mount, then reinstall in reverse order, ensuring bolts are tightened securely after the engine weight is back on the mount. The left mount requires access through the air filter housing; remove the through-bolt and nuts, detach the mount, and reinstall in reverse order. The front mount is located between the engine and radiator; remove the large through bolt and nuts, raise the engine to clear the upper bracket, and reinstall. The rear mount is positioned between the drive axle and intake manifold; remove the through-bolt and mount-to-trans axle bolts, then reinstall. For final tightening of all mounts, ensure the vehicle is level and the engine weight is on the mounts, using non-hardening thread locking compound and tightening in the order of front, rear, passenger-side, and driver's-side to maximize bushing life and minimize noise and vibration.
Posted by KiaPartsNow Specialist