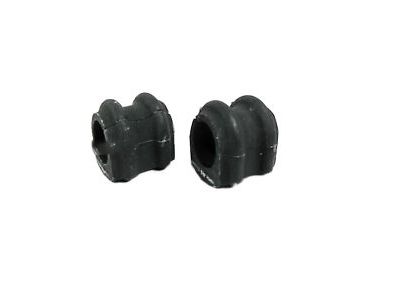
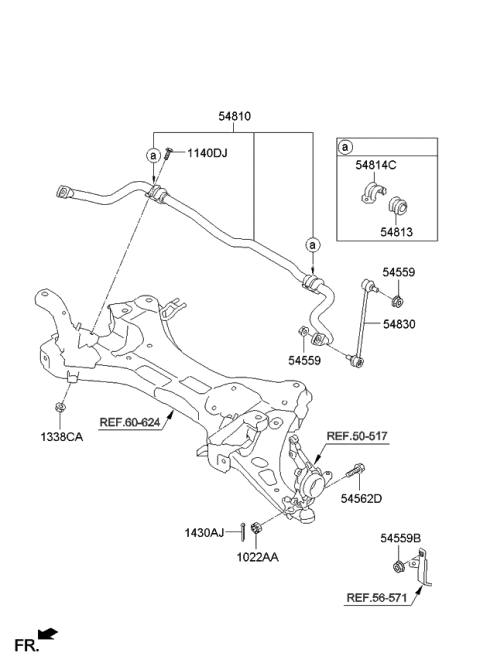
Knowledge of stabilizer bar removal should start with raising and removing the suspension crossmember and the stabilizer bar located beyond it because this indicates serious hazards that warrant professional maintenance. The first action includes loosening wheel lug nuts and raising the front of the vehicle before placing it securely on jackstands while using the parking brake alongside blocking the rear wheels. Messing with the stabilizer bar demands skilled handling since it requires dropping the engine/transaxle subframe despite special tools and experience. Therefore, call in professional help unless you have all the needed abilities. Beginning with the rods connecting the stabilizer bar to the strut housing and Sway Bar Link requires unfastening the applicable nuts followed by balljoint bolts securing the lower control arm. Remove the front exhaust pipe and follow this step with removing the transmission oil from the transfer case in addition to unbolting the rear flange assembly for 4WD vehicles. First drain the power steering fluid from the equipment followed by separating the intermediate shaft from the steering gear and finally disconnecting power steering pressure line fittings. Engine/transaxle assembly and subframe assembly need support through an engine support fixture connected to floor jacks supporting the subframe. The process involves removing engine mounting bolts and subframe mounting bolts so you can lower the subframe assembly toward access to stabilizer bar clamp bolts for stabilizer bar assembly removal. The stabilizer bar clamp bushings should be inspected for any signs of damage before performing a replacement. The installation process starts by tightening every fastener properly after carrying out removal operations. Place the wheel and nuts before lowering the car and follow the torque instructions.