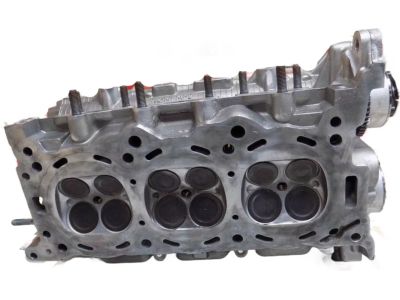
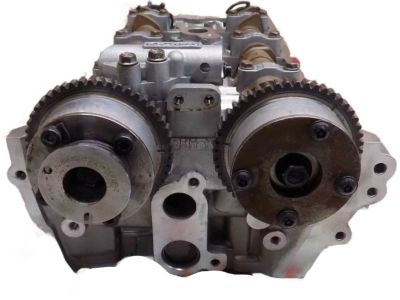
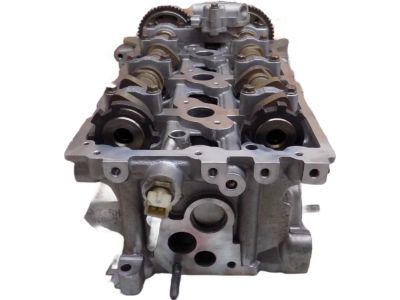
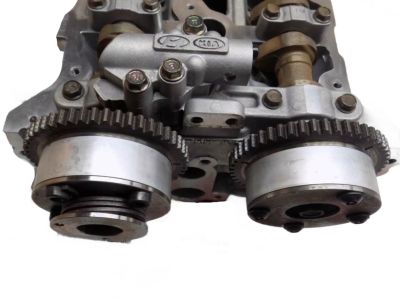
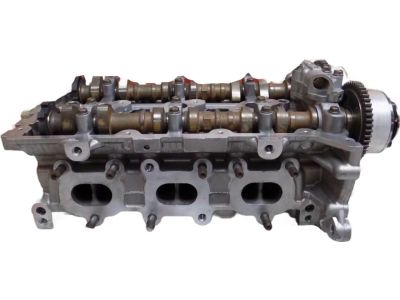
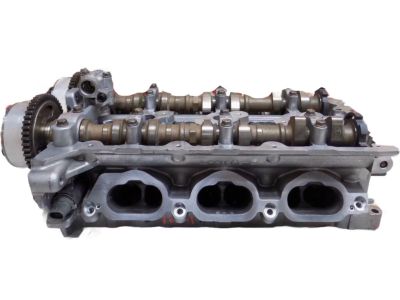
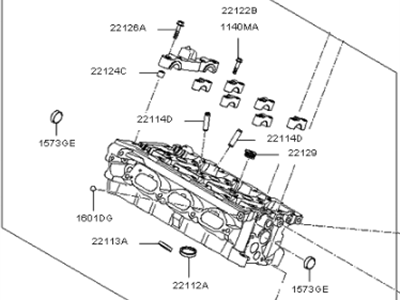
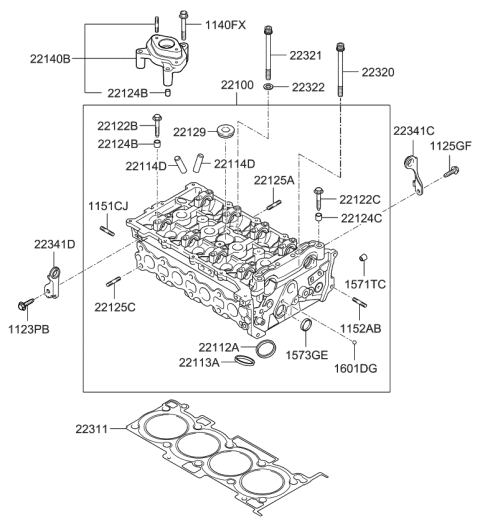
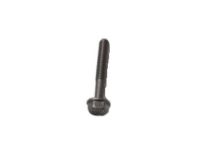
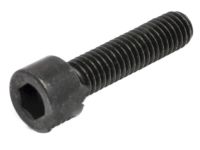
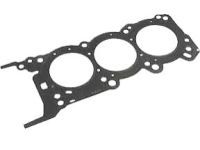
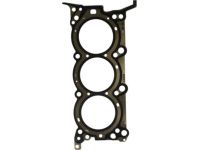
Before the removal, Lower the fuel system pressure and detach the ground cable from the negative terminal of the battery and drain the engine coolant. Take off the intake manifold, but this is optional and can stay in place, and unscrew the coolant hoses on the cylinder head. Subsequently, take out the timing chain and cam sprockets, securely jack up the car and support it further with stands, and disconnect exhaust manifold. Bolt and socket the electrical connectors from the cylinder head and take out the Oil Control Valve, and both Camshaft Position sensors. In the case of GDI models, the fuel injector and rail assembly should be pulled out. It will be useful to subsequently turn the cylinder head bolts in a manner that is opposite to the initial sequence that you applied to tighten it, but in intervals of no more than 1/4 turn until you are ready to fully unscrew all the bolts. Supported by the cradle, take the cylinder head off the engine block with difficulty if necessary, and clean the head as well as other external parts that can be easily removed together with it. Every head should be brought up and examined for specific gap areas on the gasket surfaces with the help of the precision straightedge and the feeler gauge, which should be inserted in relevant gaps, and all the areas of heads should be searched for crack lines and signs of coolant leakage. First, make certain that there is no carbon or old gasket left on the mating surfaces of the cylinder head and block, you may use a gasket scraper and brake system cleaner. Place clean shop rags inside the cylinders to prevent the entry of such debris and then, remove the material within them with a vacuum cleaner. The two mating surfaces on block and cylinder head should also be smooth with no nicks and scratches, if slight, they should be filed while if they are badly damaged they should be machined. With the tap, chase the threads of the cylinder head bolt holes and blow off the debris using compressed air. It is recommended that you clean the threads on each bolt with a wire brush and have the ones that are damaged replaced. Reinstall the components, which have been removed from the cylinder head, spread the liquid gasket on front corner edges of the gasket, and install the new gasket to fit the dowel pins in the block while making sure the identifier mark is up. Place the cylinder head gently onto the block such that the gasket remains intact, what must happen within five minutes of the usage of the liquid gasket. To the threads and under the bolt heads apply clean engine oil: before installing the cylinder head bolts, new head bolts and washers must be installed and turned only with fingers. As it is described, follow the sequence when tightening the bolts up to the prescribed torque, also an additional 90-degrees are applied, in the further stages of sequence. If any new parts are fitted on the car ensure that the next torque settings do follow the correct sequence. The rest of the installation is a reversal of the removal process to guarantee proper positioning of the timing chain. Last but not the least, replace the engine oil and filter, Fill up the cooling system, Start the engine and look for any sign of leakage.