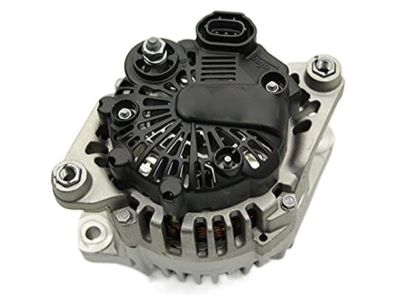
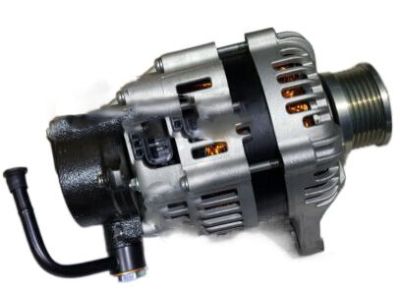
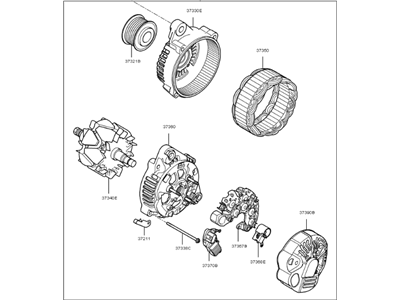
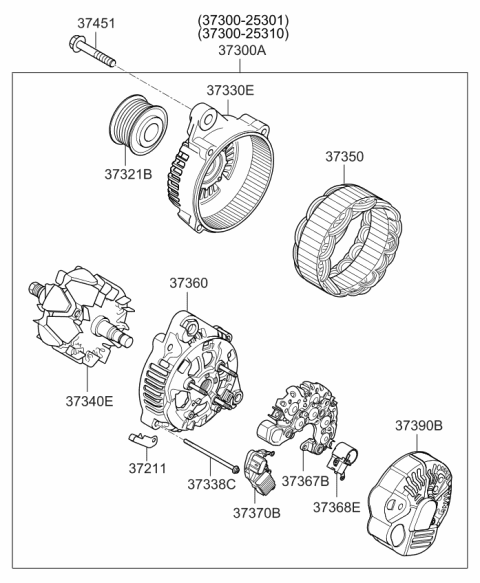
Disconnect the cable from the negative battery terminal. For 2001 through 2006 four-cylinder models, disconnect the electrical connectors from the alternator. Loosen the lock bolt on the upper alternator adjusting mount and the lower mount bolt. Turn the adjusting boll counterclockwise to release tension on the drivebelt. Remove the drivebelt. Remove the two alternator mounting bolts and remove the alternator. For all other models, remove the drivebelt. Note: Access is very limited on these models. It will be necessary to remove various components including the lower engine splash shield to gain access. These components vary from model to model. Disconnect the electrical connectors from the alternator. Remove the alternator mounting fasteners and remove the alternator. Installation: If you're replacing the alternator, take the old alternator with you when purchasing a replacement unit. Make sure that the new/rebuilt unit is identical to the old alternator. Look at the terminals - they should be the same in number, size and locations as the terminals on the old alternator. Finally, look at the identification markings they will be stamped in the housing or printed on a tag or plaque affixed to the housing. Make sure that these numbers are the same on both alternators. If the replacement alternator doesn't have a pulley installed, you may have to switch the pulley from the old unit to the replacement unit. When buying a new or rebuilt alternator, ask about the shop's policy regarding pulley swapping. Some shops will perform this service for free. Installation is the reverse of removal. Adjust the drivebelt tension on 2005 and earlier 2.4L four-cylinder models only. Check the charging voltage to verify that the alternator is operating correctly.