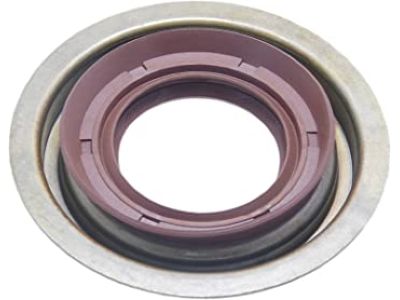
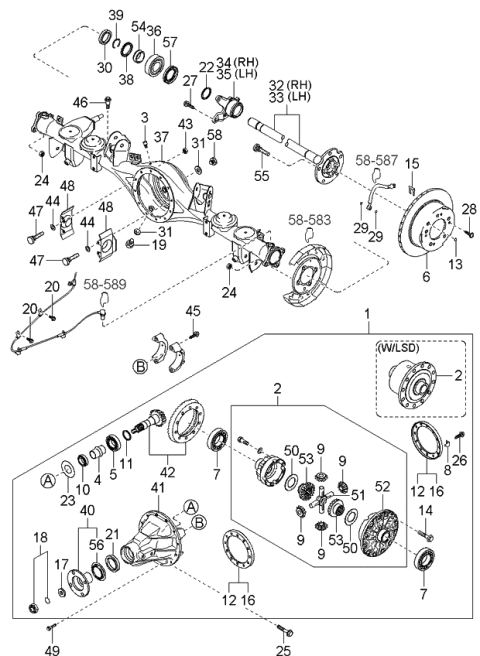
Loosen the wheel lug nuts, raise the vehicle, and support it securely on jackstands. Block the front wheels and remove the rear wheels to obtain a more accurate pinion shaft preload reading. Disconnect the driveshaft from the differential and position it to the side using mechanics wire or rope. Using a hammer and a punch, unstake the pinion flange nut, marking the position of the pinion nut to the flange and the flange to the pinion shaft with dabs of paint. If available, use a beam-type inch-pound torque wrench to measure the pinion bearing drag and record the reading for later tightening. A flange holding tool or chain wrench will be required to keep the companion flange from moving while loosening the self-locking pinion nut. Remove the pinion nut and withdraw the flange, using a two-jaw puller if necessary, avoiding prying or hammering behind the flange. Pry out and discard the old seal carefully. Lubricate the lips of the new seal, fill the space between the seal lips with wheel bearing grease, and tap it evenly into position with a seal installation tool or a large socket, ensuring it enters the housing squarely. Install the pinion flange, tightening the pinion nut to draw the flange into place without hammering, aligning it with the previously made paint marks or reaching the original bearing preload. Reconnect the driveshaft to the pinion flange and check the differential lubricant level, adding if necessary. For 2011 and later models, rotate the pinion a few times by hand and check the torque required to rotate it, recording the value. Mark the relationship of the pinion flange to the shaft and count the exposed threads on the shaft. Use a special tool or chain wrench to keep the companion flange from moving while loosening the self-locking pinion nut, then remove the pinion nut and withdraw the flange, using a puller if needed. Pry out the old seal and discard it. Lubricate the lips of the new seal, fill the space between the seal lips with wheel bearing grease, and tap it evenly into position. Install the pinion flange, aligning it with the marks made earlier, and tighten the pinion nut to draw the flange into place without hammering. Apply RTV sealant to the ends of the splines visible in the center of the flange, install the washer and a new pinion nut, and tighten the nut until the previously recorded number of threads are exposed. Measure the torque required to rotate the pinion and tighten the nut in small increments until it matches the earlier recording, compensating for the drag of the new oil seal by tightening a little more until the rotational torque exceeds the earlier recording by 5 in-lbs. Reinstall all components removed previously, tightening all fasteners to their specified torque values.
Posted by KiaPartsNow Specialist 
