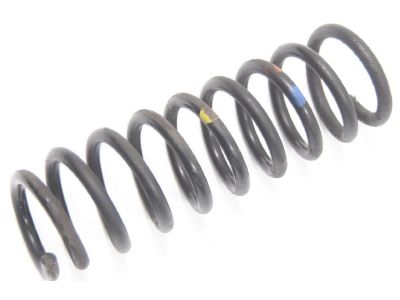
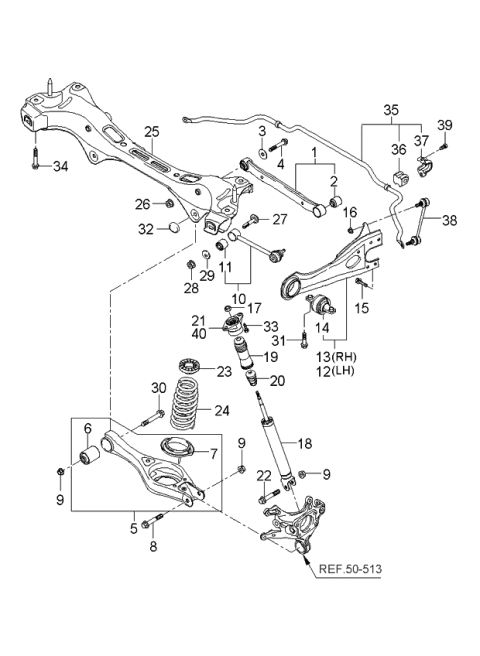
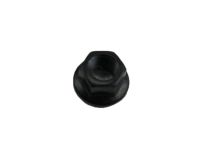
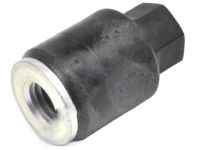
Before stepping into any work in regard to the shocks or coil springs, establish one or several shocks or coil springs that leak, lose damping capacity, or experience physical harm in some way. CV axles include shock absorber assemblies which are non-repairable items; therefore, if there is a problem with the units, they have to be replaced. Ensure that you know the price and accessibility of spare parts before stripping the car. Coil-over shock absorbers should never be dismantled because this is risky; nevertheless, if this is attempted, then safety precautions should be observed in order to prevent harm. A high quality spring compressor should be used and all the instructions given by the manufacturer should be strictly adhered to. After taking out the coil spring from the shock absorber assembly, it should be kept at some safe place. To disassemble, undo the nut on the shock absorber and spring assembly and retain it with clamp in a wooden jaw or rag protected vise. Fit the spring compressor in the manner as recommended by the manufacturer and compress the spring so that there is no pressure at the upper spring seat and this can be checked by shaking the spring. Lay away the exploded view and remove the damper shaft nut and the rest of the upper support. Check the rubber part of the suspension support, if it is worn out, then replace it. Take out the upper spring seat from the damper shaft and examine the spring for crackle and hardness and if it is not in good order replace it. This is a live spring, so it contains tremendous pressure; keep the pointed ends away from your body, and never put your head next to the ends of the spring of this assembly. Slide the rubber bumper off the damper shaft and look at the lower insulator, if worn replace it. For reassembly, if the lower insulator is to be replaced, place it in the correct position and advance the damper rod on which a rubber bumper is mounted. Put the coil spring on the lower insulator: hook the end of the spring into the groove in the right position and turn the paint marks to the outside. Fit the other end of the upper insulator and the spring seat so that the flats of the damper shaft fit into the flats on the insulator and spring seat. Finally, tighten the damper nut to the recommended torque where the spring seats hole alignment would still be able to coincide, then, finally release the spring tool and fit the shock absorber/spring assembly.