×
- Hello
- Login or Register
- Quick Links
- Live Chat
- Track Order
- Parts Availability
- RMA
- Help Center
- Contact Us
- Shop for
- Kia Parts
- Kia Accessories

My Garage
My Account
Cart
Genuine Kia Spectra Brake Booster
Brake Power Booster- Select Vehicle by Model
- Select Vehicle by VIN
Select Vehicle by Model
orMake
Model
Year
Select Vehicle by VIN
For the most accurate results, select vehicle by your VIN (Vehicle Identification Number).
15 Brake Boosters found
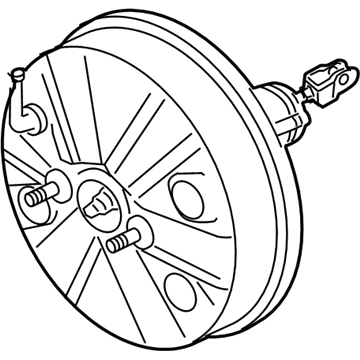
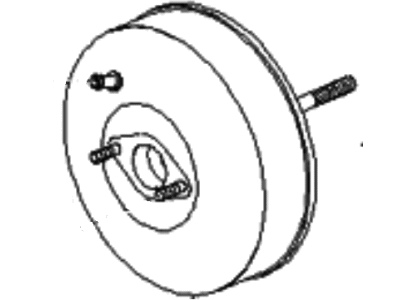
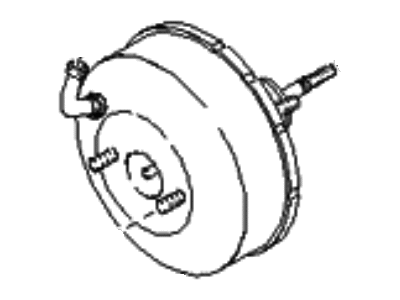
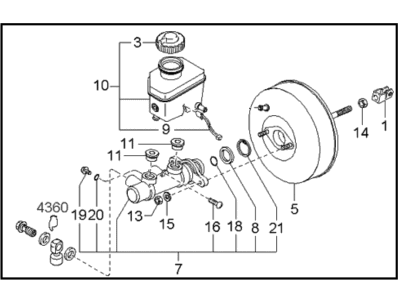
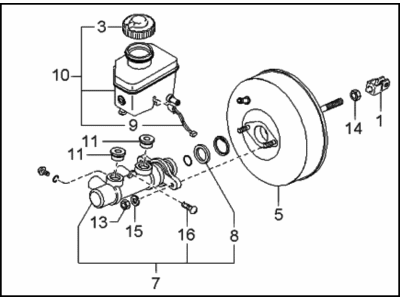
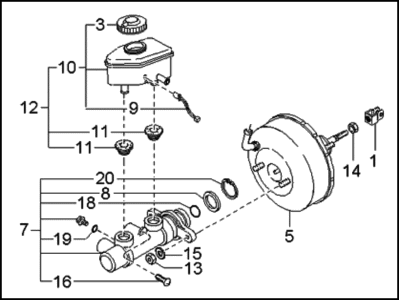
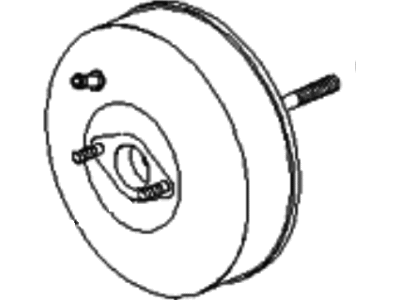
Kia Spectra Booster Assembly-Brake
Part Number: 591102F100$335.91 MSRP: $491.97You Save: $156.06 (32%)Ships in 1-3 Business DaysKia Spectra Master Vacuum
Part Number: 0K2A443800$321.06 MSRP: $470.22You Save: $149.16 (32%)Ships in 1-3 Business DaysKia Spectra Master VACASSY
Part Number: 0K2A543950B$347.21 MSRP: $488.33You Save: $141.12 (29%)Ships in 1-3 Business DaysKia Spectra Master VACASSY
Part Number: 0K2A643950B$385.01 MSRP: $541.50You Save: $156.49 (29%)Ships in 1-3 Business DaysKia Spectra Booster Assembly-Brake
Part Number: 591102F600$459.58 MSRP: $677.85You Save: $218.27 (33%)Ships in 1-3 Business DaysKia Spectra Booster Assembly-Brake
Part Number: 591102F601$464.25 MSRP: $684.73You Save: $220.48 (33%)Ships in 1-3 Business DaysKia Spectra Master Vac
Part Number: 0K2N143800$320.48 MSRP: $469.37You Save: $148.89 (32%)Ships in 1-3 Business DaysKia Spectra Master VACUMM Assembly
Part Number: 0K2N343950A$348.58 MSRP: $490.27You Save: $141.69 (29%)Ships in 1-3 Business DaysKia Spectra Master VACUMM Assembly
Part Number: 0K2N443950A$348.58 MSRP: $490.27You Save: $141.69 (29%)Ships in 1-3 Business DaysKia Spectra Master VACUMM Assembly
Part Number: 0K2N243950B$362.85 MSRP: $510.33You Save: $147.48 (29%)Ships in 1-3 Business DaysKia Spectra Master VACASSY
Part Number: 0K2A143950E$373.18 MSRP: $524.87You Save: $151.69 (29%)Ships in 1-3 Business DaysKia Spectra Master VACUMM Assembly
Part Number: 0K2N143950B$385.01 MSRP: $541.50You Save: $156.49 (29%)Ships in 1-3 Business DaysKia Spectra Master VACASSY
Part Number: 0K2A243950E$388.81 MSRP: $546.85You Save: $158.04 (29%)Ships in 1-3 Business DaysKia Spectra Master Vacuum
Part Number: 0K2A143800B$247.03 MSRP: $361.78You Save: $114.75 (32%)Ships in 1-3 Business Days
Kia Spectra Brake Booster
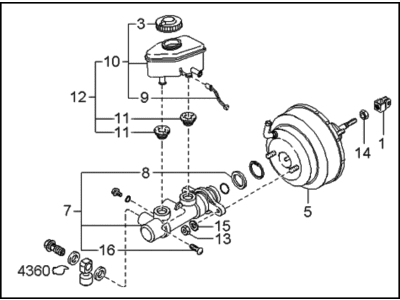
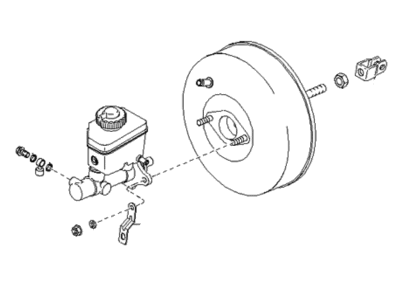
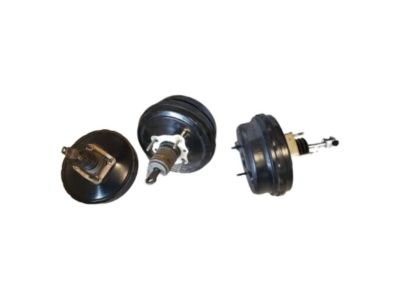
Kia Spectra Brake Booster is an important part that boosts the braking effectiveness and safety of cars. Famous for its durability and effectiveness, the models of the Brake Booster help to decrease the force needed to pull the brake pedal in order to achieve the optimal conditions for the driving process. The Kia Spectra Brake Booster uses a vacuum chamber to provide the hydraulic pressure from the master cylinder and thus increasing the pressure from the driver's force many folds. It can be installed and operated on the different trims of Kia Spectra, thus making them enjoy the enhanced features of the fantastic world of technology. Those two, vacuum operated and hydraulic Brake Boosters, meet different driving requirements; therefore the Kia Spectra Brake Booster is ideal. Besides, the Brake Booster is very dependable; at times minor services may be required such as changing of some parts like pumps plus check valves. The availability of performance upgrades makes the Brake Booster quite unique in the automotive niche since buyers within the category are always searching for a car with better braking system. In general, the Kia Spectra Brake Booster has a significant impact when it comes to vehicle performance and security, thus, proving to be a popular part among the Kia Spectra units available in the market. For optimal and safe driving, Kia Spectra Brake Booster is still among the optimal Brake Boosters marked with reliability, performance, and exquisite special features.
If you're in search of top-notch, reasonably priced OEM Kia Spectra Brake Booster, then you've found the perfect spot. Our website boasts an extensive inventory of Kia Spectra Brake Booster, all priced at the market's premier price. Rest assured, every genuine part we offer comes with a warranty straight from the manufacturer.
Kia Spectra Brake Booster Parts Questions & Experts Answers
- Q: How to check the operation and removal of a power brake booster on Kia Spectra?A:When checking the serviceability of power brake booster, start by pressing several times on the brake pedal without engine running until no further travel or range is noted. This done with the engine off, press the pedal down and start it; if it move a little bit downwards-it is normal. To check for air leaks, run the engine for a minute or two and then switch off while slowly depressing the brake pedal. Whereupon; if at first it drops but later rises after 2 or 3 depressions, this means that there are no leakage in booster. Run engine and when brakes pedal moves down hold it down and stop engine after 30 seconds; if in this period there are no changes in initial traveling of pedal, it indicates that booster has no leaks. Concerning removal issues though, power brake boosters should not be disassembled but they should be replaced with either new or rebuilt ones. Take out master cylinder assembly from vehicle body, separate hose from vacuum source to booster, remove push rod clevis pin which connects booster with brake pedal and four nuts that hold main unit to fire wall where its mounted. Then slide out the brake booster from firewall ensuring that studs clear holes. For installation purpose if it's a new one adjust clevis on rod of old one to match up, then go back through removal steps using torque value on clamping bolts and cotter pin to retain clevis pin. The new unit of power brake boosters should have zero clearance between push rod and master cylinder arm adjust as required by using an adjusting screw provided on top of these units. Finally check free play at your pedals before bleeding your brakes after installing both master cylinder unit including all brake tubing and hoses.
