×
- Hello
- Login or Register
- Quick Links
- Live Chat
- Track Order
- Parts Availability
- RMA
- Help Center
- Contact Us
- Shop for
- Kia Parts
- Kia Accessories

My Garage
My Account
Cart
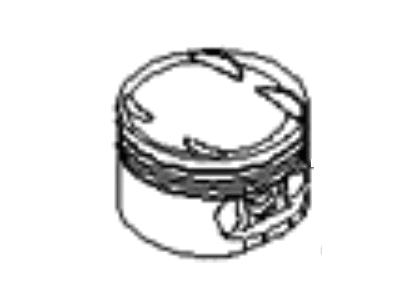
Genuine Kia Spectra Piston
Engine Pistons- Select Vehicle by Model
- Select Vehicle by VIN
Select Vehicle by Model
orMake
Model
Year
Select Vehicle by VIN
For the most accurate results, select vehicle by your VIN (Vehicle Identification Number).
17 Pistons found
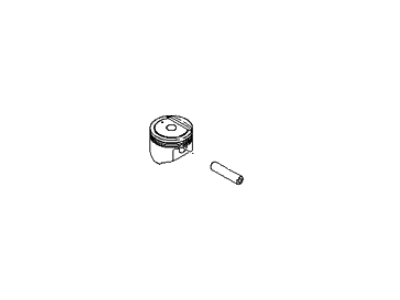
Kia Spectra Piston & Pin Assembly
Part Number: 2341023982$50.28 MSRP: $72.55You Save: $22.27 (31%)Ships in 1-3 Business DaysKia Spectra Piston & Pin Assembly
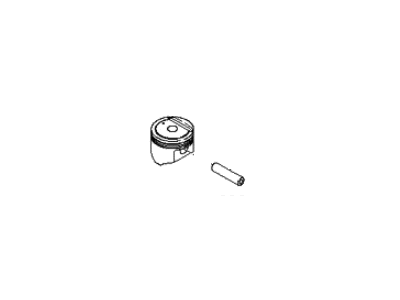
Part Number: 2341023AA0$44.58 MSRP: $64.34You Save: $19.76 (31%)Ships in 1-3 Business DaysKia Spectra Piston & Pin Assembly
Part Number: 2341023981$48.22 MSRP: $69.59You Save: $21.37 (31%)Ships in 1-3 Business DaysKia Spectra Piston Set
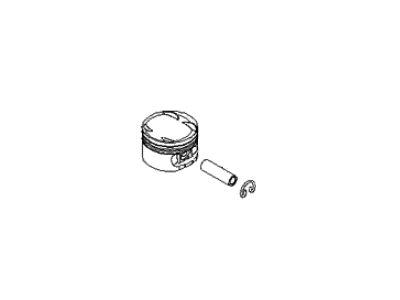
Part Number: 234102Y902$55.51 MSRP: $75.84You Save: $20.33 (27%)Ships in 1-3 Business DaysKia Spectra Piston & Pin Assembly
Part Number: 2341023300$47.09 MSRP: $64.34You Save: $17.25 (27%)Ships in 1-3 Business DaysKia Spectra Piston & Pin Assembly
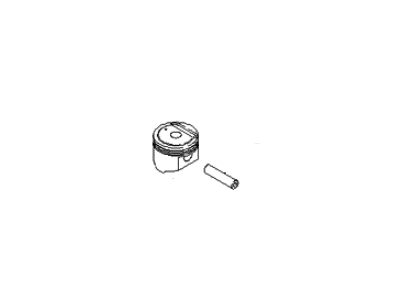
Part Number: 2341023961$50.94 MSRP: $69.59You Save: $18.65 (27%)Ships in 1-3 Business DaysKia Spectra Piston & Pin Assembly
Part Number: 2341023320$57.12 MSRP: $78.04You Save: $20.92 (27%)Ships in 1-3 Business DaysKia Spectra Piston & Pin Assembly
Part Number: 2341023AA2$54.08 MSRP: $78.04You Save: $23.96 (31%)Ships in 1-3 Business DaysKia Spectra Piston Set
Part Number: 234102Y901$55.51 MSRP: $75.84You Save: $20.33 (27%)Ships in 1-3 Business DaysKia Spectra Piston & Pin Assembly
Part Number: 2341023310$59.88 MSRP: $81.80You Save: $21.92 (27%)Ships in 1-3 Business DaysKia Spectra Piston & Pin Assembly
Part Number: 2341023AA1$56.69 MSRP: $81.80You Save: $25.11 (31%)Ships in 1-3 Business DaysKia Spectra Piston & Pin Assembly
Part Number: 2341023962$53.11 MSRP: $72.55You Save: $19.44 (27%)Ships in 1-3 Business DaysKia Spectra Piston & Pin Assembly
Part Number: 2341023710$59.88 MSRP: $81.80You Save: $21.92 (27%)Ships in 1-3 Business DaysKia Spectra Piston Set
Part Number: 234102Y010$62.58 MSRP: $90.30You Save: $27.72 (31%)Ships in 1-3 Business DaysKia Spectra Piston Set,Standard
Part Number: 0K2Y411SA0$71.31 MSRP: $102.90You Save: $31.59 (31%)Ships in 1-3 Business DaysKia Spectra Piston Set OVERSIZE 050
Part Number: 0K2Y411SBX$94.73 MSRP: $129.42You Save: $34.69 (27%)Ships in 1-3 Business DaysKia Spectra Piston Set OVERSIZE 025
Part Number: 0K2Y411SB0$108.18 MSRP: $147.79You Save: $39.61 (27%)Ships in 1-3 Business Days
Kia Spectra Piston
The Kia Spectra Piston is a critical part that plays a major role in improving the performance as well as durability of Kia Spectra brands. Considered to be one of the optimal at converting the power of combustion into kinetic energy, the Piston is made from tough aluminum alloys with the emphasis on light weight. Both gas-tight Piston rings and cooling cavities of the Kia Spectra Piston allow for engine efficiency adjustments depending on the car model equipped with petrol or diesel engines. Depending on engines that the car manufacturer offers, it can implement trunk Pistons for average engines, crosshead Pistons for slow speed engines, or racing Pistons for high RPM cases; each optimal version of the Piston is made in an attempt to improve the engine and thus the car's driving characteristics. Thus, the Kia Spectra's reliability is another advantage contributed to by the Piston which contributes to fuel efficiency and safety in the automotive market. Also, this car has agility due to its light weight and this has been applauded by drivers particularly the Kia Spectra automobile. Although there were criticisms concerning safety performance in previous models, new Piston technology has been incorporated to make the car safer as compared to its previous models. All in all, as the Kia Spectra Piston represents the brand's focus on quality and performance enhancing, it is also essential for maintaining the competitive advantage of the model in the segment of the compact car.
If you're in search of top-notch, reasonably priced OEM Kia Spectra Piston, then you've found the perfect spot. Our website boasts an extensive inventory of Kia Spectra Piston, all priced at the market's premier price. Rest assured, every genuine part we offer comes with a warranty straight from the manufacturer.
Kia Spectra Piston Parts Questions & Experts Answers
- Q: What steps should be taken before removing the piston and connecting rod assemblies on Kia Spectra?A:Before pulling out the piston and connecting rod assemblies, the cylinder head and oil pan should be detached. With the thumb and index finger, feel for any ridge at the upper reach of the ring zone on the cylinder liner; these should be trimmed using a reamer so that the piston doesn't break. After deburring, orientate the engine with the Crankshaft horizontal and using feeler gauges, measure the end float of the connecting rods and it should not exceed the stipulated amount. Locate the connecting rods and caps for removal, and it would be wise to mark them for identification purposes, then get rid of their nuts or bolts, and then the connecting rod cap and bearing insert compassion. Slide the connecting rod and piston assembly out through the top of the engine, and then remove the same for all the other cylinders as well. Subsequently, one should not tamper with the caps and inserts unless they are going to reinstall them sometimes they are delicate and can be easily damaged. When replacing the piston rings, measure the end gap of rings and also verify the piston ring side clearance. Timing of the piston is done by the installation of the oil control ring after which followed by the middle and top rings with their identification marks facing the right way. Scrape the cylinder walls and debur the edges prior to putting in the pistons/connecting rods, making a point of having clean surfaces on the bearings. The condition of the oil showed that, it's time to again check the oil clearance employing Plastigage and change the bearing inserts. The Plastigage material can then be scraped off and the bearing faces lubricated before the nuts on the rod cap are tightened. This should be done for the remaining assemblies while observing cleanliness and the orientation of the piston marks. As a last step, rotate the crankshaft and perform the binding test and also check the side play of the connecting rod and give the required adjustments in this connection.
