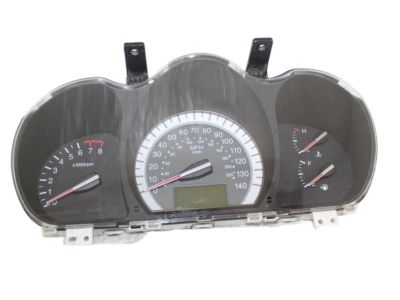
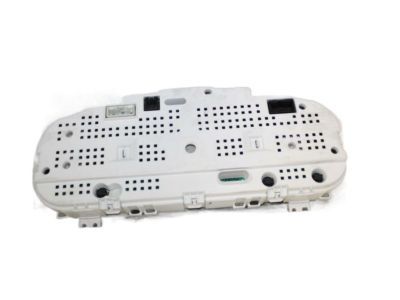
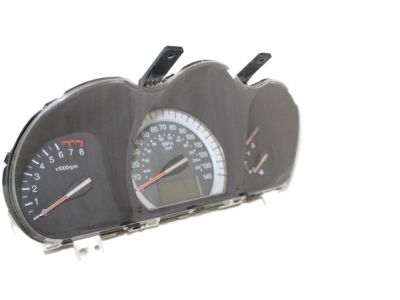
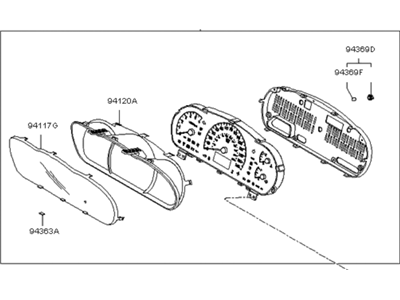
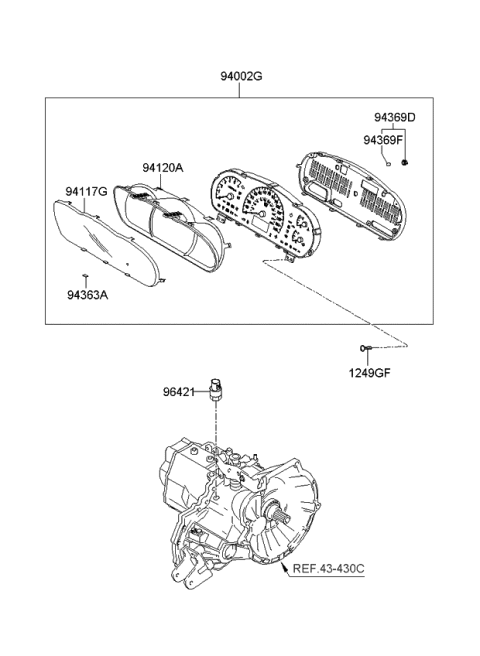
Removing the instrument panel of SEPHIA and SPECTRA models poses challenges to home mechanics because hidden fasteners and complex angles as well as multiple electrical connectors that must be tagged and removed. Experienced do-it-yourselfers should handle this task because of its complexity. The disassembly process for the instrument panel needs precise documentation for successful reassembly. It is best to uninstall both front seats as this provides additional space for work and protects the seats from damage during the process. The starting procedure for 2003 and previous models involves disconnecting the negative battery terminal followed by removal of the steering wheel and center console and dashboard trim panels and instrument cluster and radio unit and heater/air conditioner control assembly and steering column descent. Following instrument panel fastener removal you must disconnect electrical connectors from kick panels before carefully pulling out the panel from the windshield through the passenger door opening. Discharging the 2004 and later models requires first disconnecting their negative battery terminal followed by removing the center console, weatherstrips and windshield pillar trim covers alongside door threshold trim covers and kick panels and side covers from the instrument panel. To commence the repair work begin by slicing the hood release cable while moving forward by removing the lower instrument panel cover together with the steering wheel and steering column covers prior to unbolting the steering column. Start the instrument panel removal process by removing the glove box followed by instrument panel screws and all obstructing wiring. The instrument cluster along with heater control unit must be removed together with radio and instrument fascia panel and lower instrument panel trim cover. The process of reinstallation occurs in exactly the opposite sequence of steps used during removal.