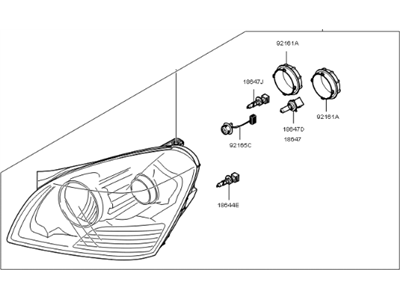
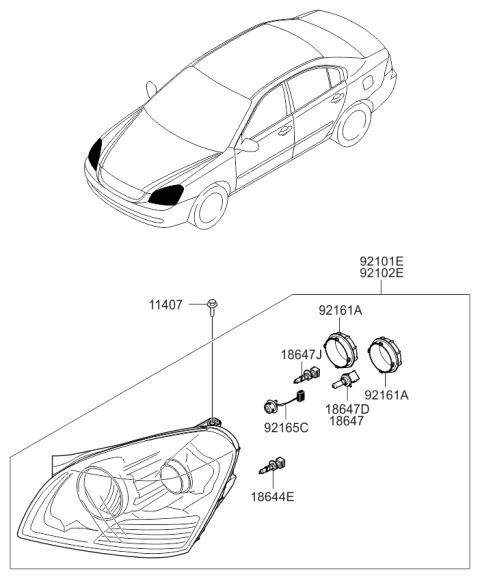
The headlights similarly must be aligned to ensure that they do not blind other drivers on the road and to provide the best light on the road. Checking of the aim should be done at least once in a year and when there is a change of ownership of headlights or when there is any front-end body work. This is the process to follow to achieve that interim correction until such time that one can have the appropriate correction done by a professional. To add and remove the fins, the materials required are masking tape, a blank wall and a level floor. Attach the vertical tape beginning at the mid point of the car's height as well as both light centers, followed by the horizontal line of tape. The vehicle has to be parked 25 feet from the wall and level and no gas in the tank more than half empty and the car should not have a heavy load. When low beams are on, set high intensity zone to be two inches below the horizontal plane through the operation of the adjusting screw. For high beams, the high intensity zone should be located just below the horizontal line; however, the low beam is more important regarding safety. Both the horizontal and the vertical adjustments are possible for the separate headlight assemblies while later models incorporated labeled screws into the design. Sprachmueller's detailed description calls for the engagement of a long Phillips screwdriver to get into the adjustment wheel and slowly rotate it in a bid to arrive at the right setting. Thus, it is suggested to have the headlights properly adjusted by a dealer or service station as soon as possible.