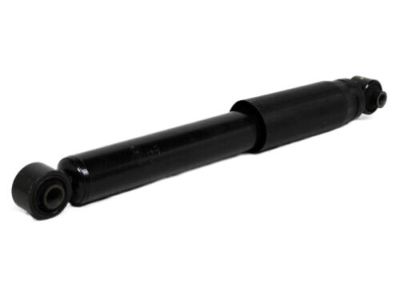
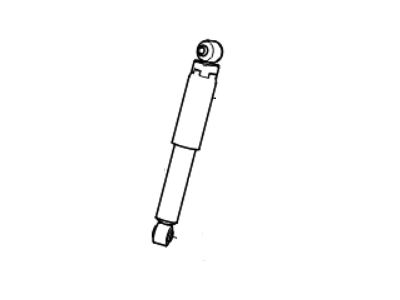
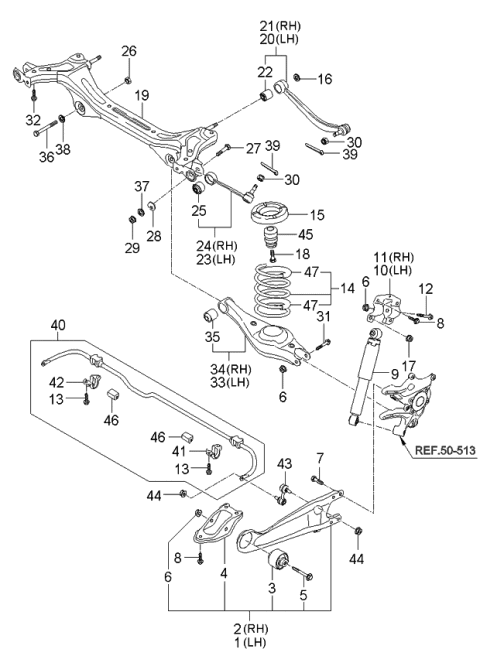
Raise the vehicle and support it securely on jackstands placed under the unibody structure, ensuring the front wheels are blocked to prevent movement. For 2005 and earlier models, support the axle beam with a floor jack near the shock absorber to be removed, then take off the upper mounting nuts and the lower mounting nut/bolt to remove the shock absorber. For installation, position the lower end of the shock absorber in the axle bracket, allowing the top to extend into the top bracket, and install the mounting bolts and nuts finger tight. Raise the axle beam to simulate normal ride height, then tighten the lower bolt and nut to the specified torque. Tighten the upper nuts until approximately 13/32 to 29/64-inch of threads are exposed above the top nut, then secure the top nut against the lower nut to the specified torque. Finally, install the wheel and lug nuts, lower the vehicle, and tighten the lug nuts to the specified torque. For 2006 and later models, support the lower control arm with a floor jack under the coil spring area, then remove the upper mounting bracket nut and bolts, followed by the lower mounting nut. Slide the lower end of the shock absorber off the stud and remove the shock absorber and bracket assembly, then separate the shock absorber from the bracket by removing the upper mounting bolt/nut. For installation, insert the upper end of the shock absorber into the bracket, install the nut and bolt, and tighten to the specified torque. Attach the lower end onto the stud, install the washer and nut finger-tight, then secure the bracket nut and bolts to the specified torque. Raise the lower control arm to simulate normal ride height and tighten the lower mounting nut to the specified torque. Finally, install the wheel and lug nuts, lower the vehicle, and tighten the lug nuts to the specified torque.