×
- Hello
- Login or Register
- Quick Links
- Live Chat
- Track Order
- Parts Availability
- RMA
- Help Center
- Contact Us
- Shop for
- Kia Parts
- Kia Accessories

My Garage
My Account
Cart
Genuine 2011 Kia Sorento Shock Absorber
Suspension Shock Absorber- Select Vehicle by Model
- Select Vehicle by VIN
Select Vehicle by Model
orMake
Model
Year
Select Vehicle by VIN
For the most accurate results, select vehicle by your VIN (Vehicle Identification Number).
27 Shock Absorbers found
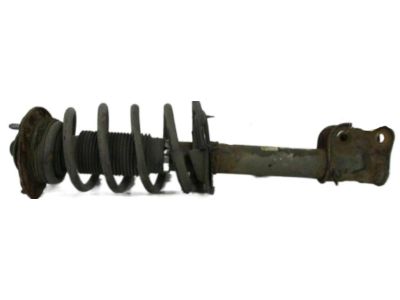
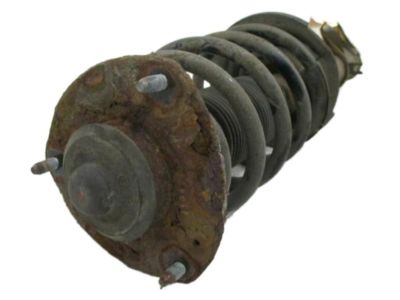
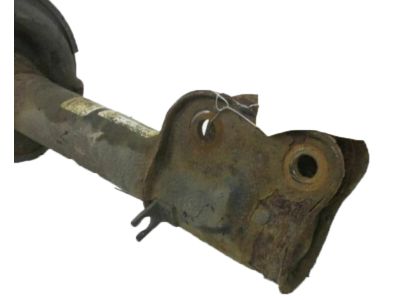
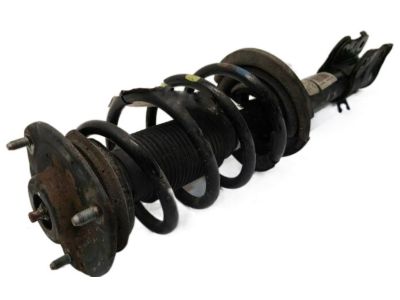
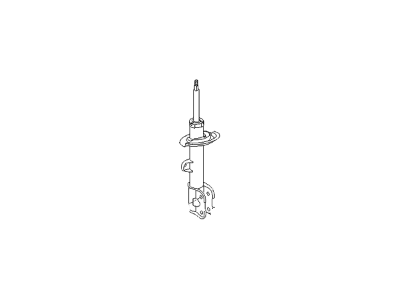

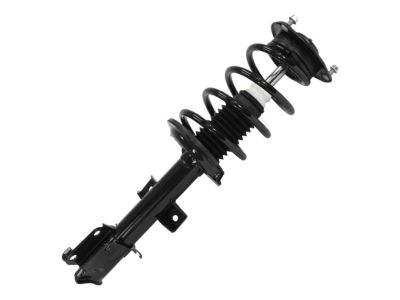
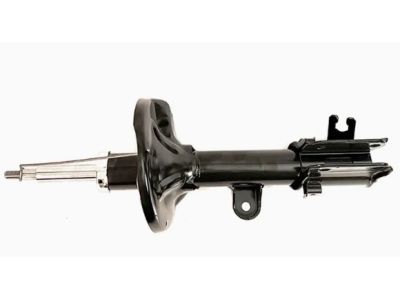
2011 Kia Sorento Front Shock Absorber Assembly Left Hand
Part Number: 546501U250$145.44 MSRP: $202.00You Save: $56.56 (28%)Ships in 1-3 Business DaysProduct Specifications- Other Name: Shock Absorber Assembly-Front,Lh
- Position: Front Driver Side
- Replaced by: 546031U250FFF
- Part Code: 54630A
- Item Weight: 10.00 Pounds
- Condition: New
- Fitment Type: Direct Replacement
- SKU: 546501U250
- Warranty: This genuine part is guaranteed by Kia's factory warranty.
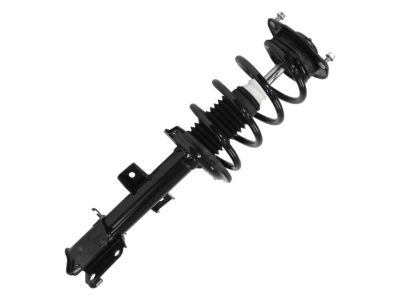
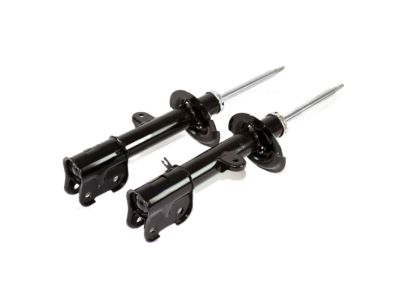
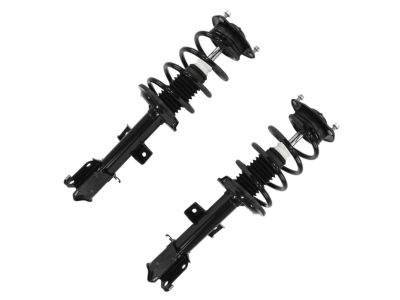
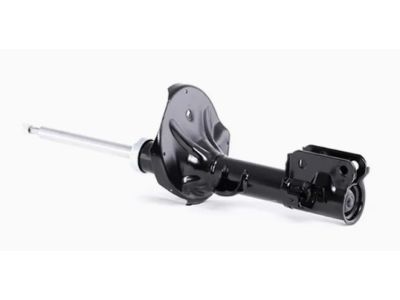
2011 Kia Sorento Front Shock Absorber Assembly Right
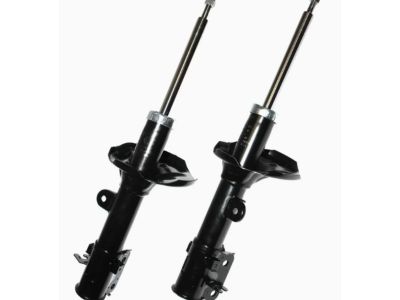
Part Number: 546601U250$145.44 MSRP: $202.00You Save: $56.56 (28%)Ships in 1-3 Business DaysProduct Specifications- Other Name: Shock Absorber Assembly-Front,Rh
- Position: Front Passenger Side
- Replaced by: 546041U250FFF
- Part Code: 54640A
- Item Weight: 10.70 Pounds
- Item Dimensions: 28.7 x 12.8 x 11.9 inches
- Condition: New
- Fitment Type: Direct Replacement
- SKU: 546601U250
- Warranty: This genuine part is guaranteed by Kia's factory warranty.
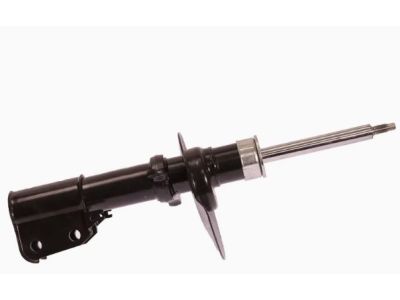
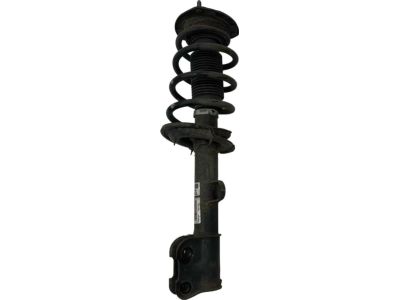
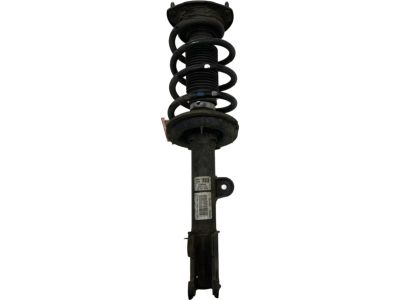
2011 Kia Sorento Front Shock Absorber Assembly Left Hand
Part Number: 546501U000$141.84 MSRP: $197.00You Save: $55.16 (28%)Ships in 1-3 Business DaysProduct Specifications- Other Name: Shock Absorber Assembly-Front,Lh
- Position: Front Driver Side
- Replaced by: 546031U000FFF
- Part Code: 54630A
- Item Weight: 9.90 Pounds
- Condition: New
- Fitment Type: Direct Replacement
- SKU: 546501U000
- Warranty: This genuine part is guaranteed by Kia's factory warranty.
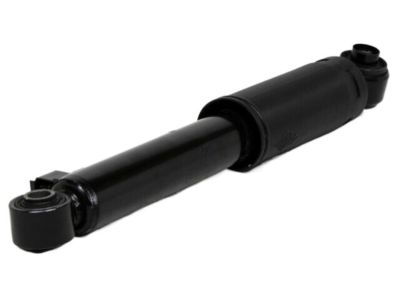
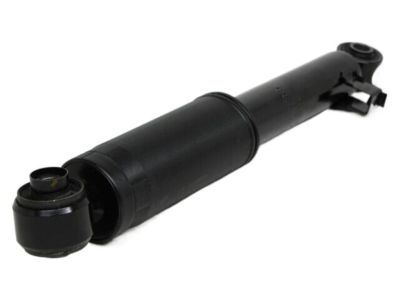

2011 Kia Sorento Rear Shock Absorber Assembly
Part Number: 553101U250$159.98 MSRP: $232.87You Save: $72.89 (32%)Ships in 1-3 Business DaysProduct Specifications- Other Name: Shock Absorber Assembly-Rear; Shock, Shock Absorber
- Position: Rear
- Part Code: 55310
- Item Weight: 6.00 Pounds
- Condition: New
- Fitment Type: Direct Replacement
- Require Quantity: 2
- SKU: 553101U250
- Warranty: This genuine part is guaranteed by Kia's factory warranty.
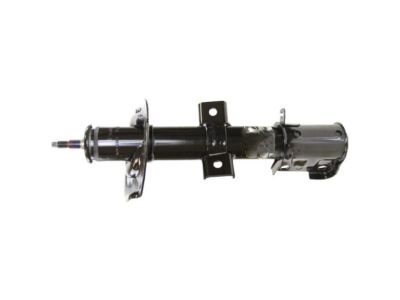
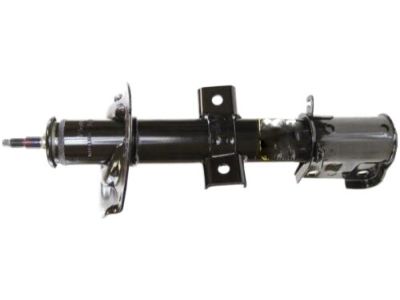
2011 Kia Sorento Front Shock Absorber Assembly Left Hand
Part Number: 546501U200$141.84 MSRP: $197.00You Save: $55.16 (28%)Ships in 1-3 Business DaysProduct Specifications- Other Name: Shock Absorber Assembly-Front,Lh
- Position: Front Driver Side
- Replaced by: 546031U200FFF
- Part Code: 54630A
- Item Weight: 10.00 Pounds
- Condition: New
- Fitment Type: Direct Replacement
- SKU: 546501U200
- Warranty: This genuine part is guaranteed by Kia's factory warranty.
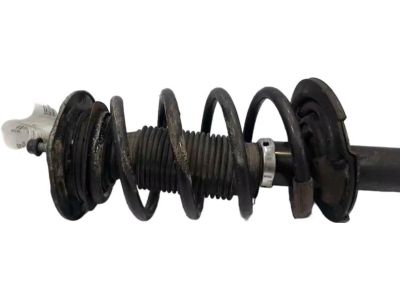
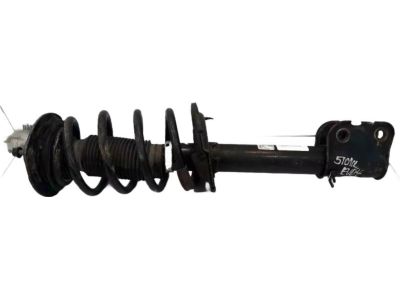
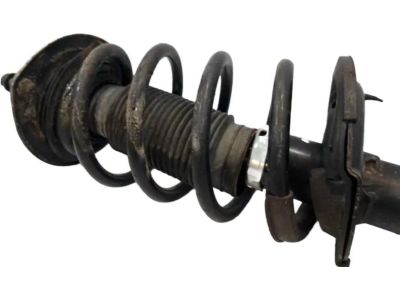
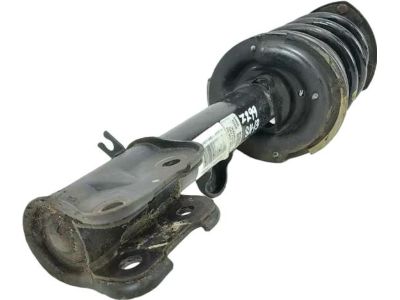
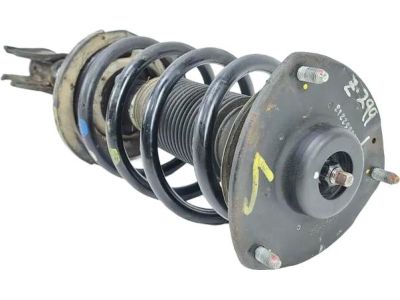
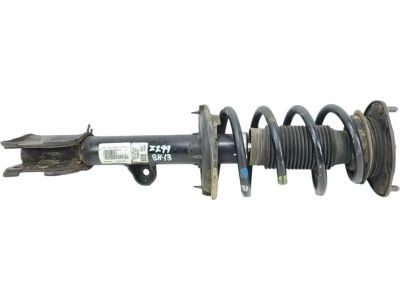
2011 Kia Sorento Front Shock Absorber Assembly Left Hand
Part Number: 546501U450$145.44 MSRP: $202.00You Save: $56.56 (28%)Ships in 1-3 Business DaysProduct Specifications- Other Name: Shock Absorber Assembly-Front,Lh
- Position: Front Driver Side
- Replaced by: 546031U450FFF
- Part Code: 54630A
- Item Weight: 10.60 Pounds
- Condition: New
- Fitment Type: Direct Replacement
- SKU: 546501U450
- Warranty: This genuine part is guaranteed by Kia's factory warranty.
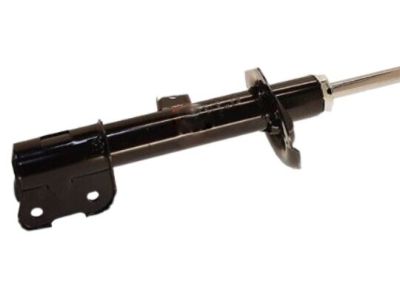
2011 Kia Sorento Front Shock Absorber Assembly Left Hand
Part Number: 546501U350$138.77 MSRP: $202.00You Save: $63.23 (32%)Ships in 1-3 Business DaysProduct Specifications- Other Name: Shock Absorber Assembly-Front,Lh
- Position: Front Driver Side
- Replaced by: 546031U350FFF
- Part Code: 54630A
- Item Weight: 10.40 Pounds
- Condition: New
- Fitment Type: Direct Replacement
- SKU: 546501U350
- Warranty: This genuine part is guaranteed by Kia's factory warranty.
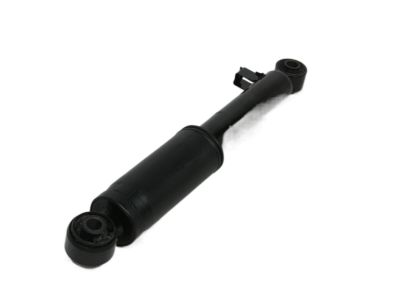
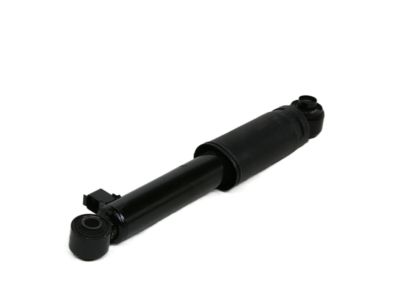
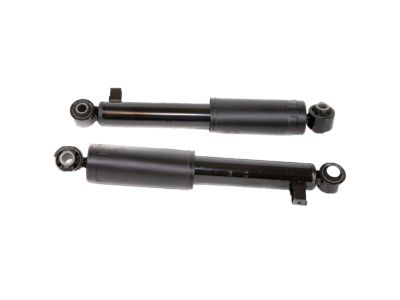
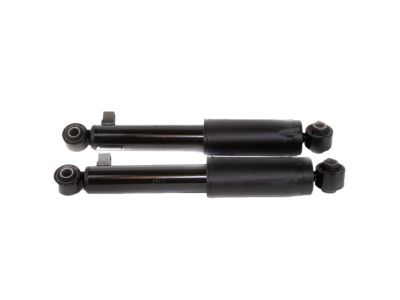
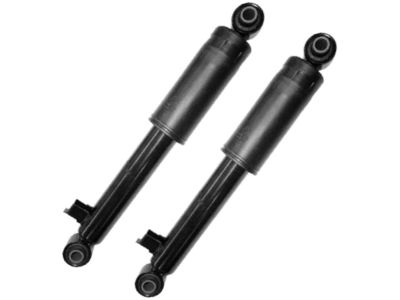
2011 Kia Sorento Rear Shock Absorber Assembly
Part Number: 553101U350$159.98 MSRP: $232.87You Save: $72.89 (32%)Ships in 1-3 Business DaysProduct Specifications- Other Name: Shock Absorber Assembly-Rear; Shock, Shock Absorber
- Position: Rear
- Part Code: 55310
- Item Weight: 5.50 Pounds
- Condition: New
- Fitment Type: Direct Replacement
- Require Quantity: 2
- SKU: 553101U350
- Warranty: This genuine part is guaranteed by Kia's factory warranty.
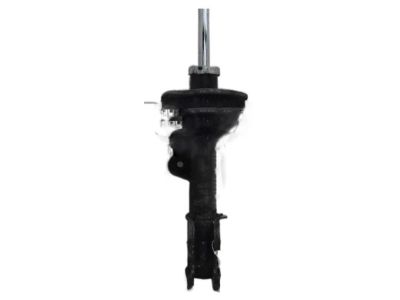
2011 Kia Sorento Front Shock Absorber Assembly Right
Part Number: 546601U200$141.84 MSRP: $197.00You Save: $55.16 (28%)Ships in 1-3 Business DaysProduct Specifications- Other Name: Shock Absorber Assembly-Front,Rh
- Position: Front Passenger Side
- Replaced by: 546041U200FFF
- Part Code: 54640A
- Item Weight: 14.10 Pounds
- Item Dimensions: 28.1 x 9.7 x 8.9 inches
- Condition: New
- Fitment Type: Direct Replacement
- SKU: 546601U200
- Warranty: This genuine part is guaranteed by Kia's factory warranty.
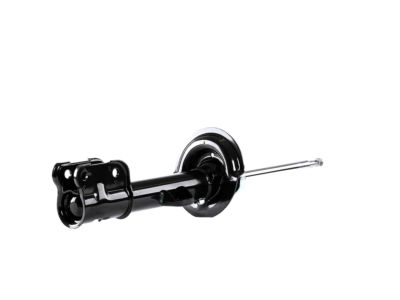
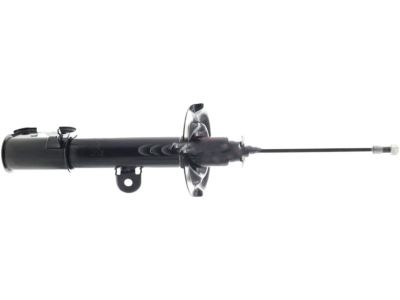
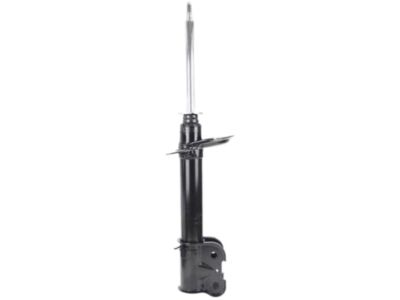
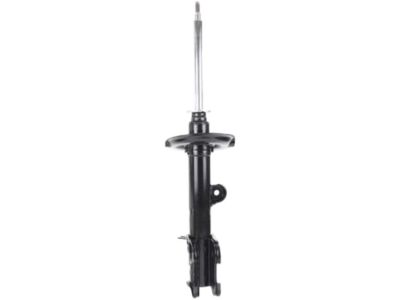
2011 Kia Sorento Front Shock Absorber Assembly Left Hand
Part Number: 546501U400$141.84 MSRP: $197.00You Save: $55.16 (28%)Ships in 1-3 Business DaysProduct Specifications- Other Name: Shock Absorber Assembly-Front,Lh
- Position: Front Driver Side
- Replaced by: 546031U400FFF
- Part Code: 54630A
- Item Weight: 10.50 Pounds
- Condition: New
- Fitment Type: Direct Replacement
- SKU: 546501U400
- Warranty: This genuine part is guaranteed by Kia's factory warranty.
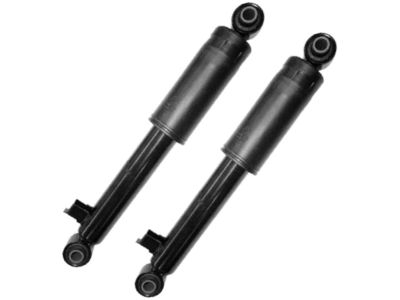
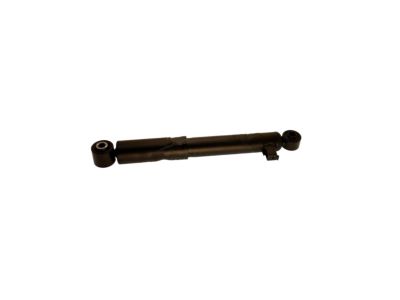
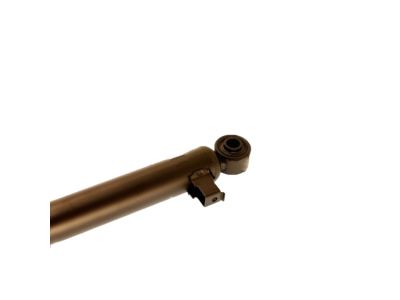
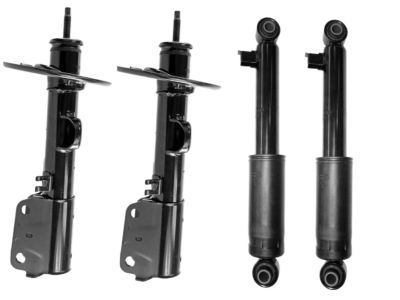
2011 Kia Sorento Rear Shock Absorber Assembly
Part Number: 553101U000$146.31 MSRP: $212.97You Save: $66.66 (32%)Ships in 1-3 Business DaysProduct Specifications- Other Name: Shock Absorber Assembly-Rear; Shock Absorber
- Position: Rear
- Replaces: 553101U300
- Part Code: 55310
- Item Weight: 5.60 Pounds
- Condition: New
- Fitment Type: Direct Replacement
- Require Quantity: 2
- SKU: 553101U000
- Warranty: This genuine part is guaranteed by Kia's factory warranty.
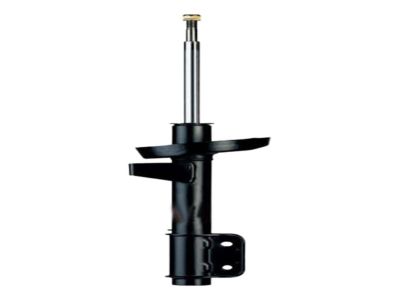
2011 Kia Sorento Rear Shock Absorber Assembly
Part Number: 553101U200$160.94 MSRP: $234.27You Save: $73.33 (32%)Ships in 1-3 Business DaysProduct Specifications- Other Name: Shock Absorber Assembly-Rear; Shock, Shock Absorber
- Position: Rear
- Part Code: 55310
- Item Weight: 5.60 Pounds
- Condition: New
- Fitment Type: Direct Replacement
- Require Quantity: 2
- SKU: 553101U200
- Warranty: This genuine part is guaranteed by Kia's factory warranty.
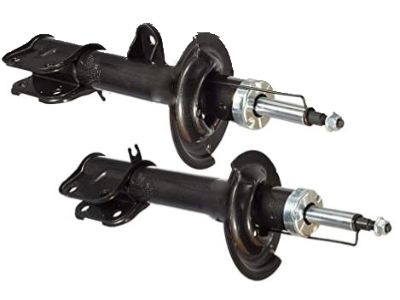
2011 Kia Sorento Front Shock Absorber Assembly Left Hand
Part Number: 546501U500$141.30 MSRP: $196.25You Save: $54.95 (28%)Ships in 1-3 Business DaysProduct Specifications- Other Name: Shock Absorber Assembly-Front,Lh
- Position: Front Driver Side
- Replaced by: 546031U500FFF
- Part Code: 54630A
- Item Weight: 10.40 Pounds
- Condition: New
- Fitment Type: Direct Replacement
- SKU: 546501U500
- Warranty: This genuine part is guaranteed by Kia's factory warranty.
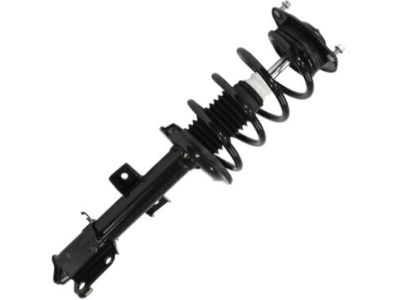
2011 Kia Sorento Front Shock Absorber Assembly Right
Part Number: 546601U500$141.30 MSRP: $196.25You Save: $54.95 (28%)Ships in 1-3 Business DaysProduct Specifications- Other Name: Shock Absorber Assembly-Front,Rh
- Position: Front Passenger Side
- Replaced by: 546041U500FFF
- Part Code: 54640A
- Item Weight: 10.40 Pounds
- Item Dimensions: 28.4 x 12.8 x 12.4 inches
- Condition: New
- Fitment Type: Direct Replacement
- SKU: 546601U500
- Warranty: This genuine part is guaranteed by Kia's factory warranty.
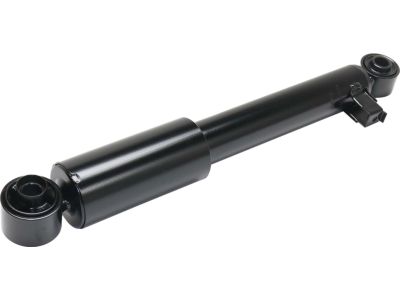
2011 Kia Sorento Rear Shock Absorber Assembly
Part Number: 553101U400$160.94 MSRP: $234.27You Save: $73.33 (32%)Ships in 1-3 Business DaysProduct Specifications- Other Name: Shock Absorber Assembly-Rear; Shock
- Position: Rear
- Part Code: 55310
- Item Weight: 5.50 Pounds
- Condition: New
- Fitment Type: Direct Replacement
- Require Quantity: 2
- SKU: 553101U400
- Warranty: This genuine part is guaranteed by Kia's factory warranty.
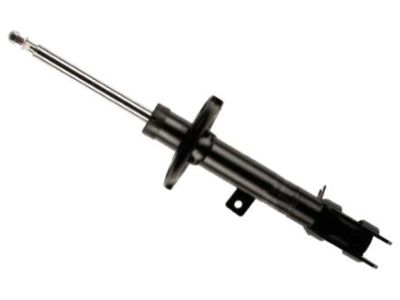
2011 Kia Sorento Front Shock Absorber Assembly Right
Part Number: 546601U400$141.84 MSRP: $197.00You Save: $55.16 (28%)Ships in 1-3 Business DaysProduct Specifications- Other Name: Shock Absorber Assembly-Front,Rh
- Position: Front Passenger Side
- Replaced by: 546041U400FFF
- Part Code: 54640A
- Item Weight: 10.00 Pounds
- Item Dimensions: 28.4 x 12.5 x 11.9 inches
- Condition: New
- Fitment Type: Direct Replacement
- SKU: 546601U400
- Warranty: This genuine part is guaranteed by Kia's factory warranty.
2011 Kia Sorento Rear Shock Absorber Assembly
Part Number: 553101U450$159.98 MSRP: $232.87You Save: $72.89 (32%)Ships in 1-3 Business DaysProduct Specifications- Other Name: Shock Absorber Assembly-Rear; Shock, Shock Absorber
- Position: Rear
- Part Code: 55310
- Item Weight: 5.50 Pounds
- Condition: New
- Fitment Type: Direct Replacement
- Require Quantity: 2
- SKU: 553101U450
- Warranty: This genuine part is guaranteed by Kia's factory warranty.
2011 Kia Sorento Front Shock Absorber Assembly Right
Part Number: 546601U000$141.84 MSRP: $197.00You Save: $55.16 (28%)Ships in 1-3 Business DaysProduct Specifications- Other Name: Shock Absorber Assembly-Front,Rh
- Position: Front Passenger Side
- Replaced by: 546041U001FFF
- Part Code: 54640A
- Item Weight: 10.30 Pounds
- Item Dimensions: 27.9 x 12.4 x 12.1 inches
- Condition: New
- Fitment Type: Direct Replacement
- SKU: 546601U000
- Warranty: This genuine part is guaranteed by Kia's factory warranty.
2011 Kia Sorento Front Shock Absorber Assembly Left Hand
Part Number: 546501U600$134.82 MSRP: $196.25You Save: $61.43 (32%)Ships in 1-3 Business DaysProduct Specifications- Other Name: Shock Absorber Assembly-Front,Lh
- Position: Front Driver Side
- Replaced by: 546031U600FFF
- Part Code: 54630A
- Item Weight: 10.00 Pounds
- Condition: New
- Fitment Type: Direct Replacement
- SKU: 546501U600
- Warranty: This genuine part is guaranteed by Kia's factory warranty.
2011 Kia Sorento Front Shock Absorber Assembly Right
Part Number: 546601U300$141.84 MSRP: $197.00You Save: $55.16 (28%)Ships in 1-3 Business DaysProduct Specifications- Other Name: Shock Absorber Assembly-Front,Rh
- Position: Front Passenger Side
- Replaced by: 546041U300FFF
- Part Code: 54640A
- Item Weight: 10.50 Pounds
- Item Dimensions: 28.4 x 12.7 x 12.1 inches
- Condition: New
- Fitment Type: Direct Replacement
- SKU: 546601U300
- Warranty: This genuine part is guaranteed by Kia's factory warranty.
| Page 1 of 2 |Next >
1-20 of 27 Results
2011 Kia Sorento Shock Absorber
Look no further for OEM 2011 Kia Sorento Shock Absorber. Our website stocks an extensive selection, all priced competitively. You can rest assured that all of our genuine 2011 Kia Sorento Shock Absorber are backed by a manufacturer's warranty and guaranteed quality. With our hassle-free return policy and speedy delivery, your shopping experience is set to be smooth and efficient.
2011 Kia Sorento Shock Absorber Parts Questions & Experts Answers
- Q:How to properly remove and install a front Shock Absorber and strut assembly on a 2011 Kia Sorento?Posted by Selvam A.A:Tighten the wheel lug nuts and lift the vehicle off the ground and secure it with jackstands, then remove the wheel and supporting the control arm with a floor jack. Unfasten the analyzer link of the strut, and then take the strut-to-knuckle nuts then knock the bolts using hammer and punch. Slowly endeavour to tilt the strut away from the steering knuckle while avoiding over bending of the inner CV joint and not to allow the steering knuckle to drop down with force since this will cause damage to the brake hose. If one has to disassemble the strut, then it is permissible to loosen the nut of the damper shaft but do not take it out. Free the strut and spring assembly by loosening the three upper mounting nuts on the top side of the car within the engine compartment; extract the assembly through the fenderwell. The strut body should be scrutinized for signs of leaks, dents and cracks and therefore it should be give a thorough check up and the coil spring should also be checked for signs of chipping off the coating, the spring seat should also be checked for cuts and signs of deterioration. In the event that issues are realized, then one needs to carry out disassembly. For installation, position the strut assembly into the fender well, then align the upper part of the mounting studs with the shock tower holes and tighten nuts. Slide the steering knuckle into the strut flange and put the bolts in, then thread on the nuts and tighten to the prescribed amount of torque. Screw the link of the stabilizer bar in the strut and tighten the nut before getting the wheel and the lug nuts before lowering the vehicle and tightening the lug nuts. Last but not the least, turn the three upper mounting nuts to the correct torque setting.Answered by Kia Parts Specialist Paul / May 12, 2026
Related 2011 Kia Sorento Parts
 2011 Kia Sorento Coil Springs
 2011 Kia Sorento Steering Knuckle
 2011 Kia Sorento Tie Rod End
 2011 Kia Sorento Fender
 2011 Kia Sorento Wheelhouse