×
- Hello
- Login or Register
- Quick Links
- Live Chat
- Track Order
- Parts Availability
- RMA
- Help Center
- Contact Us
- Shop for
- Kia Parts
- Kia Accessories

My Garage
My Account
Cart
Genuine Kia Optima Pressure Plate
Clutch Pressure Plate- Select Vehicle by Model
- Select Vehicle by VIN
Select Vehicle by Model
orMake
Model
Year
Select Vehicle by VIN
For the most accurate results, select vehicle by your VIN (Vehicle Identification Number).
5 Pressure Plates found

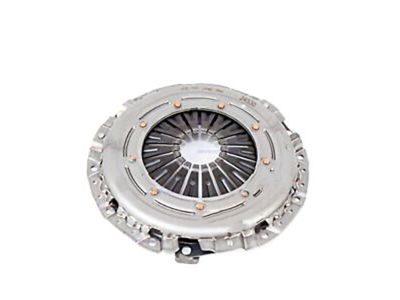
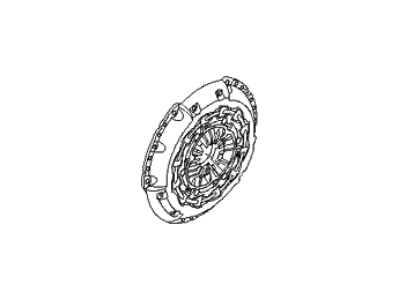
Kia Optima Cover Assembly-Clutch
Part Number: 4130024530$152.06 MSRP: $221.33You Save: $69.27 (32%)Ships in 1-3 Business Days
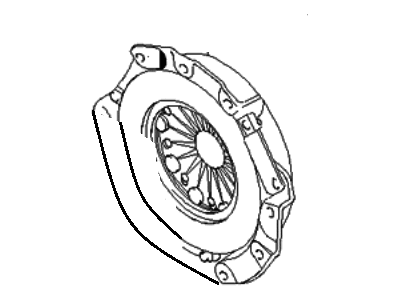
Kia Optima Cover Assembly-Clutch
Part Number: 4130024560$191.75 MSRP: $279.12You Save: $87.37 (32%)Ships in 1-3 Business DaysKia Optima Cover Assembly-Clutch
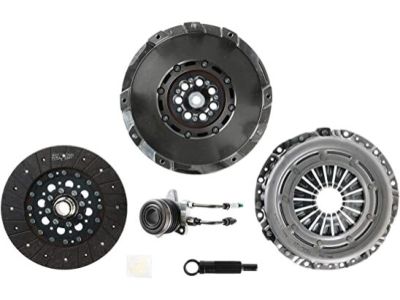
Part Number: 4130039090$138.95 MSRP: $192.98You Save: $54.03 (28%)Ships in 1-3 Business DaysKia Optima Cover Assembly-Clutch
Part Number: 4130039110$138.95 MSRP: $192.98You Save: $54.03 (28%)Ships in 1-3 Business DaysKia Optima Cover Assembly-Clutch
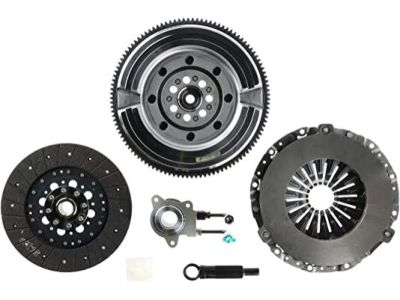
Part Number: 4130039115$132.58 MSRP: $192.98You Save: $60.40 (32%)Ships in 1-3 Business Days
Kia Optima Pressure Plate
As a fundamental part of the clutch assembly the Pressure Plate in Kia Optima vehicles connects and disconnects the clutch disc from the flywheel. Through its clamping mechanism the Pressure Plate keeps the clutch disc in position to enable efficient engine power transmission to the transmission system. Time the clutch pedal moment and the Pressure Plate will smooth up the clutch disc to enable gear shifting. Two Pressure Plate styles exist in Kia Optima vehicles: diaphragm units and lever-based systems. Everyday commute benefits from the diaphragm Pressure Plate design which incorporates a belleville spring component that needs reduced pedal force to produce smooth clutch engagement. Racing and heavy-duty applications need the lever style Pressure Plate because it engages through levers whereas the diaphragm Kia Optima replacement part works optimal with daily driving demands. The performance features of different transmission clutches together with their construction standards make them suitable for particular driving situations.
If you're in search of top-notch, reasonably priced OEM Kia Optima Pressure Plate, then you've found the perfect spot. Our website boasts an extensive inventory of Kia Optima Pressure Plate, all priced at the market's premier price. Rest assured, every genuine part we offer comes with a warranty straight from the manufacturer.
Kia Optima Pressure Plate Parts Questions & Experts Answers
- Q: How do you access and replace Clutch disc,Flywheel and Pressure plate when overhauling an engine on Kia Optima?A:Access to clutch components typically requires removing the transaxle from the vehicle, and if the engine is being overhauled, it's advisable to check and replace worn clutch components due to their low cost compared to the effort involved in accessing them. Begin by removing the transaxle while supporting the engine, preferably with an engine hoist, and ensure a piece of wood is used to protect the oil pan if a jack is employed. The clutch fork can remain attached to the bellhousing. For models from 2001 to 2006, turn the Release Bearing to view the snap-ring, use snap-ring pliers to engage it, and then remove the release bearing. For all models, inspect the flywheel and clutch for indexing marks, marking them if necessary for proper alignment during installation. Use a clutch alignment tool to support the disc, then loosen the pressure plate bolts in a criss-cross pattern before removing the pressure plate and clutch disc. During inspection, check the flywheel for cracks and defects, and if imperfections are minor, a machine shop can smooth the surface. Inspect the clutch disc lining for sufficient thickness and any damage, replacing it if necessary, along with the pressure plate and release bearing. Clean the flywheel and pressure plate surfaces thoroughly before positioning the disc correctly, securing it with the alignment tool, and then placing the pressure plate in position while aligning any marks made earlier. Tighten the bolts in a criss-cross pattern to avoid distortion, and complete the installation by reversing the removal steps.
