×
- Hello
- Login or Register
- Quick Links
- Live Chat
- Track Order
- Parts Availability
- RMA
- Help Center
- Contact Us
- Shop for
- Kia Parts
- Kia Accessories

My Garage
My Account
Cart
Genuine Kia Sorento Pressure Plate
Clutch Pressure Plate- Select Vehicle by Model
- Select Vehicle by VIN
Select Vehicle by Model
orMake
Model
Year
Select Vehicle by VIN
For the most accurate results, select vehicle by your VIN (Vehicle Identification Number).
1 Pressure Plate found
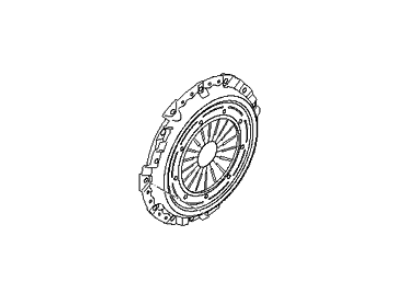
Kia Sorento Cover Assembly-Clutch
Part Number: 4130024200$187.69 MSRP: $273.20You Save: $85.51 (32%)Ships in 1-3 Business Days
Kia Sorento Pressure Plate
A Kia Sorento vehicle relies on its Pressure Plate to enable proper clutch operation through its function of connecting or disconnecting the clutch disc from the flywheel. The clutch disc receives a clamp force from the Pressure Plate which enables engine power transfer to the transmission. The Pressure Plate activates when the clutch pedal receives input which causes it to release the clutch disc so gear shifts become possible. The clutch Pressure Plates installed in Kia Sorento vehicles come in diaphragm and lever configuration types. A diaphragm Pressure Plate with cone-shaped belleville springs needs minimal pedal force while offering optimized engagement thus making it excellent for regular driving operations. Essentially the lever style Pressure Plate provides better performance in racing conditions along with heavy-duty applications compared to other variants. Building restrictions as well as operational properties differ between automobile Kia Sorento replacement parts thus determining their applicability across different driving situations.
If you're in search of top-notch, reasonably priced OEM Kia Sorento Pressure Plate, then you've found the perfect spot. Our website boasts an extensive inventory of Kia Sorento Pressure Plate, all priced at the market's premier price. Rest assured, every genuine part we offer comes with a warranty straight from the manufacturer.
Kia Sorento Pressure Plate Parts Questions & Experts Answers
- Q: How do you access and replace Clutch disc,Flywheel and Pressure plate on Kia Sorento?A:Usually, to gain access to clutch components one must pull the transmission/transaxle out of the car. If the engine is being taken off for big over haul it is recommended that the clutch be inspected for wear ands the clutch assembly replaced where worn out because it is cheap to change them than to have it over-hauled unless it is almost new. First, unbolt the transmission/transaxle while supporting the engine-this could be done with an engine hoist or support fixture and if using a jack, then a piece of wood has to be interposed between the jack and the oil pan. Cautious is needed here because the oil pump pickup is located near the bottom of the pan, and bending the pan could lead to strangling of oil. On some models the clutch fork may still be attached to the bell housing. Ensure flywheel and clutch has indexing marks, if not label appropriately to ensure proper alignment when fitting them. With the help of a clutch alignment tool, position the orange party of the tool on the disc; then, turning the pressure plate, rotate all bolts counterclockwise in a criss-cross manner, until no spring pressure is present; remove all bolts, pressure plate, and the clutch disc. Another is the flywheel and this must be inspected for cracks or defects and if there are, it is advisable to have it machined. Check Pilot Bearing, clutch disc lining and the Release Bearing, and replace any which may have worn out or are damaged. Inspect the pressure plate for depletion and harm, assuming that it might require replacement. During installation, it is recommended to clean the flywheel as well as pressure plate surface, and then correctly fit the clutch disc into its proper place and tighten it with the help of the alignment tool. Since the pressure plate is now rotated to access the other side, align it to any marks that may have been made earlier and snug the bolts in an X fashion before finally reinstalling the pressure plate in the reversed sequence of removal.


