×
- Hello
- Login or Register
- Quick Links
- Live Chat
- Track Order
- Parts Availability
- RMA
- Help Center
- Contact Us
- Shop for
- Kia Parts
- Kia Accessories

My Garage
My Account
Cart
Genuine Kia Optima Instrument Cluster
Speedometer Instrument Cluster- Select Vehicle by Model
- Select Vehicle by VIN
Select Vehicle by Model
orMake
Model
Year
Select Vehicle by VIN
For the most accurate results, select vehicle by your VIN (Vehicle Identification Number).
99 Instrument Clusters found
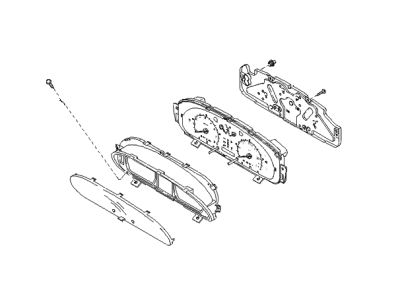
Kia Optima Cluster Assembly-Instrument
Part Number: 940013C030$545.22 MSRP: $780.00You Save: $234.78 (31%)Ships in 1-3 Business DaysKia Optima Cluster Assembly-Instrument
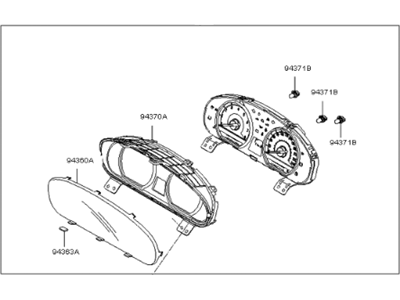
Part Number: 940012G190$585.77 MSRP: $863.97You Save: $278.20 (33%)Ships in 1-3 Business DaysKia Optima Cluster Assembly-Instrument
Part Number: 940012G196$621.84 MSRP: $917.17You Save: $295.33 (33%)Ships in 1-3 Business DaysKia Optima Cluster Assembly-Instrument
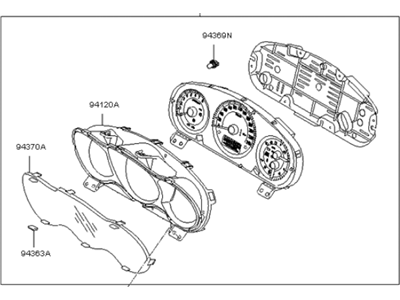
Part Number: 940012G150$621.97 MSRP: $917.37You Save: $295.40 (33%)Ships in 1-3 Business DaysKia Optima Cluster Assembly-Instrument
Part Number: 940012G156$628.21 MSRP: $926.57You Save: $298.36 (33%)Ships in 1-3 Business DaysKia Optima Cluster Assembly-Instrument
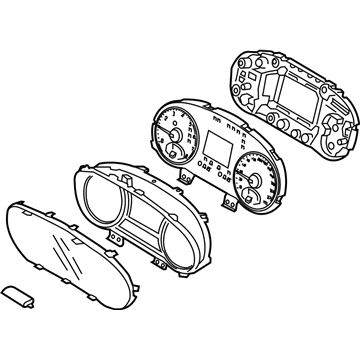
Part Number: 940012G176$654.65 MSRP: $965.57You Save: $310.92 (33%)Ships in 1-3 Business DaysKia Optima Cluster Assembly-Instrument
Part Number: 940232G732$698.27 MSRP: $998.95You Save: $300.68 (31%)Ships in 1-3 Business DaysKia Optima Cluster Assembly-Instrument
Part Number: 940232G733$698.27 MSRP: $998.95You Save: $300.68 (31%)Ships in 1-3 Business DaysKia Optima Cluster Assembly-Instrument
Part Number: 940012G206$681.08 MSRP: $974.37You Save: $293.29 (31%)Ships in 1-3 Business DaysKia Optima Cluster Assembly-Instrument
Part Number: 940012G186$681.79 MSRP: $975.39You Save: $293.60 (31%)Ships in 1-3 Business DaysKia Optima Cluster Assembly-Instrument
Part Number: 940012G180$690.19 MSRP: $1017.99You Save: $327.80 (33%)Ships in 1-3 Business DaysKia Optima Cluster Assembly-Instrument
Part Number: 940012G200$696.43 MSRP: $1027.19You Save: $330.76 (33%)Ships in 1-3 Business DaysKia Optima Pad U
Part Number: 94021D5030$732.32 MSRP: $1080.12You Save: $347.80 (33%)Ships in 1-3 Business DaysKia Optima Cluster Assembly-Instrument
Part Number: 94001D5010$792.41 MSRP: $1168.75You Save: $376.34 (33%)Ships in 1-3 Business DaysKia Optima Cluster Assembly-Instrument
Part Number: 94001D5000$940.25 MSRP: $1386.80You Save: $446.55 (33%)Ships in 1-3 Business DaysKia Optima Cluster Assembly-Instrument
Part Number: 940112G166$951.74 MSRP: $1361.57You Save: $409.83 (31%)Ships in 1-3 Business DaysKia Optima Cluster Assembly-Instrument
Part Number: 940312T270$983.09 MSRP: $1449.99You Save: $466.90 (33%)Ships in 1-3 Business DaysKia Optima Cluster Assembly-Instrument
Part Number: 940112G330$968.84 MSRP: $1428.97You Save: $460.13 (33%)Ships in 1-3 Business DaysKia Optima Cluster Assembly-Instrument
Part Number: 940112G160$978.46 MSRP: $1443.15You Save: $464.69 (33%)Ships in 1-3 Business Days
| Page 1 of 5 |Next >
1-20 of 99 Results
Kia Optima Instrument Cluster
If you're in search of top-notch, reasonably priced OEM Kia Optima Instrument Cluster, then you've found the perfect spot. Our website boasts an extensive inventory of Kia Optima Instrument Cluster, all priced at the market's premier price. Rest assured, every genuine part we offer comes with a warranty straight from the manufacturer.
Kia Optima Instrument Cluster Parts Questions & Experts Answers
- Q: What challenges do home mechanics face when removing the instrument panel, and what steps should they take to ensure successful reassembly on Kia Optima?A:It becomes fairly burdensome for home mechanics because there are concealed screws for instance those at the back of a hub, tight angles, and lots of electrical connections, which require tagging and removal. It will therefore be preferable if this is left in the hand of competent do-it-yourselfers. Since there are many parts in an instrument panel, one has to note down how every of it is removed, where it is located in relation to the other parts, and how it is fitted. It is not required but to increase the available space and to help avoid possible harm both front seats can be unbolted. First, isolate the negative terminal of the battery, and if possible, you should unhinged the front seats for adequate space. Continue to the removal of the steering wheel, multi-function switch assembly, dash panel, central console, heater and air control, audio unit, instrument cluster and the glove box. Pull the passenger side airbag electrical connector off, unbolt the driver's knee bolster by removing its two bolts, unfasten the two bolts that fix the steering column to the instrument panel and finally, pry both the A-pillar trim panels and kick panels off. Remove several ones of the electrical connectors, and make sure to label all the uncertain ones for identification. Unbolt all the connections that attach the instrument panel to the body and then swing the former forward and pull the instrument panel away from the windshield for withdrawal via the car door, with some support. Another complicated task, which requires insertion of more electrical connectors and fasteners, is the removal of the support beam; this should be done only when one needs to get to the heating/air conditioning unit. Installation process is done in a sequence opposite to removal process.
Related Kia Optima Parts
Browse by Year
2020 Instrument Cluster 2019 Instrument Cluster 2018 Instrument Cluster 2017 Instrument Cluster 2016 Instrument Cluster 2015 Instrument Cluster 2014 Instrument Cluster 2013 Instrument Cluster 2012 Instrument Cluster 2011 Instrument Cluster 2010 Instrument Cluster 2009 Instrument Cluster 2008 Instrument Cluster 2007 Instrument Cluster 2006 Instrument Cluster 2005 Instrument Cluster 2004 Instrument Cluster 2003 Instrument Cluster 2002 Instrument Cluster 2001 Instrument Cluster 2000 Instrument Cluster
