×
- Hello
- Login or Register
- Quick Links
- Live Chat
- Track Order
- Parts Availability
- RMA
- Help Center
- Contact Us
- Shop for
- Kia Parts
- Kia Accessories

My Garage
My Account
Cart
Genuine Kia Optima Steering Knuckle
Front Steering Knuckle- Select Vehicle by Model
- Select Vehicle by VIN
Select Vehicle by Model
orMake
Model
Year
Select Vehicle by VIN
For the most accurate results, select vehicle by your VIN (Vehicle Identification Number).
21 Steering Knuckles found

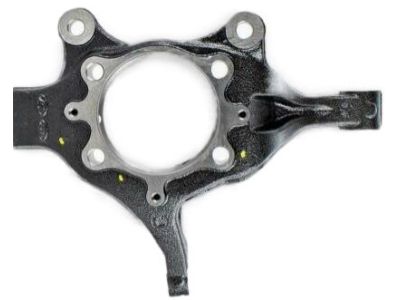
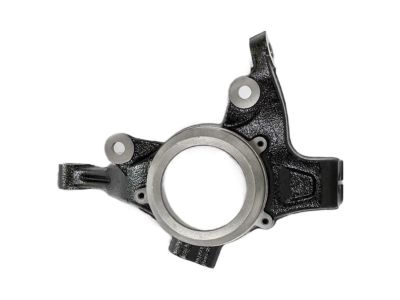
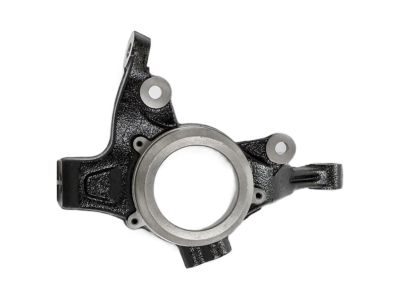
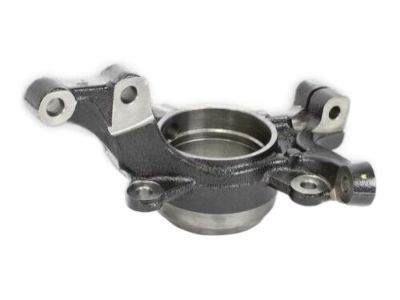
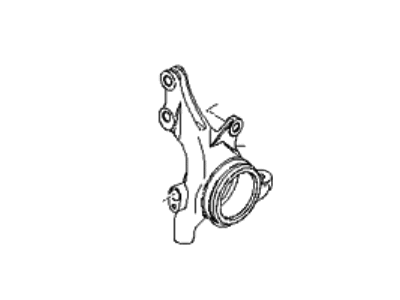
Kia Optima Front Axle Knuckle Left
Part Number: 51715C1000$263.24 MSRP: $385.54You Save: $122.30 (32%)Ships in 1-3 Business Days
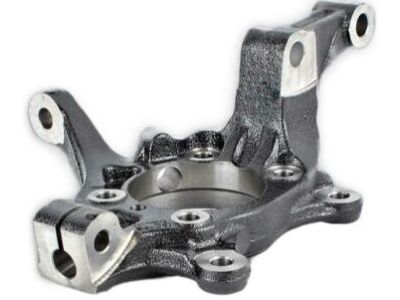
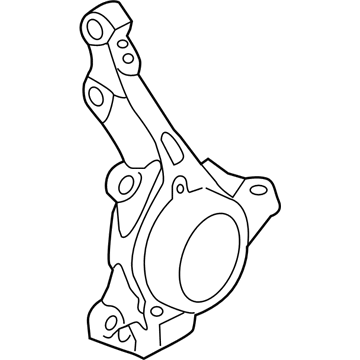
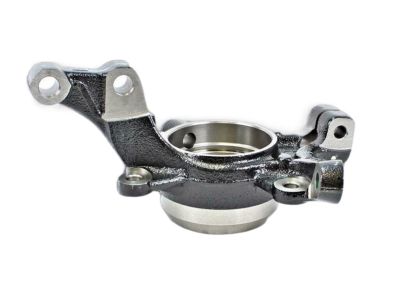
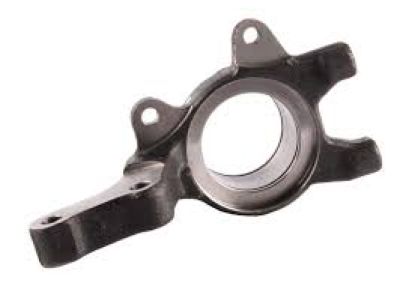
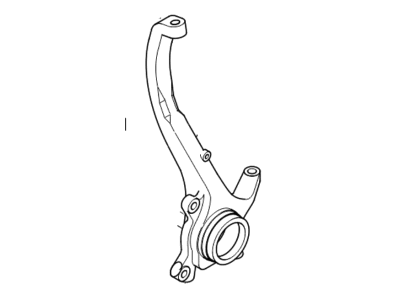
Kia Optima Front Axle Knuckle Left
Part Number: 517152T110$260.29 MSRP: $381.22You Save: $120.93 (32%)Ships in 1-3 Business Days
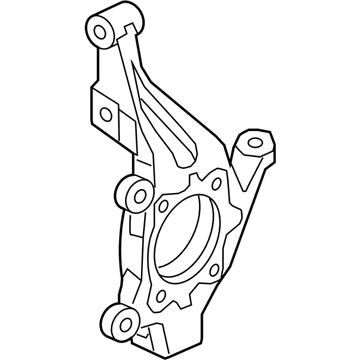
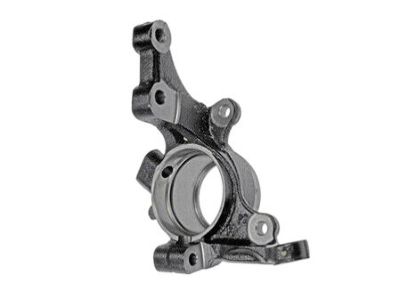
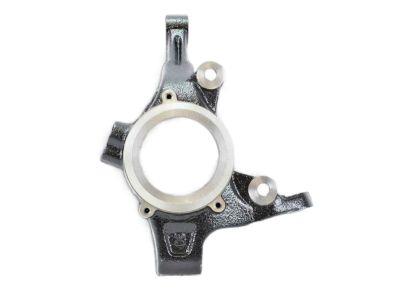
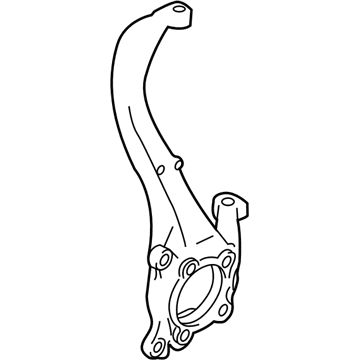
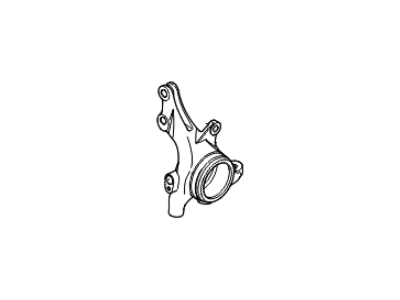
Kia Optima Front Axle Knuckle Right
Part Number: 517162T110$295.36 MSRP: $432.57You Save: $137.21 (32%)Ships in 1-3 Business Days
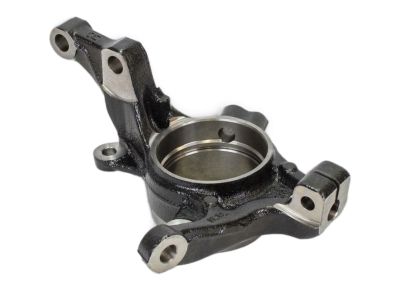
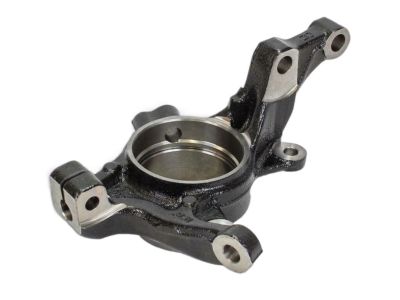
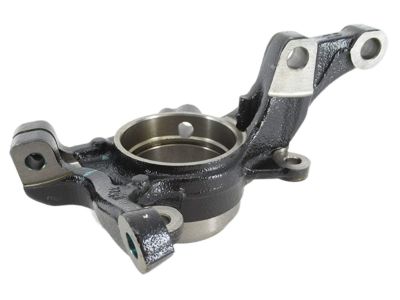
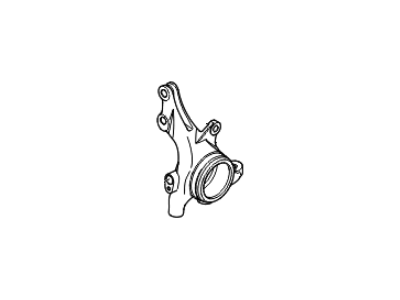
Kia Optima Front Axle Knuckle Left
Part Number: 517153S110$330.40 MSRP: $483.89You Save: $153.49 (32%)Ships in 1-3 Business Days
Kia Optima Front Axle Knuckle Right
Part Number: 517163S110$295.56 MSRP: $432.87You Save: $137.31 (32%)Ships in 1-3 Business Days
Kia Optima Front Axle Knuckle Left
Part Number: 517152T010$234.38 MSRP: $343.27You Save: $108.89 (32%)Ships in 1-3 Business Days
Kia Optima Front Axle Knuckle Right
Part Number: 517162T010$234.38 MSRP: $343.27You Save: $108.89 (32%)Ships in 1-3 Business DaysKia Optima Front Axle Knuckle Right
Part Number: 51716C1000$299.66 MSRP: $438.87You Save: $139.21 (32%)Ships in 1-3 Business DaysKia Optima Front Axle Knuckle Left
Part Number: 5171539600$504.43 MSRP: $744.00You Save: $239.57 (33%)Ships in 1-3 Business DaysKia Optima Front Axle Knuckle Right
Part Number: 517162G001$267.45 MSRP: $376.17You Save: $108.72 (29%)Ships in 1-3 Business DaysKia Optima Front Axle Knuckle Left
Part Number: 517152G000$268.32 MSRP: $377.39You Save: $109.07 (29%)Ships in 1-3 Business DaysKia Optima Front Axle Knuckle Left
Part Number: 517152G100$268.32 MSRP: $377.39You Save: $109.07 (29%)Ships in 1-3 Business DaysKia Optima Front Axle Knuckle Right
Part Number: 517162G000$279.57 MSRP: $393.20You Save: $113.63 (29%)Ships in 1-3 Business DaysKia Optima Front Axle Knuckle Right
Part Number: 517162G100$279.57 MSRP: $393.20You Save: $113.63 (29%)Ships in 1-3 Business DaysKia Optima Front Axle Knuckle Left
Part Number: 5171538100$468.96 MSRP: $691.69You Save: $222.73 (33%)Ships in 1-3 Business DaysKia Optima Front Axle Knuckle Right
Part Number: 5171638000$483.49 MSRP: $691.69You Save: $208.20 (31%)Ships in 1-3 Business DaysKia Optima Front Axle Knuckle Right
Part Number: 5171638100$468.96 MSRP: $691.69You Save: $222.73 (33%)Ships in 1-3 Business DaysKia Optima Front Axle Knuckle Right
Part Number: 5171639600$504.43 MSRP: $744.00You Save: $239.57 (33%)Ships in 1-3 Business DaysKia Optima Front Axle Knuckle Left
Part Number: 517152G001$174.53 MSRP: $242.40You Save: $67.87 (28%)Ships in 1-3 Business DaysKia Optima Front Axle Knuckle Right
Part Number: 517162G101$204.58 MSRP: $284.14You Save: $79.56 (28%)Ships in 1-3 Business Days
| Page 1 of 2 |Next >
1-20 of 21 Results
Kia Optima Steering Knuckle
If you're in search of top-notch, reasonably priced OEM Kia Optima Steering Knuckle, then you've found the perfect spot. Our website boasts an extensive inventory of Kia Optima Steering Knuckle, all priced at the market's premier price. Rest assured, every genuine part we offer comes with a warranty straight from the manufacturer.
Kia Optima Steering Knuckle Parts Questions & Experts Answers
- Q: How do you remove and install the driveaxle and knuckle on Kia Optima?A:To disassemble the driveaxle and knuckle, you must first turn the chassis and loosen the driveaxle/hub nut and the wheel lug nut next to it, then lift the vehicle and place jackstands to support the car before you remove the wheel. Next, remove the wheel speed sensor and carry out procedures to remove the knuckle and then unbolt the brake disc also take the caliper and hang it with a wire. Bolt and nut off the driveaxle/hub connection, and gently hit the drive axel with a plastic hammer to free it from the splines. Disconnect the tie-rod end from the steering knuckle arm, remove nut and bolts attaching the lower balljoint to the knuckle and remove the nut from the upper balljoint. Loosen the nut of driveaxle and push it from the hub and remove the knuckle and then hold the driveaxle with the help of wire. For installation, position the knuckle and hub in place, place the driveaxle in the hub/; secure the upper Ball Joint to the knuckle and then fit in the lower ball joint. Connect the tie-rod to the steering knuckle arm by tightening the balljoint nuts and the locknut of the tie-rod to the advised torque; replace all cotter pins with new ones although some models utilize reusable all-steel locking clips. Fit the brake disc to the hub and the caliper and the wheel speed sensor while the drive axle hub nut is to be fitted and loosely put while the vehicle is raised and a final tightening is to be done after the vehicle is lowered. Last, set the wheel and lug nuts and lower the vehicle and afterwards, tighten the lug nuts to the manufacturer recommended torque for the car, in addition to tightening the driveaxle/hub nut to the appropriate torque.
Related Kia Optima Parts
Browse by Year
2020 Steering Knuckle 2019 Steering Knuckle 2018 Steering Knuckle 2017 Steering Knuckle 2016 Steering Knuckle 2015 Steering Knuckle 2014 Steering Knuckle 2013 Steering Knuckle 2012 Steering Knuckle 2011 Steering Knuckle 2010 Steering Knuckle 2009 Steering Knuckle 2008 Steering Knuckle 2007 Steering Knuckle 2006 Steering Knuckle 2005 Steering Knuckle 2004 Steering Knuckle 2003 Steering Knuckle 2002 Steering Knuckle 2001 Steering Knuckle 2000 Steering Knuckle
