×
- Hello
- Login or Register
- Quick Links
- Live Chat
- Track Order
- Parts Availability
- RMA
- Help Center
- Contact Us
- Shop for
- Kia Parts
- Kia Accessories

My Garage
My Account
Cart
Genuine Kia Optima Transmission Assembly
Trans Assembly- Select Vehicle by Model
- Select Vehicle by VIN
Select Vehicle by Model
orMake
Model
Year
Select Vehicle by VIN
For the most accurate results, select vehicle by your VIN (Vehicle Identification Number).
29 Transmission Assemblies found
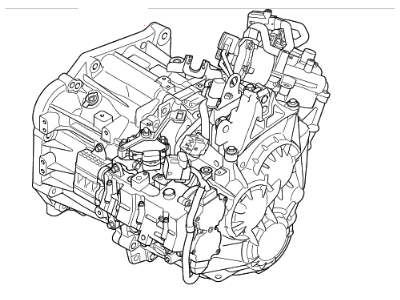
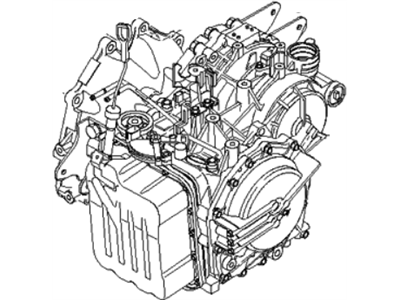
Kia Optima Transmission Assembly-Dc
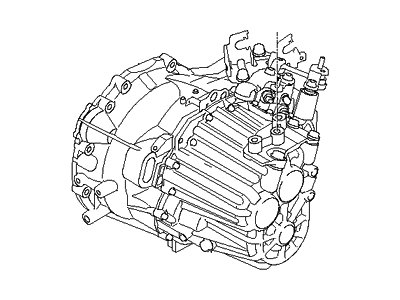
Part Number: 430002D086$2179.58 MSRP: $3184.00You Save: $1004.42 (32%)Ships in 1-3 Business DaysKia Optima Auto TRANSAXLE & TORQUE / CONVENTIONAL Assembly
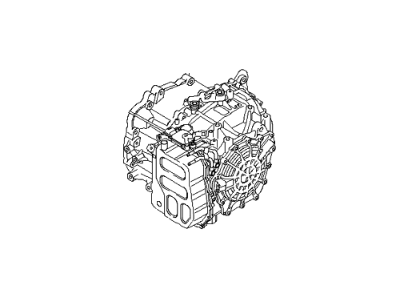
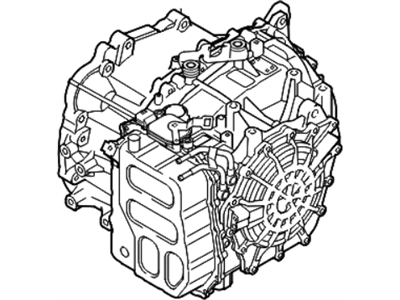
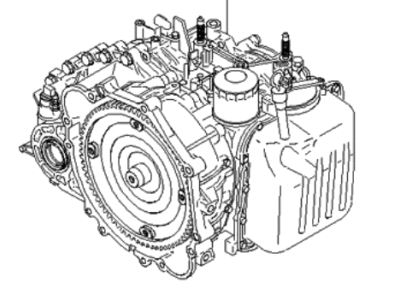
Part Number: 450003B740$823.69 MSRP: $1149.00You Save: $325.31 (29%)Ships in 1-3 Business DaysKia Optima Auto TRANSAXLE & TORQUE / CONVENTIONAL Assembly
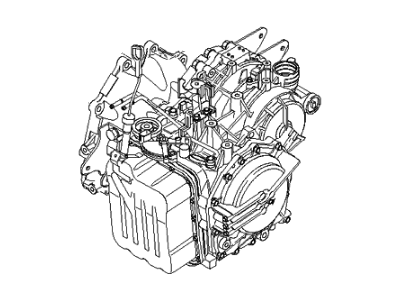
Part Number: 450003BBA0$823.69 MSRP: $1149.00You Save: $325.31 (29%)Ships in 1-3 Business DaysKia Optima Transmission Assembly-Ma
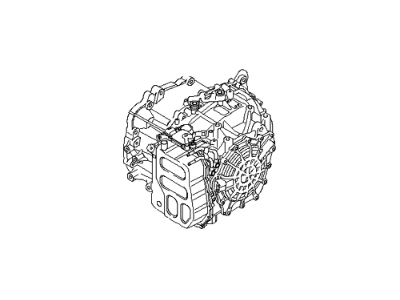
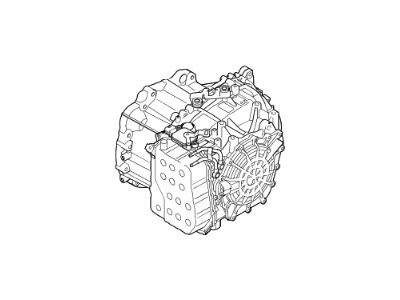
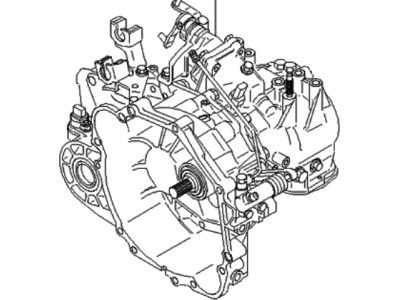
Part Number: 4300024320$2329.38 MSRP: $3436.00You Save: $1106.62 (33%)Ships in 1-3 Business DaysKia Optima Auto TRANSAXLE & TORQUE / CONVENTIONAL Assembly
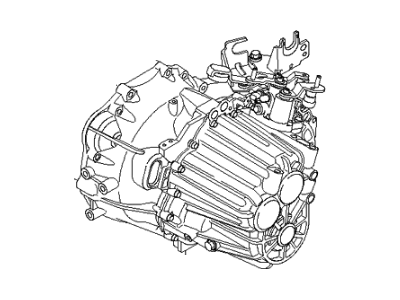
Part Number: 450003A221$761.94 MSRP: $1060.00You Save: $298.06 (29%)Ships in 1-3 Business DaysKia Optima Auto TRANSAXLE & TORQUE / CONVENTIONAL Assembly
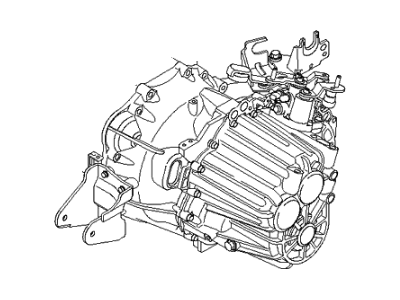
Part Number: 450003BBE0$823.69 MSRP: $1149.00You Save: $325.31 (29%)Ships in 1-3 Business DaysKia Optima Auto TRANSAXLE & TORQUE / CONVENTIONAL Assembly
Part Number: 450003BYE0$823.69 MSRP: $1149.00You Save: $325.31 (29%)Ships in 1-3 Business DaysKia Optima Transmission Assembly-Ma
Part Number: 4300024500$3027.95 MSRP: $4466.00You Save: $1438.05 (33%)Ships in 1-3 Business DaysKia Optima Transmission Assembly-Ma
Part Number: 4300024A10$3671.82 MSRP: $5416.00You Save: $1744.18 (33%)Ships in 1-3 Business DaysKia Optima Auto Transmission
Part Number: 4500039940$700.20 MSRP: $972.00You Save: $271.80 (28%)Ships in 1-3 Business DaysKia Optima Auto TRANSAXLE & TORQUE / CONVENTIONAL Assembly
Part Number: 4500039941$700.20 MSRP: $972.00You Save: $271.80 (28%)Ships in 1-3 Business DaysKia Optima Auto Transmission
Part Number: 4500039980$700.20 MSRP: $972.00You Save: $271.80 (28%)Ships in 1-3 Business DaysKia Optima Auto TRANSAXLE & TORQUE / CONVENTIONAL Assembly
Part Number: 4500039981$700.20 MSRP: $972.00You Save: $271.80 (28%)Ships in 1-3 Business DaysKia Optima Auto TRANSAXLE & TORQUE / CONVENTIONAL Assembly
Part Number: 4500039985$700.20 MSRP: $972.00You Save: $271.80 (28%)Ships in 1-3 Business DaysKia Optima Auto TRANSAXLE & TORQUE / CONVENTIONAL Assembly
Part Number: 450003A210$761.94 MSRP: $1060.00You Save: $298.06 (29%)Ships in 1-3 Business DaysKia Optima Auto TRANSAXLE & TORQUE / CONVENTIONAL Assembly
Part Number: 450003A211$761.94 MSRP: $1060.00You Save: $298.06 (29%)Ships in 1-3 Business DaysKia Optima Auto TRANSAXLE & TORQUE / CONVENTIONAL Assembly
Part Number: 450003A213$761.94 MSRP: $1060.00You Save: $298.06 (29%)Ships in 1-3 Business DaysKia Optima Transmission Assembly-Dc
Part Number: 430002D081$498.04 MSRP: $712.50You Save: $214.46 (31%)Kia Optima Auto TRANSAXLE & TORQUE / CONVENTIONAL Assembly
Part Number: 450003A212$761.94 MSRP: $1060.00You Save: $298.06 (29%)
| Page 1 of 2 |Next >
1-20 of 29 Results
Kia Optima Transmission Assembly
If you're in search of top-notch, reasonably priced OEM Kia Optima Transmission Assembly, then you've found the perfect spot. Our website boasts an extensive inventory of Kia Optima Transmission Assembly, all priced at the market's premier price. Rest assured, every genuine part we offer comes with a warranty straight from the manufacturer.
Kia Optima Transmission Assembly Parts Questions & Experts Answers
- Q: How to remove and install the manual transaxle in Kia Optima?A:For 2006 and 2006.5 models, both will have a "6" in the tenth position of the VIN, with the 8th position indicating the engine code: a "6" or "8" appended to bikes of the year 2006, or a "3" or "4" when referring to models of bikes of 2006.5. First, engage the ignition off, open the hood and remove the front wheel lugs nuts and the driveaxle /hub nuts, lastly , remove the negative terminal cable on the battery. Pull out the air cleaner assembly and intake duct and take off the wiring housing around the back-up light switch while the wire connection related to the speedometer ought to be disconnected at the end of the transaxle. On the vehicles prior to 2006, remove the clutch hydraulic line, unfasten the slave cylinder, and detach the clutch release arm. The brake lines can be removed on 2006.5 and later models by unbolting the brake fluid line from the transaxle. On all models it is necessary to remove both transaxle Shift Cables, remove the starter and securely support the engine. Lift the car on jackstands, as needed to get good access for sliding the transaxle out and remove both driveaxles and disconnecting the ends of the stabilizer bars. Remove the transaxle bolts, remove and replace the transaxle and rear axle vent filter element with a new one, check and replace the transaxle seal, drain the transaxle lubricant, remove the steering intermediate shaft U-joint and unscrew the power steering fluid hoses and disconnect the wires if any, but retained for reuse. Disconnect the front section of the exhaust pipe under the transaxle, now support the engine to lower it and then unbolt the subframe mounting bolts and raise the subframe off the floor. The procedure involves reversing the previous step with regard to the transaxle mounting bracket and lowering the roll stopper mounts; this must be accompanied by using a transmission jack in order to hold the transaxle firmly. Pull the transaxle away from the engine and lower it to the ground and employ some assistance to set it aside safely after having disconnected all the connections of transaxle-to-engine and having removed the remaining bolts that fix the transaxle to the engine. For installation, lightly lubricate the release bearing contact sleeve and screw it in the fork and the input shaft the release lever is then put in place. Grease the input shaft with high-temperature grease then with assistance lift the transaxle up into its position and engage the input shaft with the clutch lightly. After that tighten up the bolts surrounding the transaxle and the engine if previously they were in contact with the engine. Pull the release lever back to check that the cam and the release bearing has engaged this will be confirmed by the right travel. The rest of the installation is the reverse of the removal while making sure that all the bolts are tightened, and the transaxle should be filled with the right fluid.
Related Kia Optima Parts
Browse by Year
2020 Transmission Assembly 2019 Transmission Assembly 2018 Transmission Assembly 2017 Transmission Assembly 2016 Transmission Assembly 2015 Transmission Assembly 2014 Transmission Assembly 2013 Transmission Assembly 2012 Transmission Assembly 2011 Transmission Assembly 2010 Transmission Assembly 2009 Transmission Assembly 2008 Transmission Assembly 2007 Transmission Assembly 2006 Transmission Assembly 2005 Transmission Assembly 2004 Transmission Assembly 2003 Transmission Assembly 2002 Transmission Assembly 2001 Transmission Assembly 2000 Transmission Assembly
