×
- Hello
- Login or Register
- Quick Links
- Live Chat
- Track Order
- Parts Availability
- RMA
- Help Center
- Contact Us
- Shop for
- Kia Parts
- Kia Accessories

My Garage
My Account
Cart
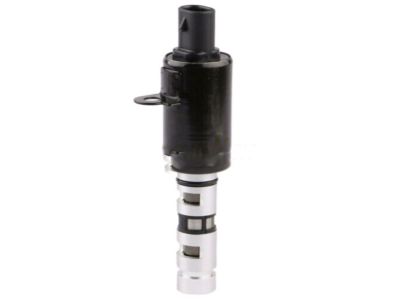
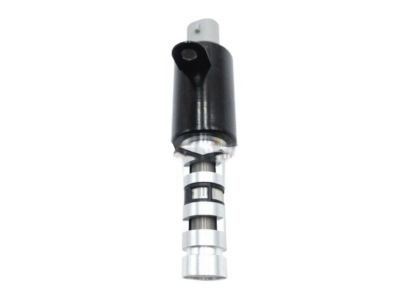
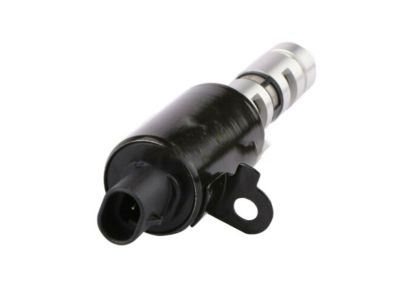
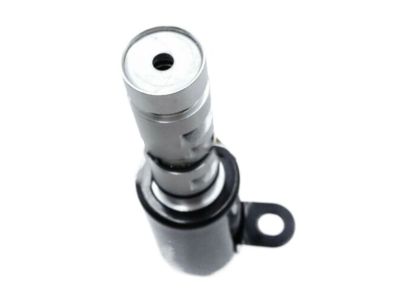
Genuine Kia Sedona Spool Valve
VTEC Solenoid- Select Vehicle by Model
- Select Vehicle by VIN
Select Vehicle by Model
orMake
Model
Year
Select Vehicle by VIN
For the most accurate results, select vehicle by your VIN (Vehicle Identification Number).
10 Spool Valves found

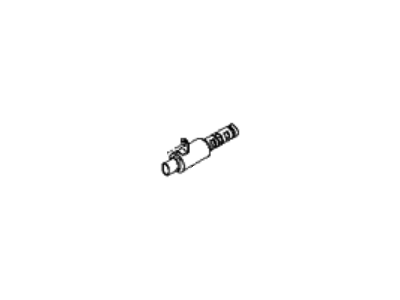
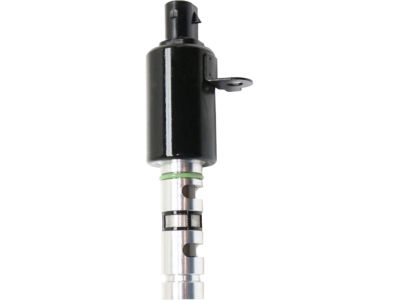
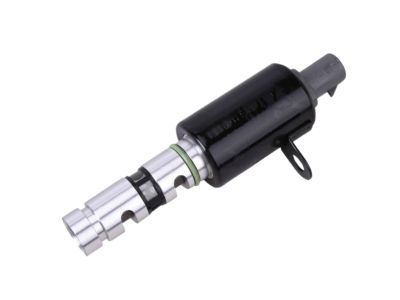
Kia Sedona Valve-Oil Control,LH
Part Number: 243553C100$142.06 MSRP: $206.79You Save: $64.73 (32%)Ships in 1-3 Business Days
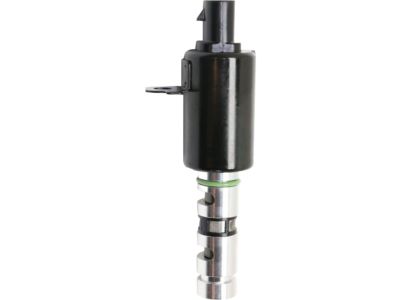
Kia Sedona Valve-Oil Control,RH
Part Number: 243553C200$139.87 MSRP: $203.60You Save: $63.73 (32%)Ships in 1-3 Business Days
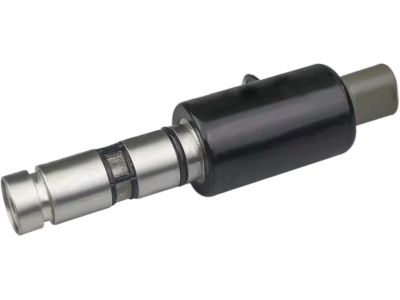
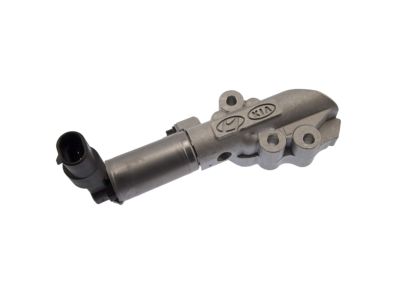
Kia Sedona Oil Control Valve ,E
Part Number: 243603CAA1$177.51 MSRP: $258.39You Save: $80.88 (32%)Ships in 1-2 Business DaysKia Sedona Oil Control Valve ,E
Part Number: 243603CAB2$177.43 MSRP: $258.27You Save: $80.84 (32%)Ships in 1-3 Business DaysKia Sedona Oil Control Valve ,E
Part Number: 243603CAA2$179.25 MSRP: $260.92You Save: $81.67 (32%)Ships in 1-3 Business DaysKia Sedona Valve-Oil Control,LH
Part Number: 243553CAA2$146.17 MSRP: $212.77You Save: $66.60 (32%)Ships in 1-3 Business DaysKia Sedona Valve-Oil Control,RH
Part Number: 243553CAB2$144.84 MSRP: $210.84You Save: $66.00 (32%)Ships in 1-3 Business DaysKia Sedona Valve-Oil Control,LH
Part Number: 243553CAA1$156.49 MSRP: $227.79You Save: $71.30 (32%)Ships in 1-3 Business DaysKia Sedona Valve-Oil Control,RH
Part Number: 243553CAB1$156.49 MSRP: $227.79You Save: $71.30 (32%)Ships in 1-3 Business DaysKia Sedona Oil Control Valve ,E
Part Number: 243603CAB1$177.51 MSRP: $258.39You Save: $80.88 (32%)Ships in 1-2 Business Days
Kia Sedona Spool Valve
If you're in search of top-notch, reasonably priced OEM Kia Sedona Spool Valve, then you've found the perfect spot. Our website boasts an extensive inventory of Kia Sedona Spool Valve, all priced at the market's premier price. Rest assured, every genuine part we offer comes with a warranty straight from the manufacturer.
Kia Sedona Spool Valve Parts Questions & Experts Answers
- Q: How to replace CVVT valves in Kia Sedona?A:CVVT is installed starting from 2006 model year, 2006 - 2010 models have two CVVT valves for each intake camshaft and later 2011 & onwards have four CVVT valves, one for each camshaft. Starting with, turn off the cable that connects to the negative terminal of the battery. For the 2006 through the 2010 models of the application, CVVT oil control valves are situated in the valley between two cylinder heads at the timing chain side of the engine. Detach the intake manifold, locate the oil control valve electrical connection, unscrew the mounting bolt fixing the valve then pull out the oil control valve, employing the user guide to replace the O-rings if the oil control valve will be reused. Re-installation is the exact opposite of tearing down, even the mounting bolt is tightened to the recommended torque. Correct positioning of the electrical connectors is important as it affects the engine; the Bank 1 connector is grey, while the Bank 2 is black. On cars manufactured from the beginning of 2011, begin by unscrewing the intake manifold, disconnecting the electrical connectors on the valves and removing the bolts that hold the valves in place and pulling out the CVVT valves out of the cylinder head, in case the CVVT valves are to be reused their O-rings should be replaced. The process of removal is the opposite of installation, which means that the CVVT mounting bolts should be tightened to the identified torque. As for non drive-by exhaust oil control valves, remove the electrical connectors, the valve covers, three bolts of the valve mounting, and the valve itself from the cylinder head, and replace the O-rings if the CVVT valves are to be reused. Installation is the reverse of removal, with one side of O-rings in clean engine oil and the mounting bolts to be tightened to the oil gallery torque.
