×
- Hello
- Login or Register
- Quick Links
- Live Chat
- Track Order
- Parts Availability
- RMA
- Help Center
- Contact Us
- Shop for
- Kia Parts
- Kia Accessories

My Garage
My Account
Cart
Genuine Kia Sorento Coil Springs
Strut Spring- Select Vehicle by Model
- Select Vehicle by VIN
Select Vehicle by Model
orMake
Model
Year
Select Vehicle by VIN
For the most accurate results, select vehicle by your VIN (Vehicle Identification Number).
81 Coil Springs found


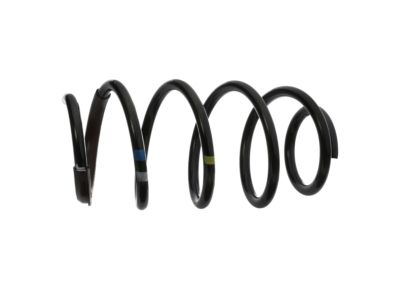
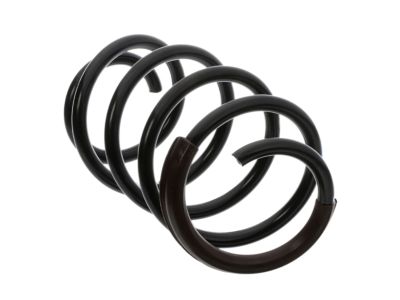
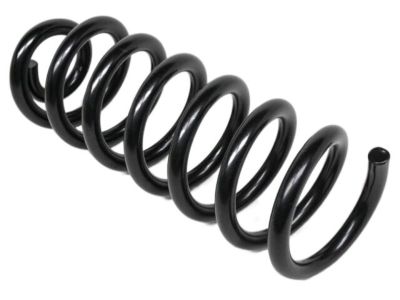
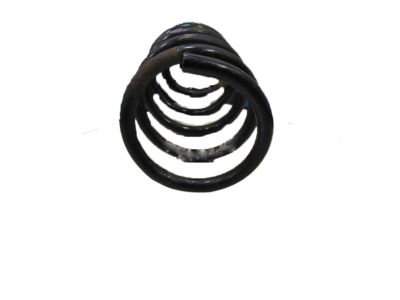
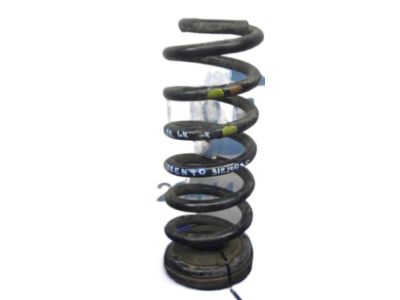
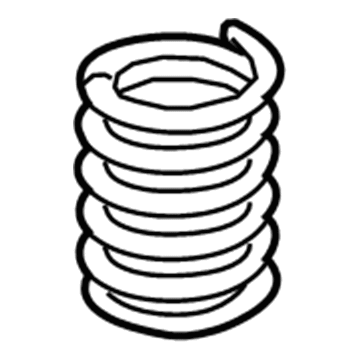
Kia Sorento Front Suspension-Coil Spring
Part Number: 546301U413$119.33 MSRP: $173.70You Save: $54.37 (32%)Ships in 1-3 Business Days
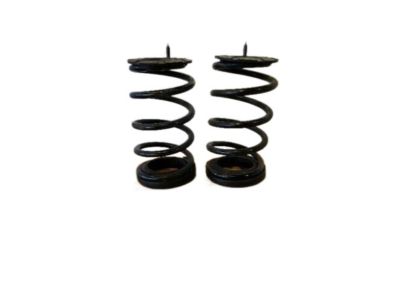
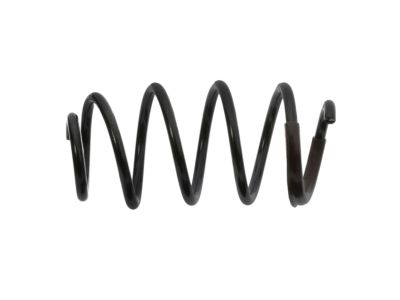
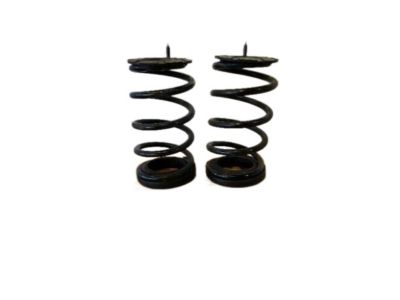
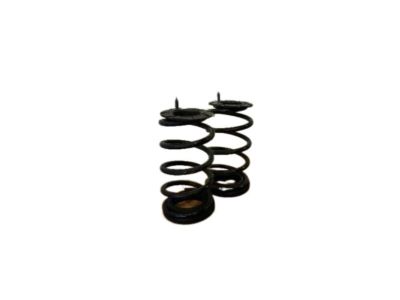
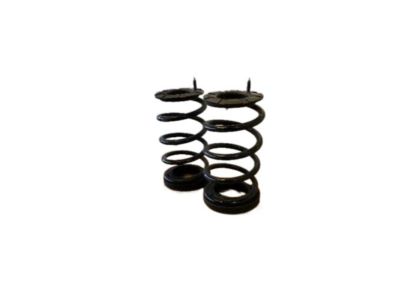
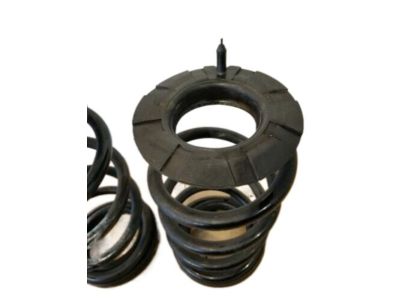
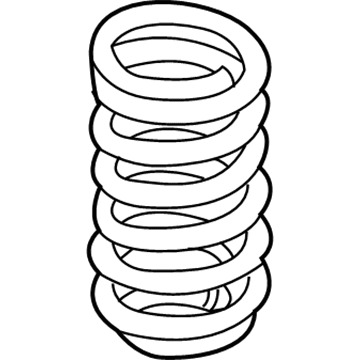
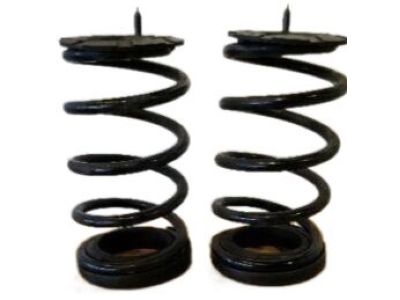
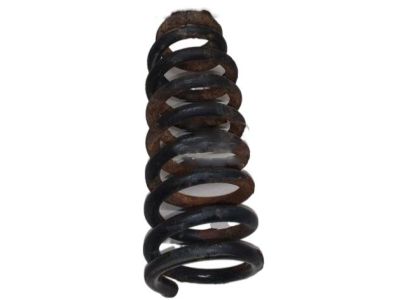
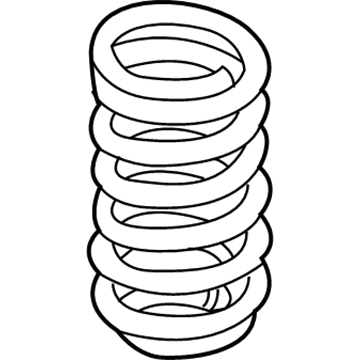
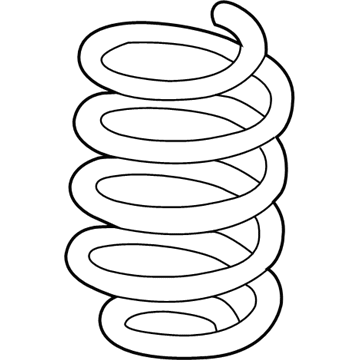
Kia Sorento Rear Coil Spring
Part Number: 553301U760$127.84 MSRP: $186.09You Save: $58.25 (32%)Ships in 1-2 Business Days
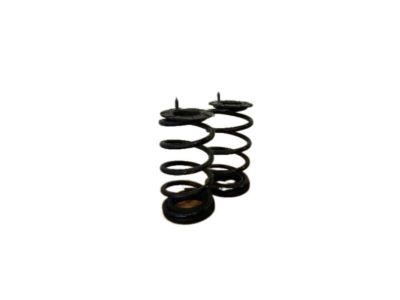
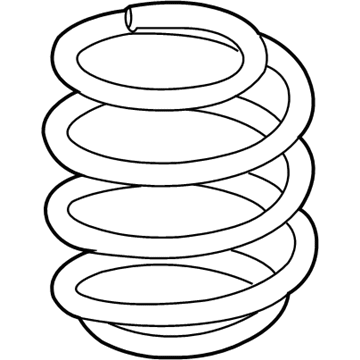
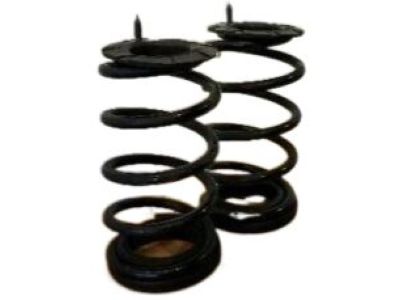
Kia Sorento Rear Springs
Part Number: 553301U310$110.41 MSRP: $159.32You Save: $48.91 (31%)Ships in 1-3 Business Days
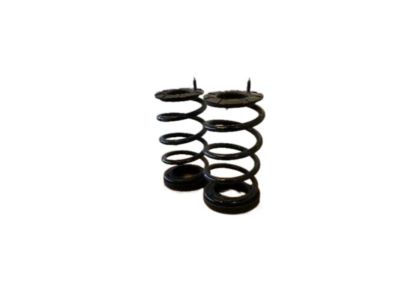
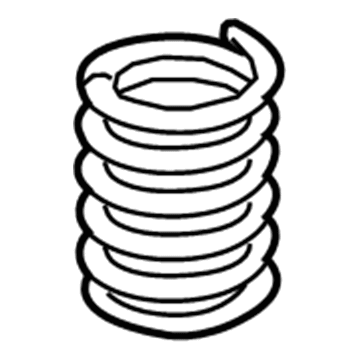
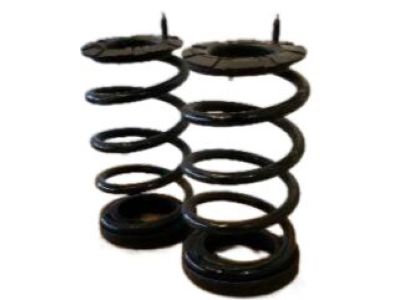
Kia Sorento Rear Springs
Part Number: 55350C5340$109.19 MSRP: $157.57You Save: $48.38 (31%)Ships in 1-3 Business Days
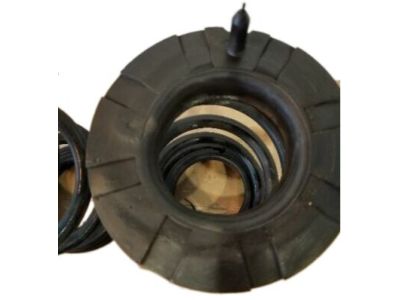
Kia Sorento Front Spring
Part Number: 54630C6104$134.71 MSRP: $196.09You Save: $61.38 (32%)Ships in 1-3 Business Days
Kia Sorento Rear Springs
Part Number: 553301U100$116.62 MSRP: $159.32You Save: $42.70 (27%)Ships in 1-3 Business Days
Kia Sorento Rear Suspension-Spring
Part Number: 553301U300$110.41 MSRP: $159.32You Save: $48.91 (31%)Ships in 1-3 Business Days
Kia Sorento Front Coil Spring
Part Number: 546013E013$129.76 MSRP: $180.22You Save: $50.46 (28%)Ships in 1-3 Business Days
Kia Sorento Front Suspension-Coil Spring
Part Number: 54630C6004$133.53 MSRP: $194.37You Save: $60.84 (32%)Ships in 1-3 Business Days
Kia Sorento Rear Suspension-Coil Spring
Part Number: 55350C5270$110.28 MSRP: $159.14You Save: $48.86 (31%)Ships in 1-3 Business DaysKia Sorento Front Coil Springs
Part Number: 546301U402$123.98 MSRP: $180.47You Save: $56.49 (32%)Ships in 1-3 Business DaysKia Sorento Rear Springs
Part Number: 553301U880$109.83 MSRP: $158.49You Save: $48.66 (31%)Ships in 1-3 Business DaysKia Sorento Rear Springs
Part Number: 553301U860$116.01 MSRP: $158.49You Save: $42.48 (27%)Ships in 1-2 Business DaysKia Sorento Front Spring
Part Number: 546301U504$153.67 MSRP: $213.44You Save: $59.77 (28%)Ships in 1-3 Business DaysKia Sorento Rear Springs
Part Number: 553301U890$112.08 MSRP: $161.74You Save: $49.66 (31%)Ships in 1-3 Business DaysKia Sorento Rear Springs
Part Number: 553304Z020$116.90 MSRP: $170.17You Save: $53.27 (32%)Ships in 1-3 Business DaysKia Sorento Rear Suspension-Coil Spring
Part Number: 55350C5320$111.33 MSRP: $160.65You Save: $49.32 (31%)Ships in 1-3 Business Days
| Page 1 of 5 |Next >
1-20 of 81 Results
Kia Sorento Coil Springs
If you're in search of top-notch, reasonably priced OEM Kia Sorento Coil Springs, then you've found the perfect spot. Our website boasts an extensive inventory of Kia Sorento Coil Springs, all priced at the market's premier price. Rest assured, every genuine part we offer comes with a warranty straight from the manufacturer.
Kia Sorento Coil Springs Parts Questions & Experts Answers
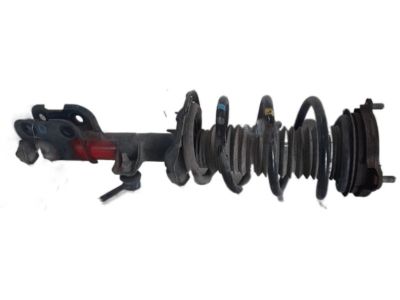
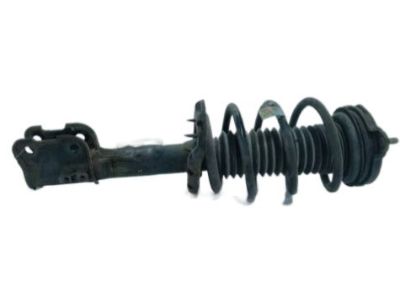
- Q: How to inspect, remove, and install front shock absorbers or coil springs on 2009 and earlier Kia Sorento?A:If the shocks or coil springs show signs of wear such as leaking fluid, loss of damping capability, or physical damage like chips, sagging, or cracks, consider all options before starting any work. The shock absorbers or coil springs cannot be serviced individually and must be replaced if issues arise, although complete assemblies may be available on an exchange basis, saving time and effort. Before disassembling the vehicle, check the cost and availability of parts. For removal, if working on the left-side shock absorber, first remove the battery and junction block, and on 2006 and earlier models, the cruise control actuator. Loosen the front wheel lug nuts, raise the vehicle securely on jackstands, and remove the front wheels. Unbolt the brake hose bracket, then remove the upper Control Arm. Next, take out the shock absorber lower mounting bolt and, while supporting the shock absorber assembly, remove the upper mounting nuts before taking out the assembly, which may require prying down on the lower control arm for clearance. Although it is possible to replace shocks or springs individually, this typically requires a qualified repair shop and can be costly, so compare the expense of replacing complete assemblies yourself versus individual components. For installation, reverse the removal steps, ensuring to tighten the upper and lower fasteners to the specified torque values and securely fasten the brake hose bracket mounting bolt. Tighten the upper control arm pivot bolts and the shock absorber lower mounting bolt with the vehicle at normal ride height, which can be achieved by bouncing the vehicle after assembly or simulating the height with a floor jack. Finally, tighten the lug nuts to the specified torque.
Related Kia Sorento Parts
Browse by Year
2023 Coil Springs 2022 Coil Springs 2021 Coil Springs 2020 Coil Springs 2019 Coil Springs 2018 Coil Springs 2017 Coil Springs 2016 Coil Springs 2015 Coil Springs 2014 Coil Springs 2013 Coil Springs 2012 Coil Springs 2011 Coil Springs 2010 Coil Springs 2009 Coil Springs 2008 Coil Springs 2007 Coil Springs 2006 Coil Springs 2005 Coil Springs 2004 Coil Springs 2003 Coil Springs
