×
- Hello
- Login or Register
- Quick Links
- Live Chat
- Track Order
- Parts Availability
- RMA
- Help Center
- Contact Us
- Shop for
- Kia Parts
- Kia Accessories

My Garage
My Account
Cart
Genuine Kia Optima A/C Accumulator
Accumulator- Select Vehicle by Model
- Select Vehicle by VIN
Select Vehicle by Model
orMake
Model
Year
Select Vehicle by VIN
For the most accurate results, select vehicle by your VIN (Vehicle Identification Number).
5 A/C Accumulators found

Kia Optima Desiccant-Receiver Drier
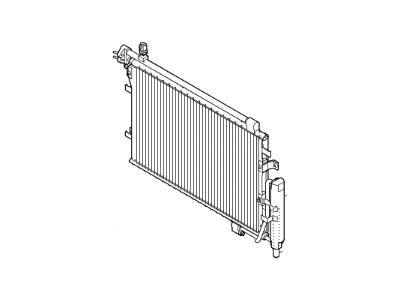
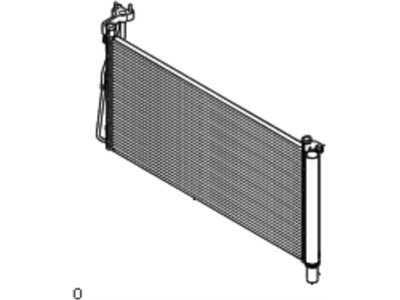
Part Number: 9780217000$32.70 MSRP: $47.19You Save: $14.49 (31%)Ships in 1-3 Business DaysKia Optima Receiver Drier Assembly
Part Number: 9780138003$139.51 MSRP: $203.07You Save: $63.56 (32%)Ships in 1-3 Business DaysKia Optima Desiccant-Receiver Drier
Part Number: 978023L000$32.70 MSRP: $47.19You Save: $14.49 (31%)Ships in 1-3 Business DaysKia Optima Receiver Drier Assembly
Part Number: 9780138001$139.51 MSRP: $203.07You Save: $63.56 (32%)Ships in 1-3 Business DaysKia Optima Receiver Drier Assembly
Part Number: 978013C600$151.83 MSRP: $221.00You Save: $69.17 (32%)Ships in 1-3 Business Days
Kia Optima A/C Accumulator
If you're in search of top-notch, reasonably priced OEM Kia Optima A/C Accumulator, then you've found the perfect spot. Our website boasts an extensive inventory of Kia Optima A/C Accumulator, all priced at the market's premier price. Rest assured, every genuine part we offer comes with a warranty straight from the manufacturer.
Kia Optima A/C Accumulator Parts Questions & Experts Answers
- Q: How to replace the receiver/drier in a Kia Optima's air conditioning system?A:Early models use an A/C Accumulator that is replaceable. All later vehicles have an A/C Accumulator that's a part of the condenser and is not serviceable by itself. Have the refrigerant discharged by a certified air conditioning technician. Disconnect the negative battery cable. The A/C Accumulator is attached to the end of the condenser for early models with a separate A/C Accumulator. Disconnect the tube from each end of the A/C Accumulator. Seal the ends immediately to prevent contamination. Remove the A/C Accumulator from the end of the condenser. Add 40 cc of refrigerant oil to the system, then mount the new A/C Accumulator to the condenser. Replace the O-rings on the tubes with new ones, lubricate them with R-134a-compatible oil and tighten the nuts securely. For later models with an A/C Accumulator as an integral component of the condenser assembly, remove the condenser from the vehicle. Using an Allen wrench, detach the bottom cap and remove the desiccant from the A/C Accumulator with a pair of needle-nose pliers. Use new O-rings and a new bottom cap when installing the new desiccant and tighten the bottom cap to the torque. Be sure to lubricate the O-rings with R-134a-compatible refrigerant oil. Installation is the reverse of removal. Have the system evacuated, charged and leak tested by the shop that discharged it.
Related Kia Optima Parts
Browse by Year
2020 A/C Accumulator 2019 A/C Accumulator 2018 A/C Accumulator 2017 A/C Accumulator 2016 A/C Accumulator 2015 A/C Accumulator 2014 A/C Accumulator 2013 A/C Accumulator 2012 A/C Accumulator 2011 A/C Accumulator 2010 A/C Accumulator 2009 A/C Accumulator 2008 A/C Accumulator 2007 A/C Accumulator 2006 A/C Accumulator 2005 A/C Accumulator 2004 A/C Accumulator 2003 A/C Accumulator 2002 A/C Accumulator 2001 A/C Accumulator 2000 A/C Accumulator


