×
- Hello
- Login or Register
- Quick Links
- Live Chat
- Track Order
- Parts Availability
- RMA
- Help Center
- Contact Us
- Shop for
- Kia Parts
- Kia Accessories

My Garage
My Account
Cart
Genuine Kia Optima Brake Disc
Disc Rotor- Select Vehicle by Model
- Select Vehicle by VIN
Select Vehicle by Model
orMake
Model
Year
Select Vehicle by VIN
For the most accurate results, select vehicle by your VIN (Vehicle Identification Number).
17 Brake Discs found

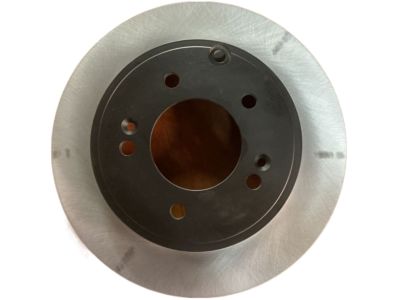
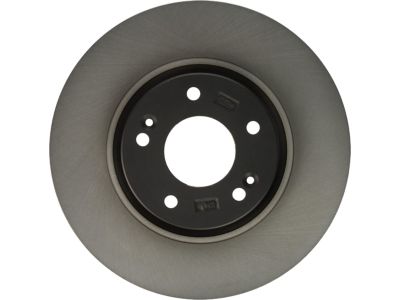
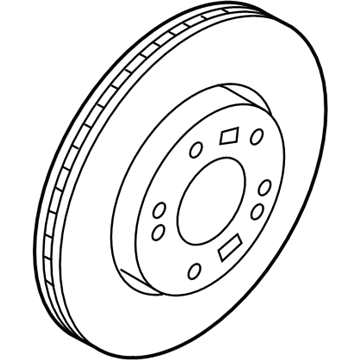
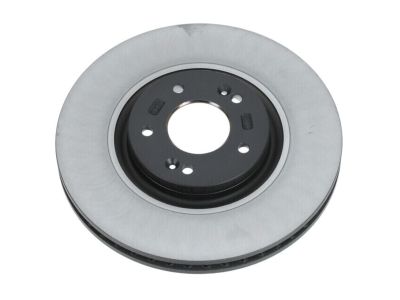
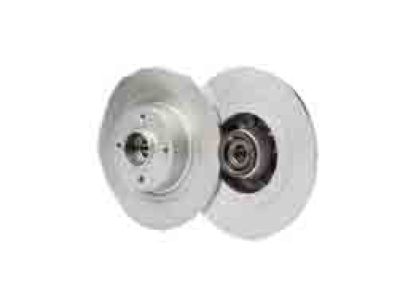
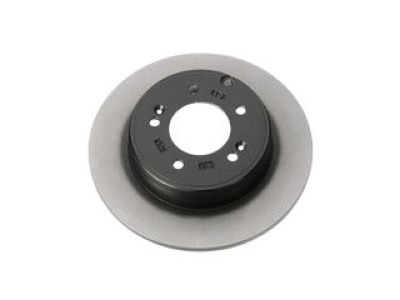
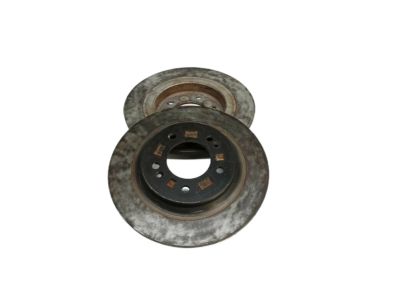
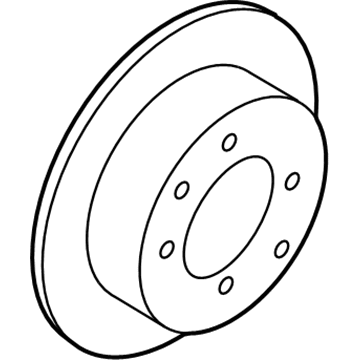
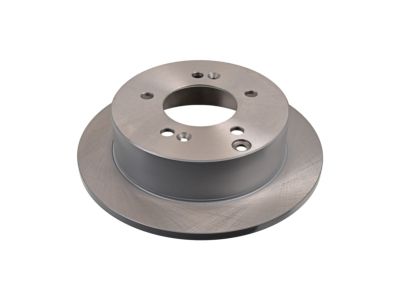
Kia Optima Disc-Rear Brake
Part Number: 584113Q000$70.36 MSRP: $101.54You Save: $31.18 (31%)Ships in 1-2 Business Days
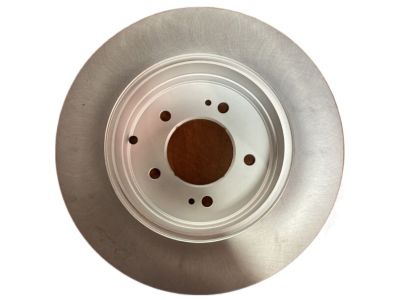
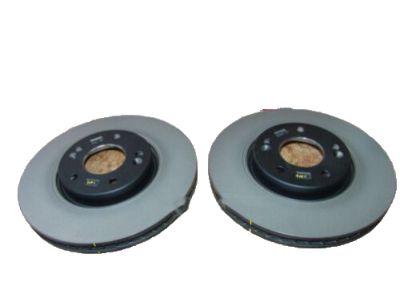
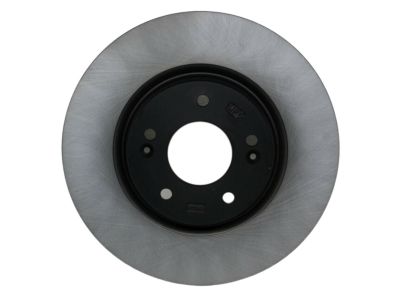
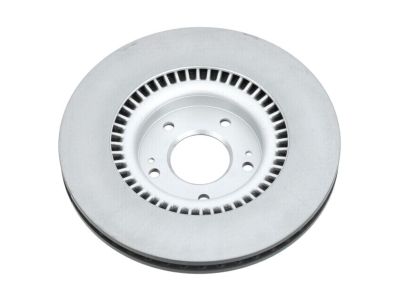
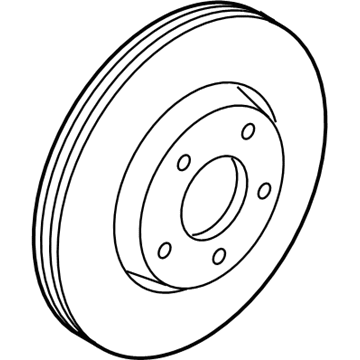
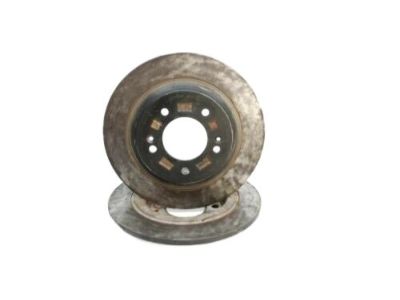
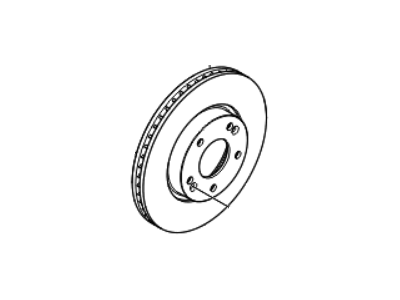
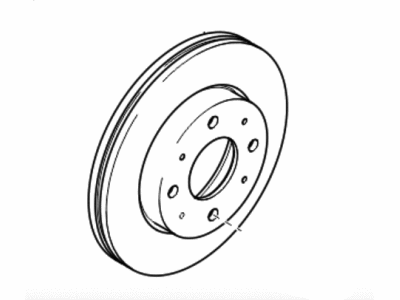
Kia Optima Disc-Front Wheel Brake
Part Number: 517123K110$91.72 MSRP: $132.35You Save: $40.63 (31%)Ships in 1-3 Business Days
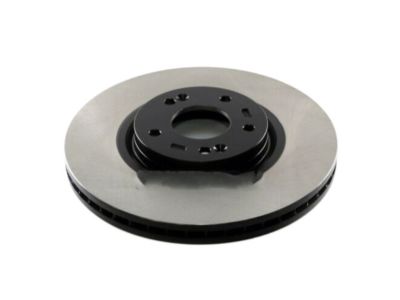
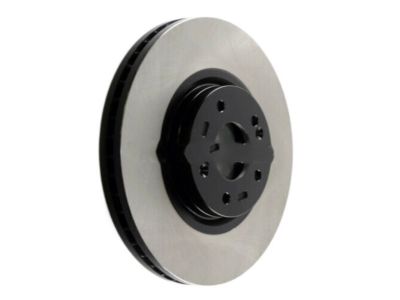
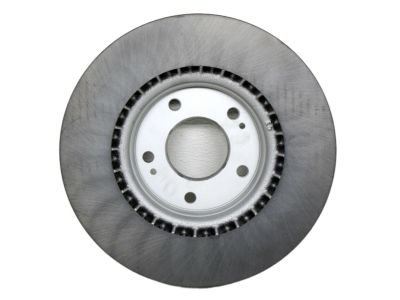
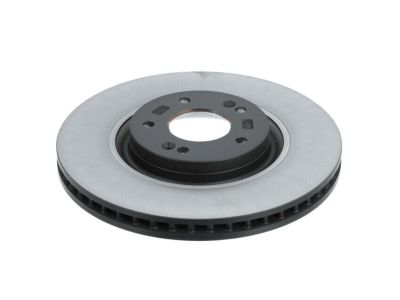
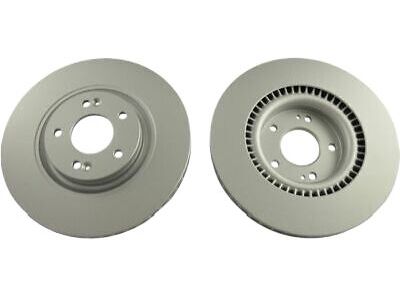
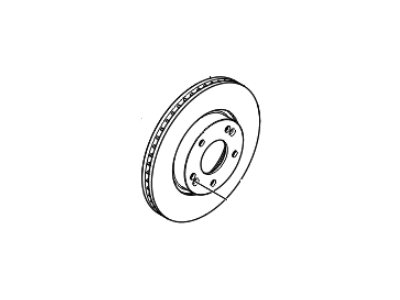
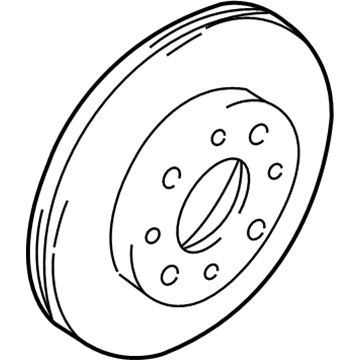
Kia Optima Disc-Front Wheel Brake
Part Number: 51712C2000$106.44 MSRP: $153.60You Save: $47.16 (31%)Ships in 1-3 Business Days
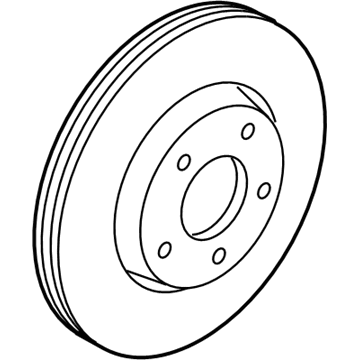
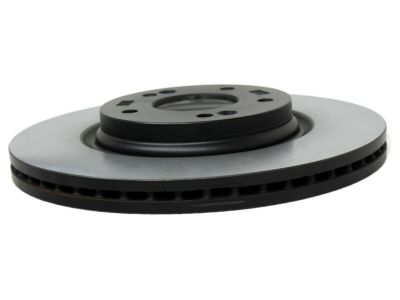
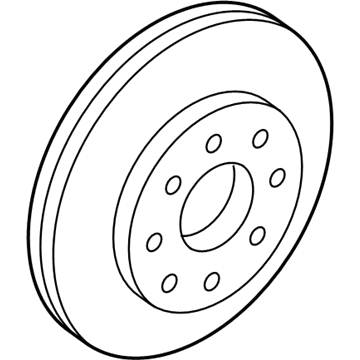
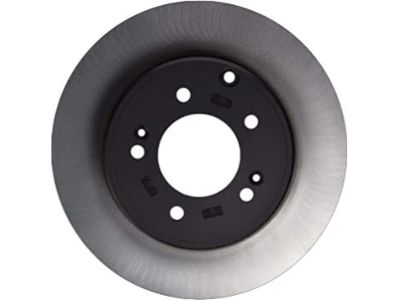
Kia Optima Disc-Front Wheel Brake
Part Number: 517122T000$95.21 MSRP: $137.39You Save: $42.18 (31%)Ships in 1-2 Business Days
Kia Optima Disc-Front Wheel Brake
Part Number: 517123Q000$104.98 MSRP: $151.49You Save: $46.51 (31%)Ships in 1-2 Business Days
Kia Optima Disc-Front Wheel Brake
Part Number: 517124C000$99.35 MSRP: $143.37You Save: $44.02 (31%)Ships in 1-2 Business Days
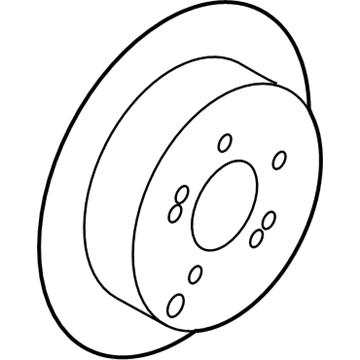
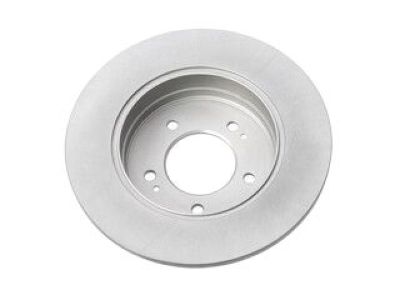
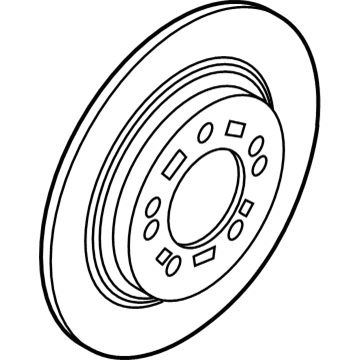
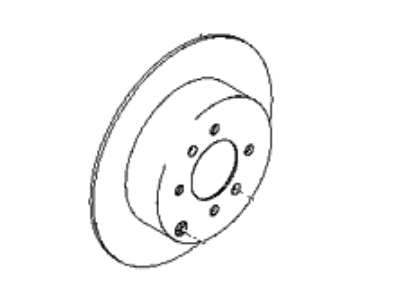
Kia Optima Disc-Rear Brake
Part Number: 584113S100$78.52 MSRP: $113.30You Save: $34.78 (31%)Ships in 1-3 Business Days
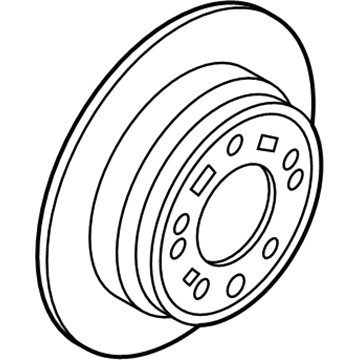
Kia Optima Disc-Rear Brake
Part Number: 584113V500$69.29 MSRP: $99.99You Save: $30.70 (31%)Ships in 1-3 Business DaysKia Optima Disc-Front Brake
Part Number: 517123K000$95.55 MSRP: $130.54You Save: $34.99 (27%)Ships in 1-3 Business DaysKia Optima Disc-Front Wheel Brake
Part Number: 517122G000$95.55 MSRP: $130.54You Save: $34.99 (27%)Ships in 1-3 Business DaysKia Optima Disc-Rear Brake
Part Number: 5841139600$72.74 MSRP: $104.97You Save: $32.23 (31%)Ships in 1-3 Business DaysKia Optima Disc-Front Brake
Part Number: 5171238300$78.24 MSRP: $106.89You Save: $28.65 (27%)Ships in 1-3 Business DaysKia Optima Disc-Front Brake
Part Number: 517123C100$74.07 MSRP: $106.89You Save: $32.82 (31%)Ships in 1-3 Business DaysKia Optima Disc-Front Brake
Part Number: 517123C000$74.07 MSRP: $106.89You Save: $32.82 (31%)Ships in 1-3 Business DaysKia Optima Disc-Rear Brake
Part Number: 5841138310$71.13 MSRP: $97.17You Save: $26.04 (27%)Ships in 1-3 Business DaysKia Optima Disc-Rear Brake
Part Number: 584113C000$67.34 MSRP: $97.17You Save: $29.83 (31%)Ships in 1-3 Business Days
Kia Optima Brake Disc
If you're in search of top-notch, reasonably priced OEM Kia Optima Brake Disc, then you've found the perfect spot. Our website boasts an extensive inventory of Kia Optima Brake Disc, all priced at the market's premier price. Rest assured, every genuine part we offer comes with a warranty straight from the manufacturer.
Kia Optima Brake Disc Parts Questions & Experts Answers
- Q: How do you replace a brake disc on Kia Optima?A:Loosen the wheel lug nuts, raise the vehicle, and support it securely on jackstands. Remove the wheel and install the lug nuts to hold the disc in place, releasing the parking brake if working on the rear brake disc. Remove the Brake Caliper without disconnecting the brake hose, suspending it out of the way with a piece of wire after removing the caliper bolts. Take out the caliper bracket bolts and remove the bracket. Visually inspect the disc surface for score marks and damage; light scratches are normal, but deep scoring over 0.039-inch requires disc removal and refinishing. Check both sides of the disc, noting that severe wear may necessitate replacement. To check disc run out, place a dial indicator about 1/2-inch from the outer edge, set it to zero, and turn the disc, ensuring the reading does not exceed the allowable limit. Resurfacing is recommended whenever pads are replaced to ensure a smooth finish and eliminate brake pedal pulsation. If not resurfacing, remove glaze with sandpaper or emery cloth using a swirling motion. Ensure the disc is not machined below the minimum allowable refinish thickness, which is cast into the inside of the disc, and measure thickness with a micrometer. Remove the lug nuts holding the disc in place, take out the Phillips-head screws, and slide the disc off the hub. If the rear disc is stuck, remove the plug and rotate the adjuster to back the parking brake shoes away from the drum surface. Place the new disc over the threaded studs, install the caliper and tighten the bolts to the specified torque, bleeding only if the brake hose was disconnected. For rear discs, adjust the parking brake shoes, then install the wheel and lug nuts, lower the vehicle, and tighten the lug nuts to the specified torque.
Related Kia Optima Parts
Browse by Year
2020 Brake Disc 2019 Brake Disc 2018 Brake Disc 2017 Brake Disc 2016 Brake Disc 2015 Brake Disc 2014 Brake Disc 2013 Brake Disc 2012 Brake Disc 2011 Brake Disc 2010 Brake Disc 2009 Brake Disc 2008 Brake Disc 2007 Brake Disc 2006 Brake Disc 2005 Brake Disc 2004 Brake Disc 2003 Brake Disc 2002 Brake Disc 2001 Brake Disc 2000 Brake Disc
