×
- Hello
- Login or Register
- Quick Links
- Live Chat
- Track Order
- Parts Availability
- RMA
- Help Center
- Contact Us
- Shop for
- Kia Parts
- Kia Accessories

My Garage
My Account
Cart
Genuine Kia Sorento Oil Pan
Oil Drain Pan- Select Vehicle by Model
- Select Vehicle by VIN
Select Vehicle by Model
orMake
Model
Year
Select Vehicle by VIN
For the most accurate results, select vehicle by your VIN (Vehicle Identification Number).
31 Oil Pans found

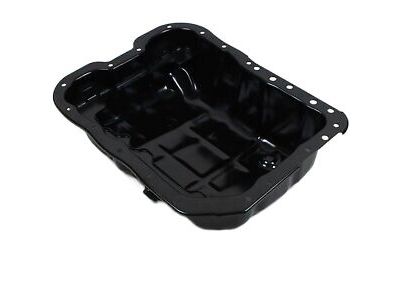
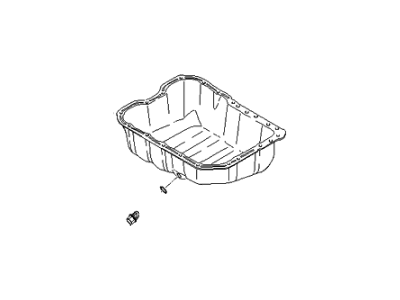
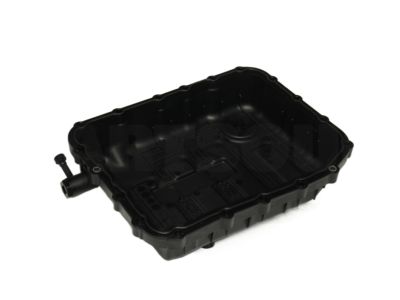
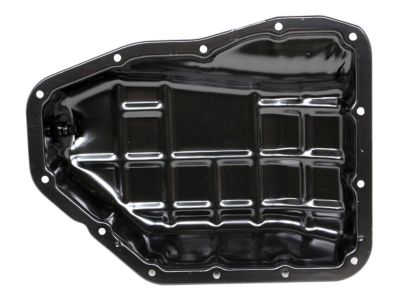
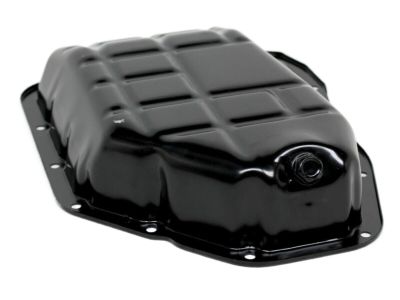
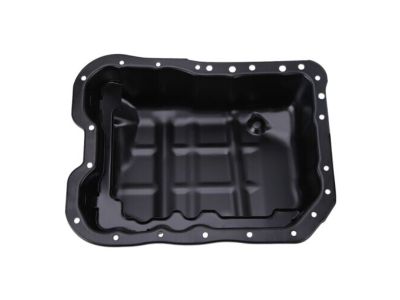
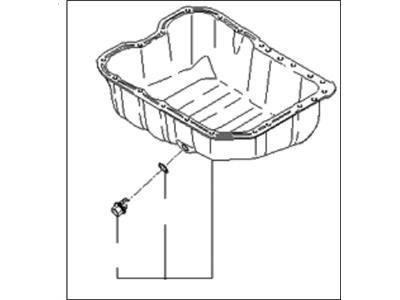
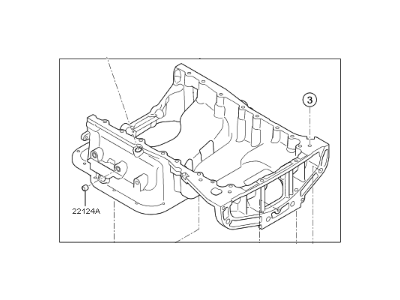
Kia Sorento Pan Assembly-Engine Oil
Part Number: 215102G500$59.62 MSRP: $86.04You Save: $26.42 (31%)Ships in 1-3 Business Days
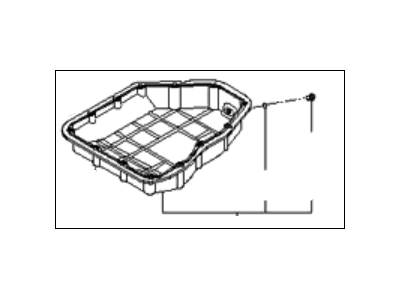
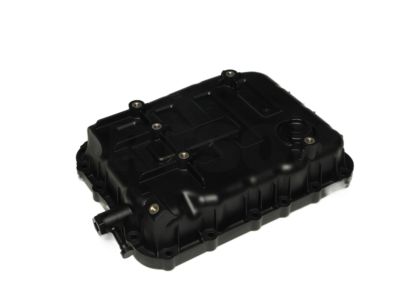
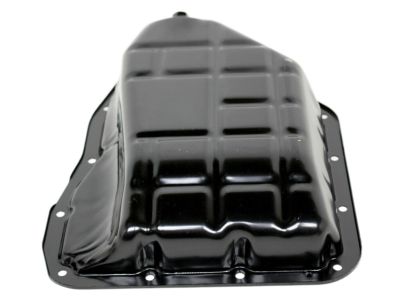
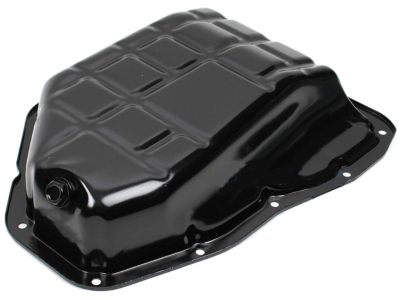
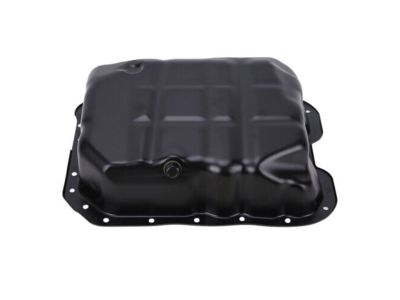
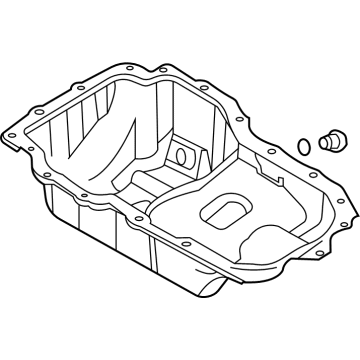
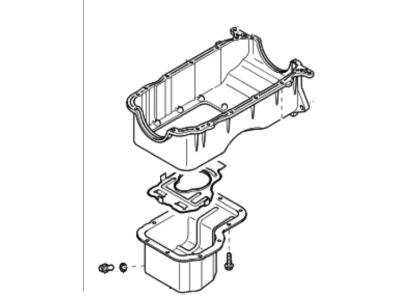
Kia Sorento Pan Assembly-Engine Oil
Part Number: 215103C201$47.34 MSRP: $68.32You Save: $20.98 (31%)Ships in 1-3 Business Days
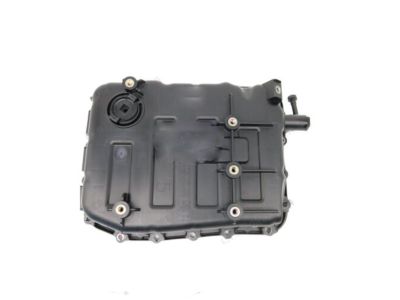
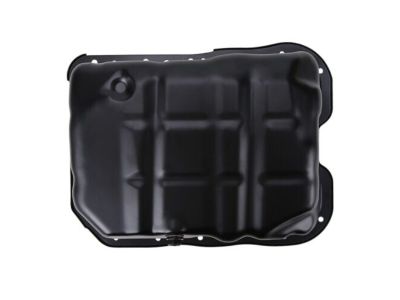
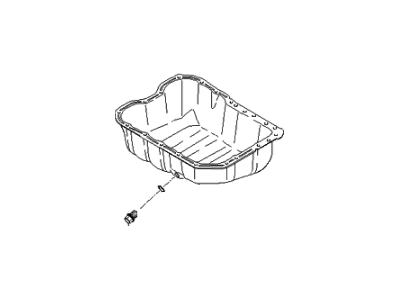
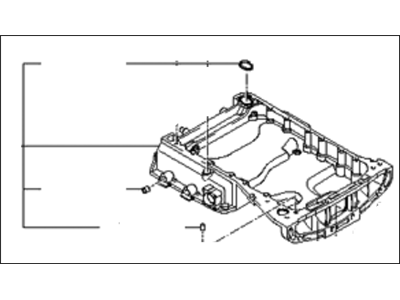
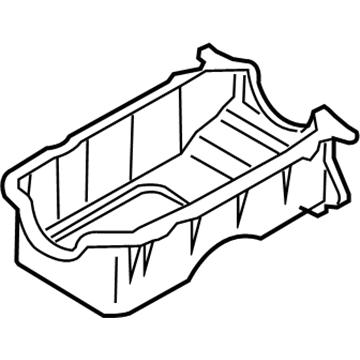
Kia Sorento Pan Assembly-Engine Oil
Part Number: 215103C600$133.13 MSRP: $193.79You Save: $60.66 (32%)Ships in 1-3 Business Days
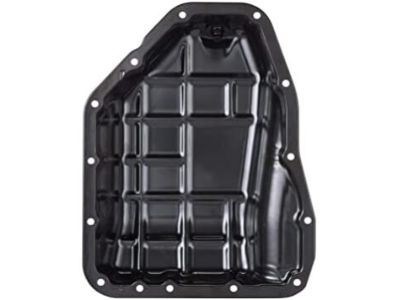
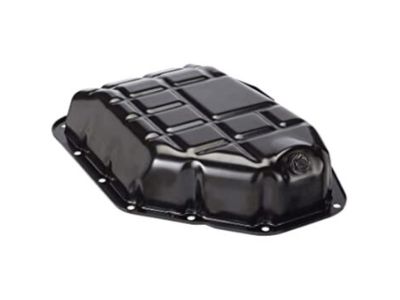
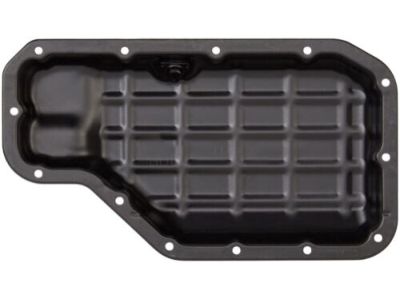
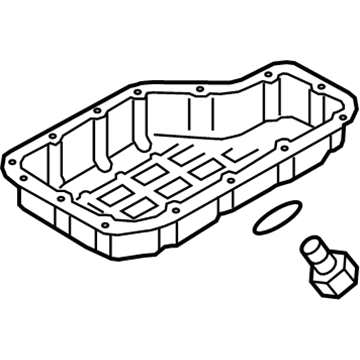
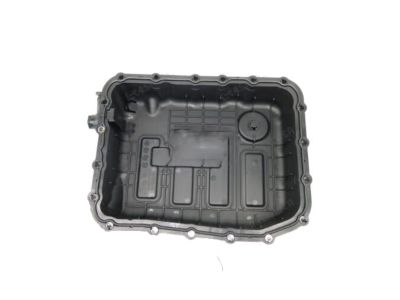
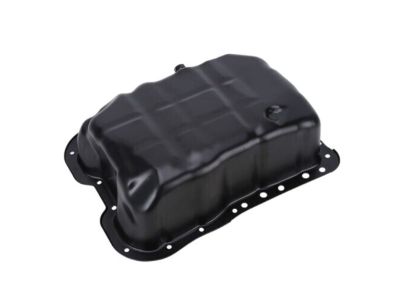
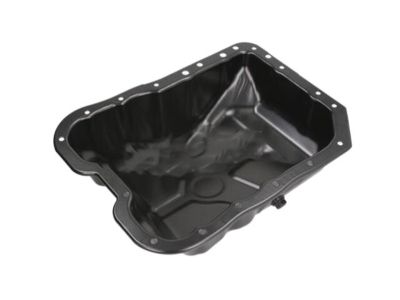
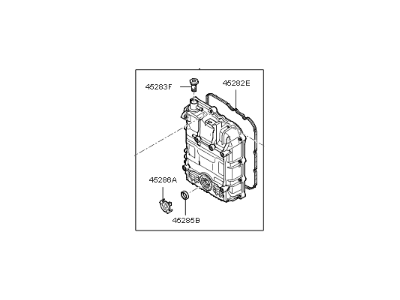
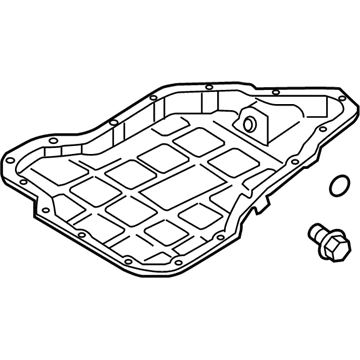
Kia Sorento Pan Assembly-Automatic Transaxle Oil
Part Number: 452803F850$94.77 MSRP: $136.75You Save: $41.98 (31%)Ships in 1-3 Business Days
Kia Sorento Pan Assembly-Engine Oil
Part Number: 215103C160$59.75 MSRP: $86.22You Save: $26.47 (31%)Ships in 1-3 Business Days
Kia Sorento Pan Assembly-Engine Oil
Part Number: 215102G002$62.98 MSRP: $86.04You Save: $23.06 (27%)Ships in 1 Business Day
Kia Sorento Pan Assembly-Engine Oil
Part Number: 215102G050$62.98 MSRP: $86.04You Save: $23.06 (27%)Ships in 1 Business DayKia Sorento Pan Assembly-Engine Oil
Part Number: 215102M800$50.90 MSRP: $73.45You Save: $22.55 (31%)Ships in 1-3 Business DaysKia Sorento Pan Assembly-Engine Oil
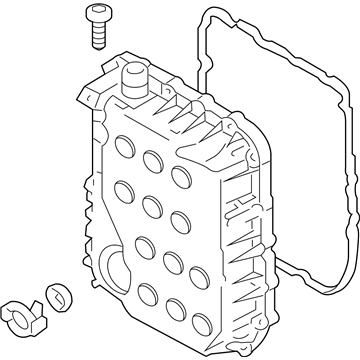
Part Number: 215203C153$268.48 MSRP: $393.20You Save: $124.72 (32%)Ships in 1-3 Business DaysKia Sorento Pan Assembly-Automatic Transaxle Oil
Part Number: 452804G150$90.53 MSRP: $130.64You Save: $40.11 (31%)Ships in 1-3 Business DaysKia Sorento Pan Assembly-Engine Oil
Part Number: 215203C152$186.20 MSRP: $271.04You Save: $84.84 (32%)Ships in 1-3 Business DaysKia Sorento Pan Assembly-Engine Oil
Part Number: 215103C150$53.58 MSRP: $77.32You Save: $23.74 (31%)Ships in 1-3 Business DaysKia Sorento Pan Assembly-Engine Oil
Part Number: 215103LFA0$59.77 MSRP: $86.25You Save: $26.48 (31%)Ships in 1-3 Business DaysKia Sorento Pan Assembly-Engine Oil
Part Number: 215103LAA0$39.51 MSRP: $57.02You Save: $17.51 (31%)Ships in 1-3 Business DaysKia Sorento Pan Assembly-Engine Oil
Part Number: 215102S100$85.96 MSRP: $124.04You Save: $38.08 (31%)Ships in 1-3 Business DaysKia Sorento Pan Assembly-Oil
Part Number: 2152039850$302.28 MSRP: $442.70You Save: $140.42 (32%)Ships in 1-3 Business DaysKia Sorento Pan Assembly-Engine Oil
Part Number: 215203LFA0$227.79 MSRP: $331.57You Save: $103.78 (32%)Ships in 1-3 Business DaysKia Sorento Pan Assembly-Engine Oil
Part Number: 2152039851$274.19 MSRP: $385.64You Save: $111.45 (29%)Ships in 1-3 Business DaysKia Sorento Pan Assembly-Engine Oil
Part Number: 215103LFB0$59.77 MSRP: $86.25You Save: $26.48 (31%)
| Page 1 of 2 |Next >
1-20 of 31 Results
Kia Sorento Oil Pan
If you're in search of top-notch, reasonably priced OEM Kia Sorento Oil Pan, then you've found the perfect spot. Our website boasts an extensive inventory of Kia Sorento Oil Pan, all priced at the market's premier price. Rest assured, every genuine part we offer comes with a warranty straight from the manufacturer.
Kia Sorento Oil Pan Parts Questions & Experts Answers
- Q: How do you remove and install the oil pan on Kia Sorento for four cylinder engine?A:To do this, to actually remove the oil pan, one followed the steps of; connecting the negative terminal of the battery, setting the parking break, and placing blocks on the rear wheels. Lift the front end of the car and properly place the jackstands under it. If applicable, disconnect the engine splash shield, next, dispose of the engine oil and take out the oil filter as well as the dipstick. Then, the NC compressor lower mounting bolts should be removed, then the compressor mounting bracket bolts and the bracket as well. Slopply remove the exhaust pipe, located in front of the catalytic converter if you are working on a rear-wheel drive car, then remove the oil pan bolts, which may vary in length and disconnect it. If the pan were to stick, then remove it carefully using and small screwdriver or putty knife but be careful not to harm the mating surface so as to avoid oil leakage. The subject can be removed from the upper oil pan without having to remove the lower oil pan and vice versa. To install, scrape out the prior sealant off the block and oil pan and scour the mating surfaces using a scraper before washing the surfaces down with lacquer thinner or acetone. Make sure the threaded bolt holes in the block planning are clear and take time to inspect the oil pan flange for twisting; will it be necessary to smoothen some of the edges. Squiggle a 3/16-inch wide line of RTV sealant directly on the mating surface of the oil pan Thread the pan in within 15 minutes of applying the RTV sealant and position it on the ladder assembly, tightening the oil pan-to-ladder assembly bolt lightly. It is recommended to tighten these bolts from the center through a three- or four-step sequence to the indicated torque level The lower oil pan should now be fitted into place, while tightening the bolts in a sequence and to the torque rating strongly recommended. Last but not least, turn on the engine and look at the oil pressure and signs if there is any.
