×
- Hello
- Login or Register
- Quick Links
- Live Chat
- Track Order
- Parts Availability
- RMA
- Help Center
- Contact Us
- Shop for
- Kia Parts
- Kia Accessories

My Garage
My Account
Cart
Genuine Kia Optima Crankshaft
Crank Shaft- Select Vehicle by Model
- Select Vehicle by VIN
Select Vehicle by Model
orMake
Model
Year
Select Vehicle by VIN
For the most accurate results, select vehicle by your VIN (Vehicle Identification Number).
14 Crankshafts found

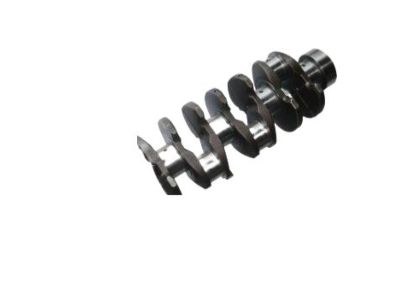
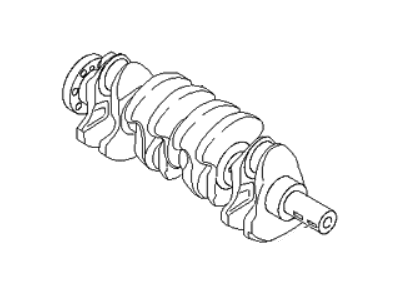
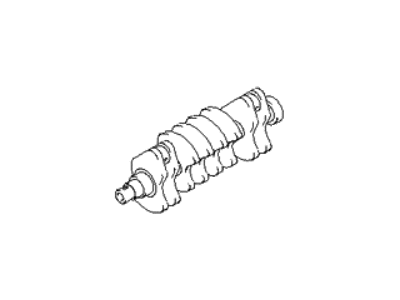
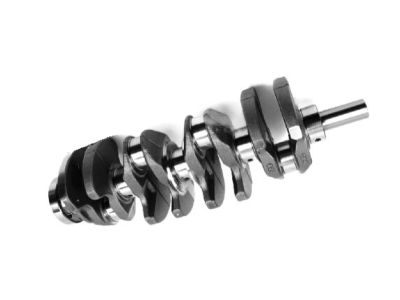
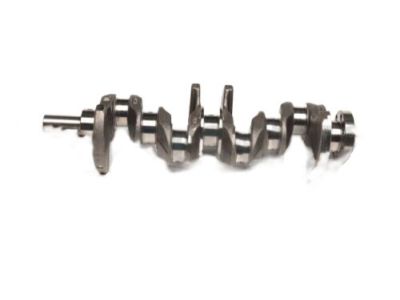
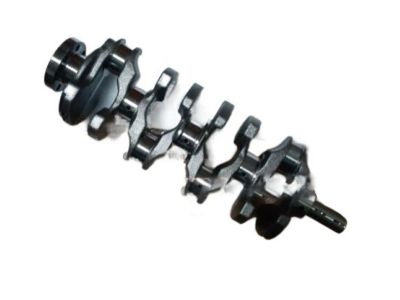
Kia Optima CRANKSHAFT
Part Number: 2311125200$1099.08 MSRP: $1572.37You Save: $473.29 (31%)Ships in 1-3 Business Days
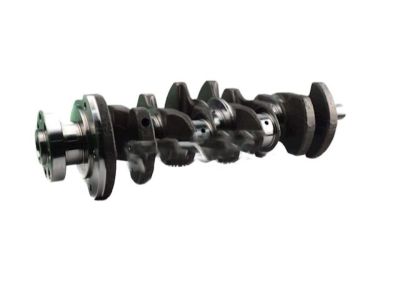
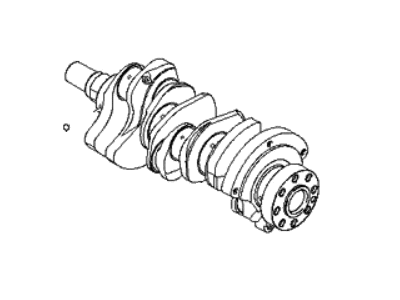
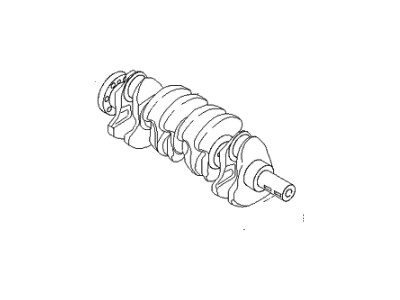
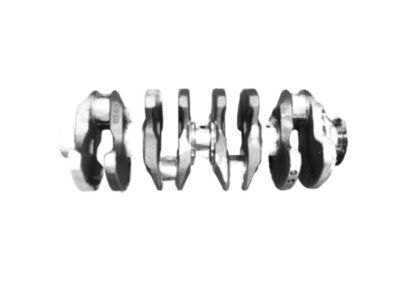
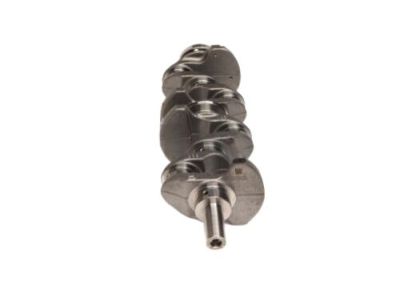
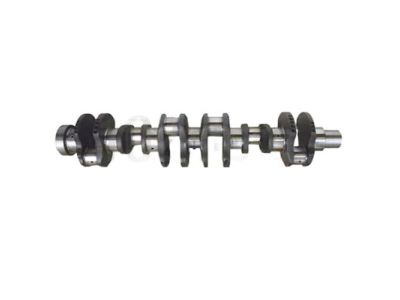
Kia Optima CRANKSHAFT
Part Number: 2311037300$8.87 MSRP: $12.02You Save: $3.15 (27%)Ships in 1-3 Business DaysKia Optima CRANKSHAFT Assembly
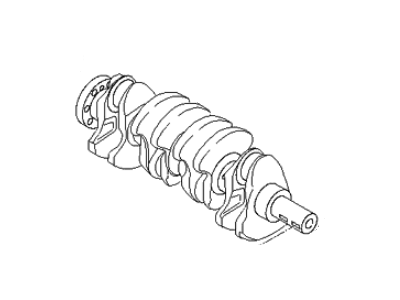
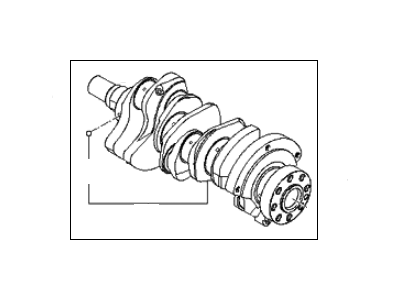
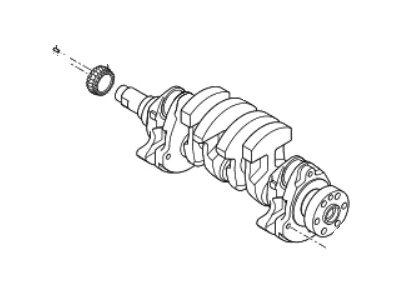
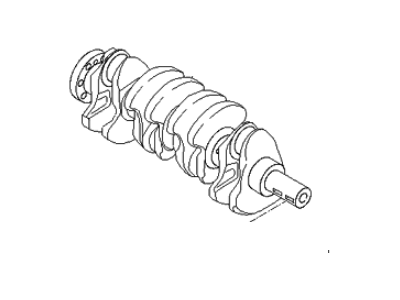
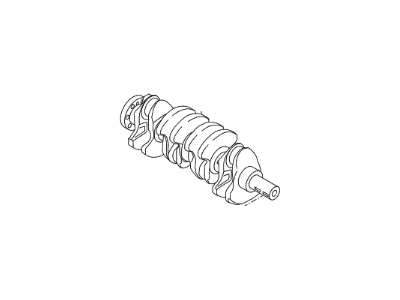
Part Number: 231103E101$568.48 MSRP: $838.47You Save: $269.99 (33%)Ships in 1-3 Business DaysKia Optima CRANKSHAFT
Part Number: 2311037101$699.10 MSRP: $1000.15You Save: $301.05 (31%)Ships in 1-3 Business DaysKia Optima CRANKSHAFT Assembly
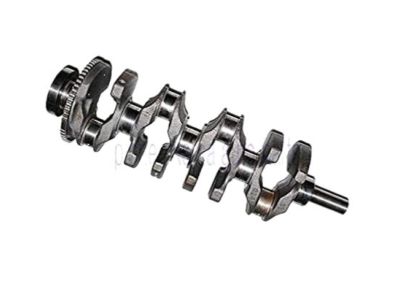
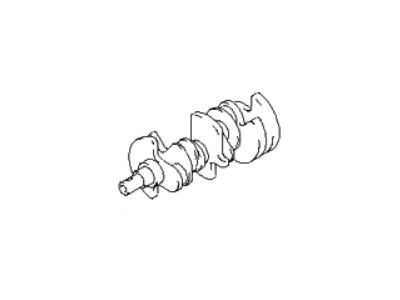
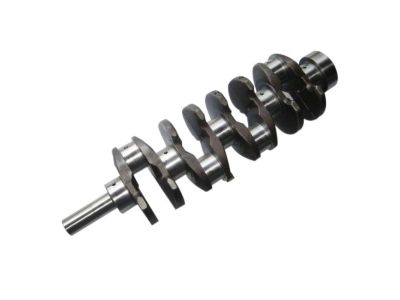
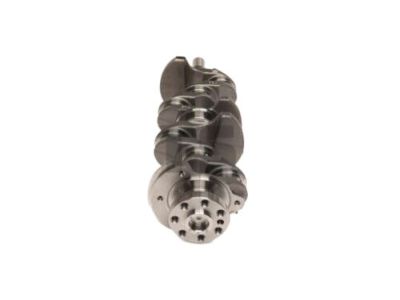
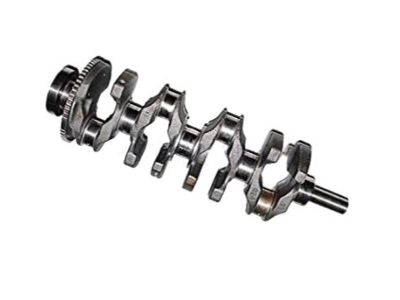
Part Number: 2311038200$634.38 MSRP: $907.55You Save: $273.17 (31%)Ships in 1-3 Business DaysKia Optima CRANKSHAFT
Part Number: 231112G430$970.06 MSRP: $1387.79You Save: $417.73 (31%)Ships in 1-3 Business DaysKia Optima CRANKSHAFT
Part Number: 2311125210$1099.08 MSRP: $1572.37You Save: $473.29 (31%)Ships in 1-3 Business DaysKia Optima CRANKSHAFT Assembly
Part Number: 91ZG62BX00$2126.19 MSRP: $3135.97You Save: $1009.78 (33%)Ships in 1-3 Business Days


Kia Optima Crankshaft
If you're in search of top-notch, reasonably priced OEM Kia Optima Crankshaft, then you've found the perfect spot. Our website boasts an extensive inventory of Kia Optima Crankshaft, all priced at the market's premier price. Rest assured, every genuine part we offer comes with a warranty straight from the manufacturer.
Kia Optima Crankshaft Parts Questions & Experts Answers
- Q: How can the crankshaft be removed and installed on Kia Optima?A:The crankshaft has to be pulled out only after the engine is removed out from the car and barring other conditions like the attachment of the flywheel, crankshaft pulley, timing belt or chain, oil pan, oil pump body or the oil filter and piston/connecting rod assemblies are being removed. To do this, set the dial indicator on the face of the crankshaft as illustrated in the figure before removal of the motor. Rotate the crankshaft thereafter to the rear then draw the reading of the indicator which should ordinarily range from 0.003 to 0.010-inch to the front. In case one cannot use a dial indicator, you can use feeler gauges to measure clearance. Drain the main bearing cap bolts slowly; you should be able to undo the bolts by hand starting from about the sixth turn with the help of a271/64 soft-face hammer. Lever the crankshaft out slowly, preferably with help because of the weight. For installation, it is necessary to check and clean the engine block and crankshaft for installation. Turn the block in such a manner that the bottom is facing up, take off the main bearing caps and replace the bolts but keep the old ones with you to check the oil clearance. Scrub the bearing contact surfaces and replace the upper main bearing inserts as well as make sure that there is a correct oiling hole disposition. The status of the oil clearance should be checked using Plastigage and by comparing the width of the crushed cross-section with the scale. In case of rejecting the clearance, check the absence of contaminants and think about the utilization of other bearing dimensions if needed. Once the Plastigage gunk is washed away, it is advisable to spread some grease or assembly lube on the bearing surfaces before replacing the crankshaft. Fit in the main bearing caps and torque up the bolts following a specified pattern and re-check the crankshaft end play if any. Turn the crankshaft, checking for any binding and if any exist, rectify them before fitting a new rear main oil seal.
Related Kia Optima Parts
Browse by Year
2020 Crankshaft 2019 Crankshaft 2018 Crankshaft 2017 Crankshaft 2016 Crankshaft 2015 Crankshaft 2014 Crankshaft 2013 Crankshaft 2012 Crankshaft 2011 Crankshaft 2010 Crankshaft 2009 Crankshaft 2008 Crankshaft 2007 Crankshaft 2006 Crankshaft 2005 Crankshaft 2004 Crankshaft 2003 Crankshaft 2002 Crankshaft 2001 Crankshaft 2000 Crankshaft
