×
- Hello
- Login or Register
- Quick Links
- Live Chat
- Track Order
- Parts Availability
- RMA
- Help Center
- Contact Us
- Shop for
- Kia Parts
- Kia Accessories

My Garage
My Account
Cart
Genuine Kia Optima Oil Pan
Oil Drain Pan- Select Vehicle by Model
- Select Vehicle by VIN
Select Vehicle by Model
orMake
Model
Year
Select Vehicle by VIN
For the most accurate results, select vehicle by your VIN (Vehicle Identification Number).
19 Oil Pans found

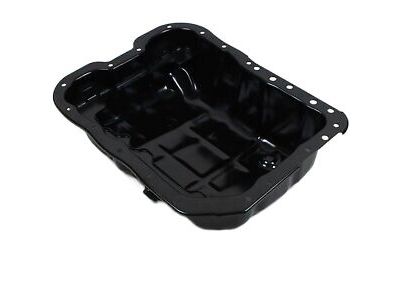
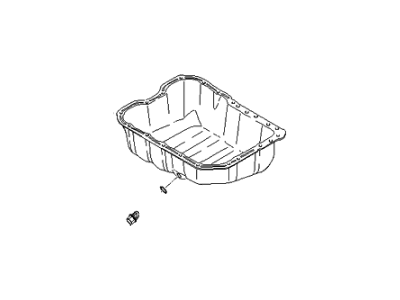
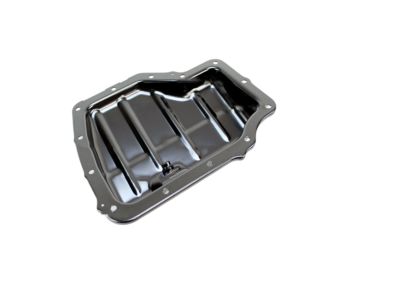
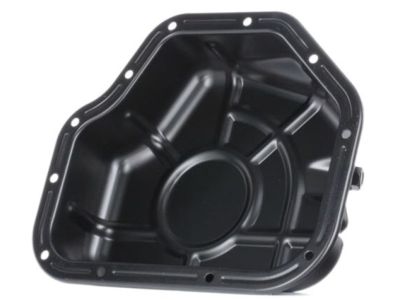
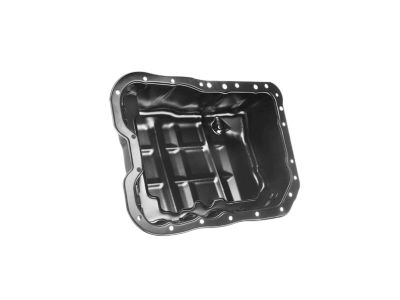
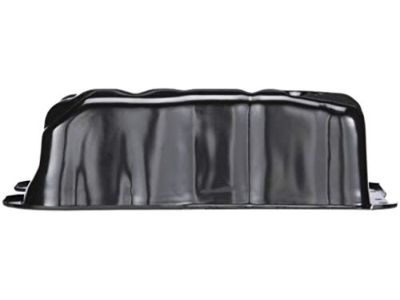
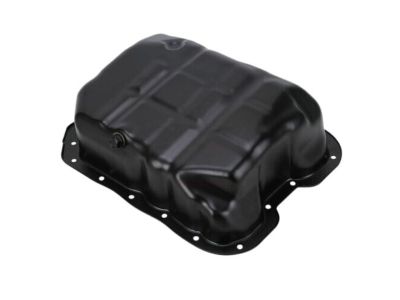
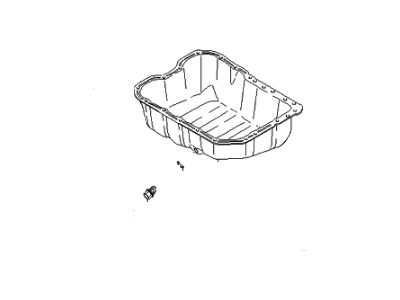
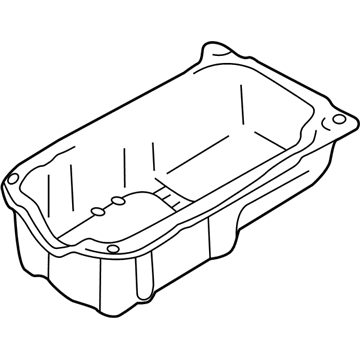
Kia Optima Pan Assembly-Engine Oil
Part Number: 215102G500$59.62 MSRP: $86.04You Save: $26.42 (31%)Ships in 1-3 Business Days
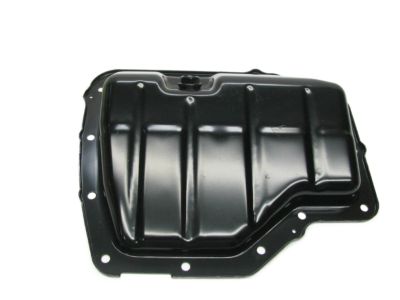
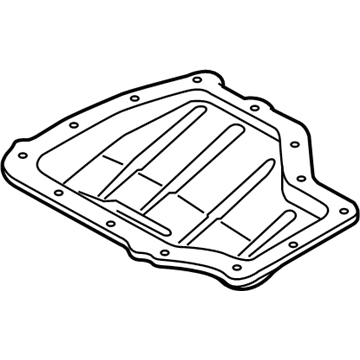
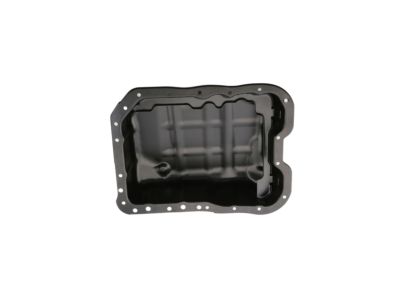
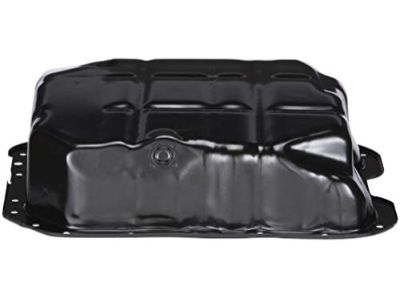
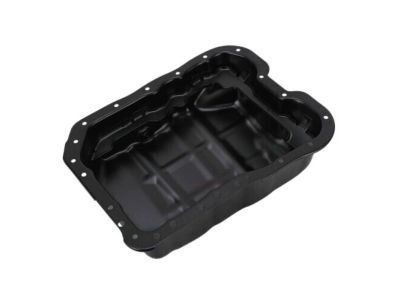
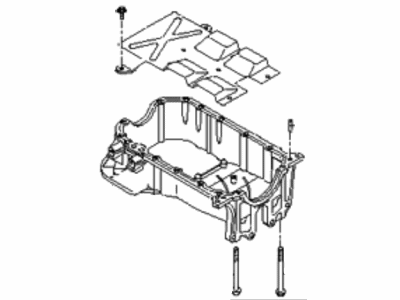
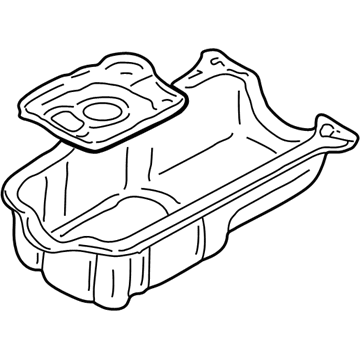
Kia Optima Pan Assembly-Engine Oil
Part Number: 215102B700$53.67 MSRP: $77.45You Save: $23.78 (31%)Ships in 1-3 Business Days
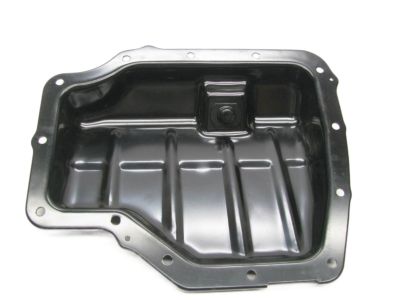
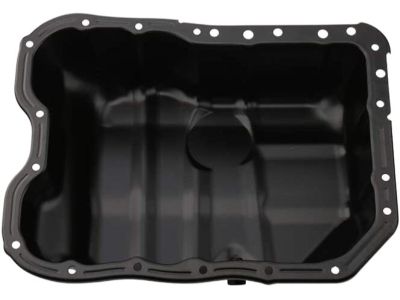
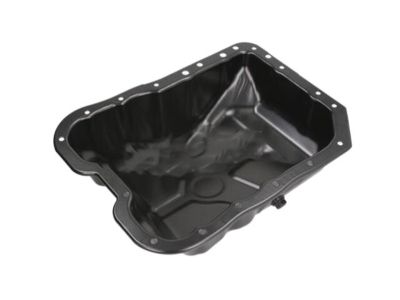
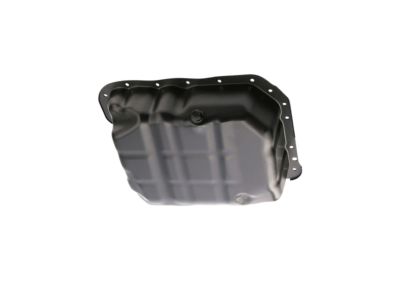
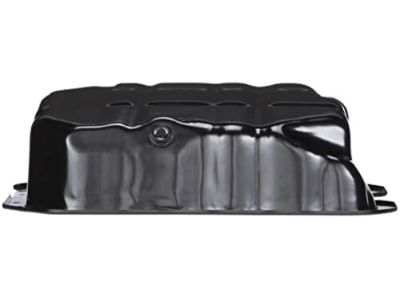
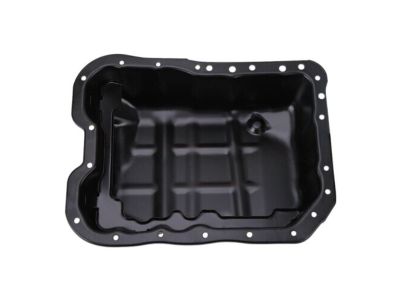
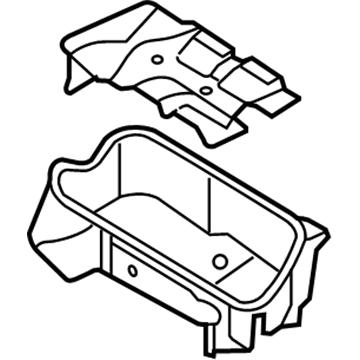
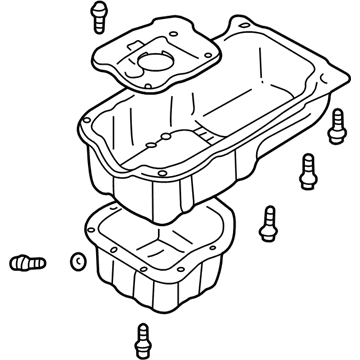
Kia Optima Pan Assembly-Engine Oil
Part Number: 2151025053$62.98 MSRP: $86.04You Save: $23.06 (27%)Ships in 1 Business Day
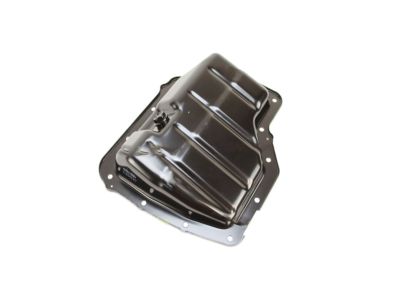
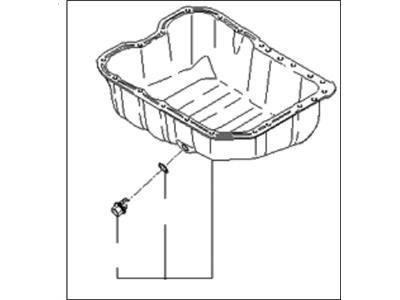
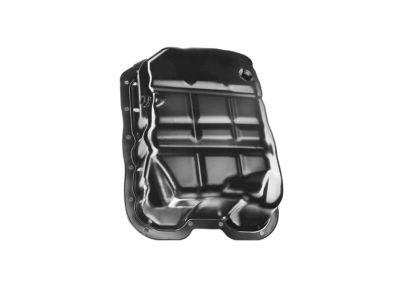
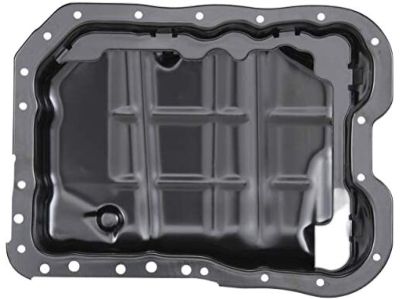
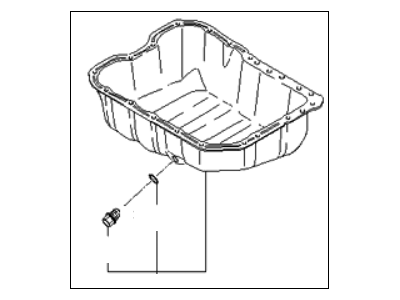
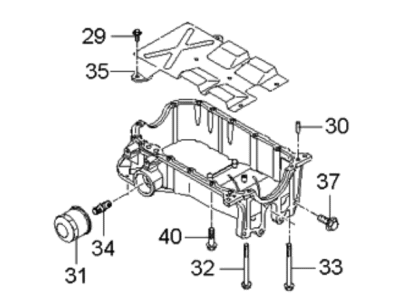
Kia Optima Pan Assembly-Engine Oil
Part Number: 215103E000$55.87 MSRP: $80.62You Save: $24.75 (31%)Ships in 1-2 Business Days
Kia Optima Pan Assembly-Engine Oil
Part Number: 215102G050$62.98 MSRP: $86.04You Save: $23.06 (27%)Ships in 1 Business Day
Kia Optima Pan Assembly-Engine Oil
Part Number: 2151025051$62.98 MSRP: $86.04You Save: $23.06 (27%)Ships in 1-2 Business Days
Kia Optima Pan Assembly-Engine Oil
Part Number: 2151025050$62.98 MSRP: $86.04You Save: $23.06 (27%)Ships in 1-3 Business Days
Kia Optima Pan Assembly-Engine Oil
Part Number: 2151025055$62.98 MSRP: $86.04You Save: $23.06 (27%)Ships in 1 Business DayKia Optima Pan Assembly-Engine Oil
Part Number: 215203E003$416.00 MSRP: $609.25You Save: $193.25 (32%)Ships in 1-3 Business DaysKia Optima Pan Assembly-Engine Oil
Part Number: 215203E001$269.69 MSRP: $394.99You Save: $125.30 (32%)Ships in 1-3 Business DaysKia Optima Pan Assembly-Engine Oil
Part Number: 2152037104$320.77 MSRP: $451.15You Save: $130.38 (29%)Ships in 1-3 Business DaysKia Optima Pan-Oil
Part Number: 2152138054$415.73 MSRP: $608.87You Save: $193.14 (32%)Ships in 1-3 Business DaysKia Optima Pan Assembly-Engine Oil
Part Number: 215203E002$433.18 MSRP: $609.25You Save: $176.07 (29%)Ships in 1-3 Business DaysKia Optima Pan Assembly-Engine Oil
Part Number: 2152037102$426.98 MSRP: $625.34You Save: $198.36 (32%)Ships in 1-3 Business DaysKia Optima Pan Assembly-Engine Oil
Part Number: 2152038056$430.61 MSRP: $630.65You Save: $200.04 (32%)Ships in 1-3 Business DaysKia Optima Pan Assembly-Engine Oil
Part Number: 2151038051$56.06 MSRP: $76.59You Save: $20.53 (27%)Ships in 1-3 Business DaysKia Optima Pan Assembly-Engine Oil
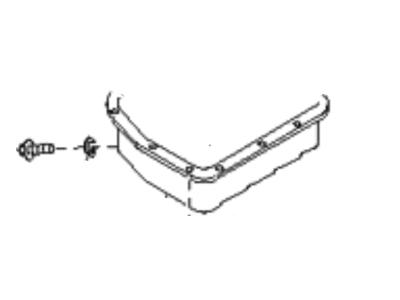
Part Number: 2151037101$85.89 MSRP: $117.34You Save: $31.45 (27%)Ships in 1-3 Business DaysKia Optima Pan Assembly-Oil Lower
Part Number: 2151037102$81.31 MSRP: $117.34You Save: $36.03 (31%)Ships in 1-3 Business Days
Kia Optima Oil Pan
If you're in search of top-notch, reasonably priced OEM Kia Optima Oil Pan, then you've found the perfect spot. Our website boasts an extensive inventory of Kia Optima Oil Pan, all priced at the market's premier price. Rest assured, every genuine part we offer comes with a warranty straight from the manufacturer.
Kia Optima Oil Pan Parts Questions & Experts Answers
- Q: How do you remove and install the oil pan in a Kia Optima for four cylinder engine?A:Before removing the oil pan the tie should be disconnected from the negative terminal of the battery, the parking brake should be engaged and the rear wheels should be blocked. Lift the front of the car and place on jackstands so that it could be securely held without falling. In the case equipped, first, clear the engine splash shield as well as, drain the engine oil, take out the oil filter and the oil dipstick as well. If necessary, take out any interfering pieces; however, it should be noted that the oil pan is divided into an upper cast aluminium part and a lower stamped steel part and both of them can be unbolted out. Remove the bols that are used to fix the upper oil pan and ensure you take photograph to document the different size of the bolts you used. If the pan is stuck, very gently try to loosen it and at the same time preventing the sealing surfaces from being wrecked. For installation, scraping should be done in order to remove any remains of the old type of sealant on both block and oil pan; and before application of the new material, the union of the two should be cleaned with lacquer thinner/acetone. Check threaded bolt holes in the block are clean and use a straight edge to see that the oil pan flange is straight, remove any high spots or nicks and blows burrs off. Place a 3/16 inch wide bead of RTV sealant along the flat surface of the oil pan and make sure it follow the groove and spread to the inside where there is a bolt hole and install the pan within 15 minutes. Take the upper oil pan and place it on the engine block and install the oil pan to engine block bolts loosely followed by the tighten of these bolts to the desired torque for each bolt starting by the center bolts. Fasten the new lower oil pan with the bolts to the required torque level by applying the force in phases. Last but not the least, start the engine and look up to see the oil pressure gauge along with oil drain back and any signs of oil leaks.
