×
- Hello
- Login or Register
- Quick Links
- Live Chat
- Track Order
- Parts Availability
- RMA
- Help Center
- Contact Us
- Shop for
- Kia Parts
- Kia Accessories

My Garage
My Account
Cart
Genuine Kia Optima Shock Absorber
Suspension Shock Absorber- Select Vehicle by Model
- Select Vehicle by VIN
Select Vehicle by Model
orMake
Model
Year
Select Vehicle by VIN
For the most accurate results, select vehicle by your VIN (Vehicle Identification Number).
60 Shock Absorbers found

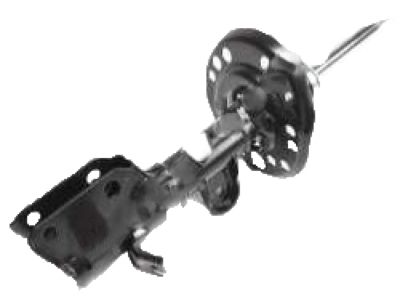
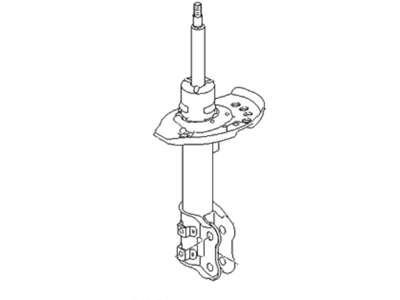
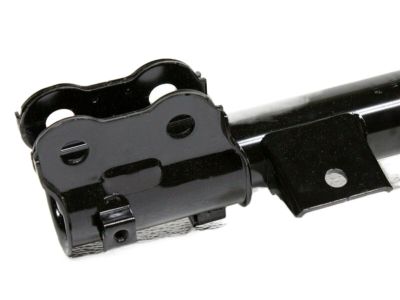
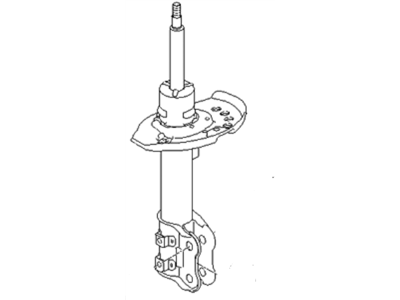
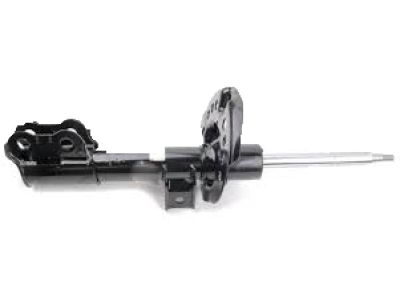
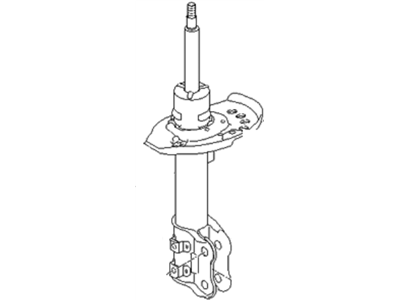
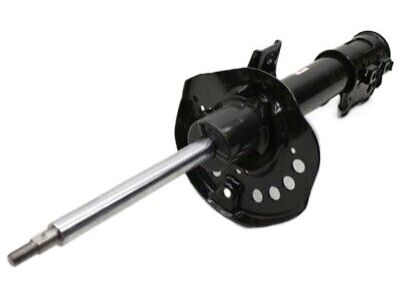
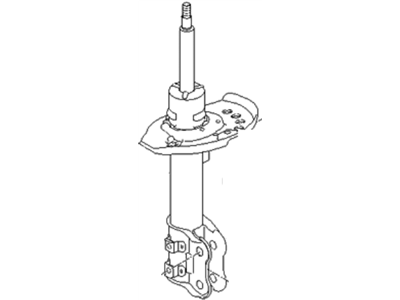
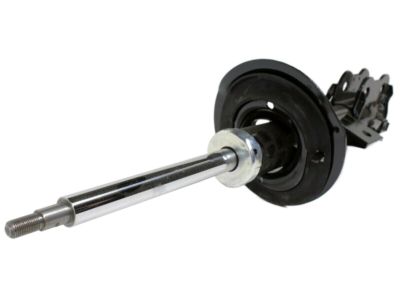
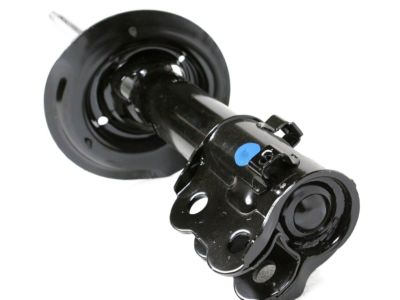
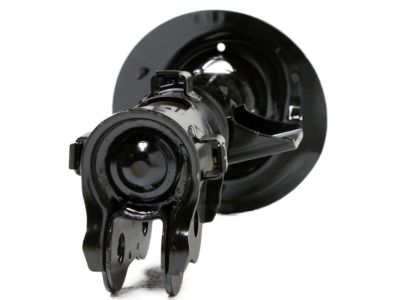
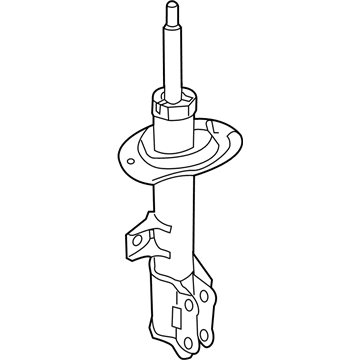
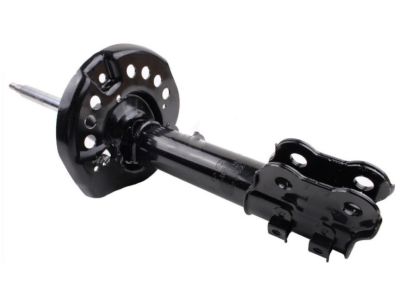
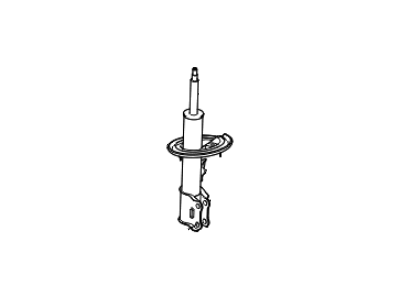
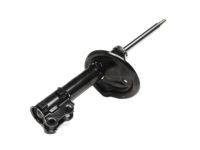
Kia Optima Front Strut Assembly Kit, Left
Part Number: 546514C124$208.74 MSRP: $303.85You Save: $95.11 (32%)Ships in 1-3 Business Days
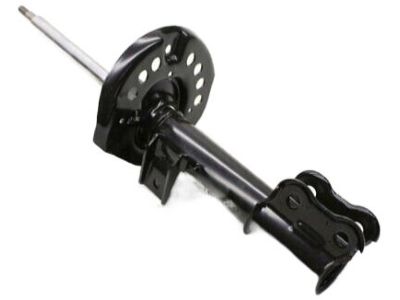
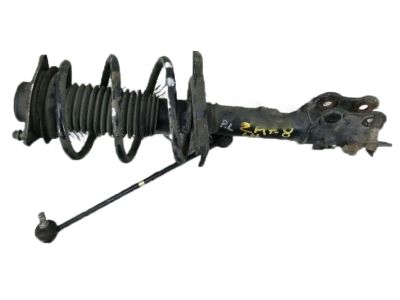
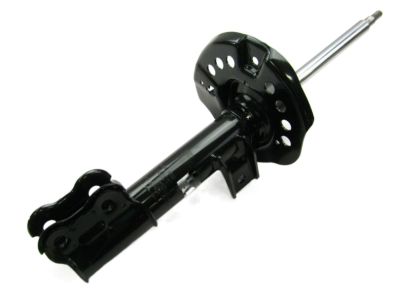
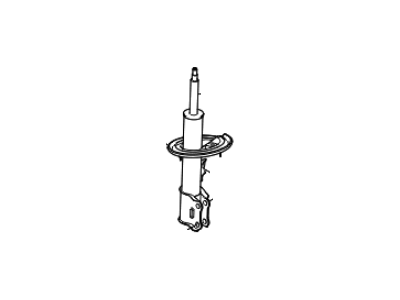
Kia Optima Front Strut Assembly Kit, Right
Part Number: 546614C124$211.89 MSRP: $308.44You Save: $96.55 (32%)Ships in 1-3 Business Days
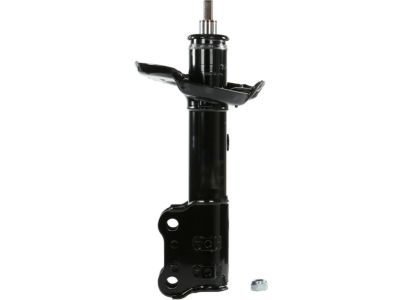
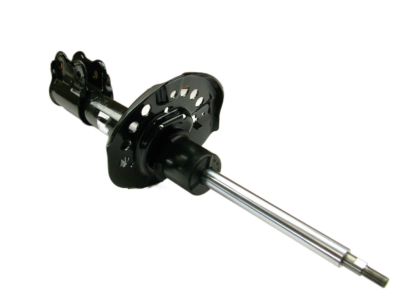
Kia Optima Front Strut Assembly Kit, Left
Part Number: 546512T221$209.24 MSRP: $290.62You Save: $81.38 (28%)Ships in 1-3 Business Days
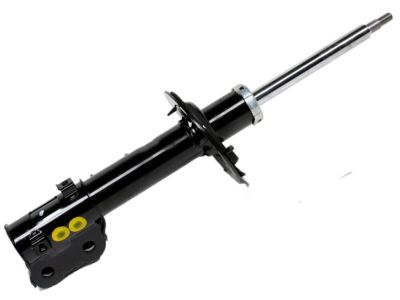
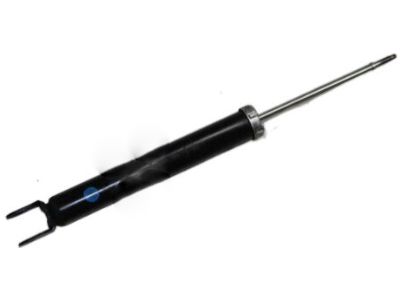
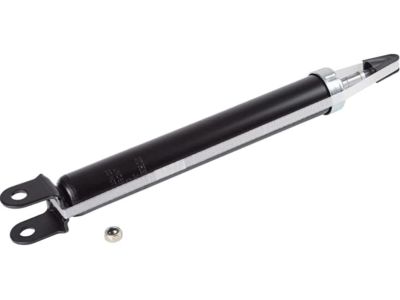
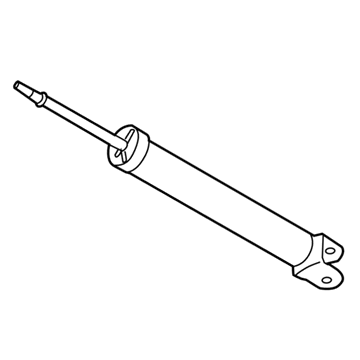
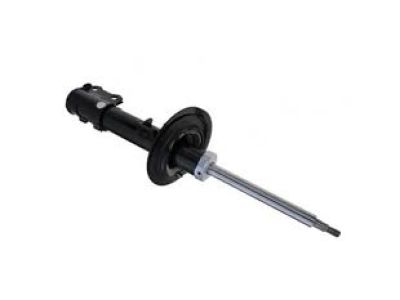
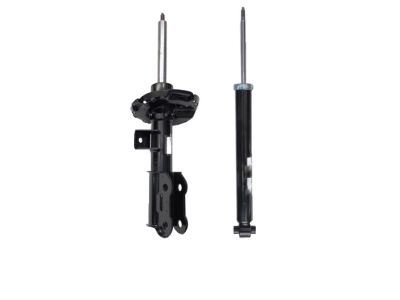
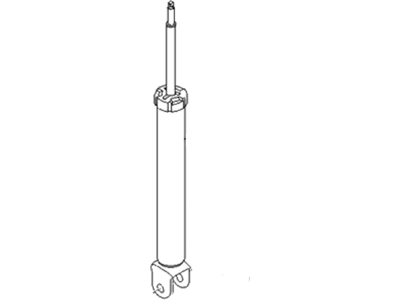
Kia Optima Rear Shock Absorber Assembly
Part Number: 553114C220$161.22 MSRP: $234.67You Save: $73.45 (32%)Ships in 1-3 Business Days
Kia Optima Front Strut Assembly Kit, Right
Part Number: 546612T121$209.24 MSRP: $290.62You Save: $81.38 (28%)Ships in 1-2 Business Days
Kia Optima Front Strut Assembly Kit, Left
Part Number: 546514C224$206.98 MSRP: $301.29You Save: $94.31 (32%)Ships in 1-3 Business Days
Kia Optima Front Strut Assembly Kit, Right
Part Number: 546612T122$199.65 MSRP: $290.62You Save: $90.97 (32%)Ships in 1-3 Business Days
Kia Optima Front Strut Assembly Kit, Left
Part Number: 546512T120$209.24 MSRP: $290.62You Save: $81.38 (28%)Ships in 1-2 Business Days
Kia Optima Front Strut Assembly Kit, Left
Part Number: 54651D5700$196.40 MSRP: $285.88You Save: $89.48 (32%)Ships in 1-3 Business Days
Kia Optima Front Strut Assembly Kit, Left
Part Number: 546512T121$209.24 MSRP: $290.62You Save: $81.38 (28%)Ships in 1-2 Business Days
Kia Optima Front Strut Assembly Kit, Left
Part Number: 546512T123$199.65 MSRP: $290.62You Save: $90.97 (32%)Ships in 1-2 Business Days
Kia Optima Front Strut Assembly Kit, Left
Part Number: 546512T223$199.65 MSRP: $290.62You Save: $90.97 (32%)Ships in 1-3 Business Days
Kia Optima Front Strut Assembly Kit, Right
Part Number: 546612T123$199.65 MSRP: $290.62You Save: $90.97 (32%)Ships in 1-2 Business Days
Kia Optima Front Strut Assembly Kit, Right
Part Number: 546612T223$199.65 MSRP: $290.62You Save: $90.97 (32%)Ships in 1-3 Business Days
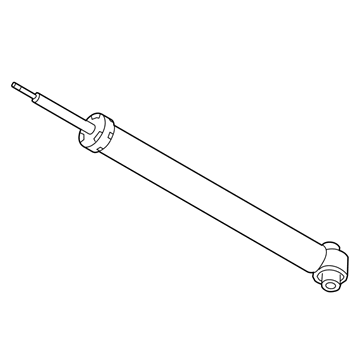
Kia Optima Rear Shock Absorber Assembly
Part Number: 553112T220$179.02 MSRP: $260.59You Save: $81.57 (32%)Ships in 1-3 Business DaysKia Optima Rear Shock Absorber Assembly
Part Number: 553114C120$161.22 MSRP: $234.67You Save: $73.45 (32%)Ships in 1-3 Business DaysKia Optima Front Shock Absorber Assembly, Right
Part Number: 546612G310$162.92 MSRP: $226.29You Save: $63.37 (28%)Ships in 1-3 Business DaysKia Optima Rear Shock Absorber Assembly
Part Number: 55310D5120$151.47 MSRP: $220.49You Save: $69.02 (32%)Ships in 1-2 Business DaysKia Optima Front Shock Absorber Assembly, Left
Part Number: 546512G310$163.06 MSRP: $226.47You Save: $63.41 (28%)Ships in 1-3 Business DaysKia Optima Front Strut Assembly Kit, Right
Part Number: 546612T124$209.24 MSRP: $290.62You Save: $81.38 (28%)Ships in 1-3 Business Days
| Page 1 of 3 |Next >
1-20 of 60 Results
Kia Optima Shock Absorber
If you're in search of top-notch, reasonably priced OEM Kia Optima Shock Absorber, then you've found the perfect spot. Our website boasts an extensive inventory of Kia Optima Shock Absorber, all priced at the market's premier price. Rest assured, every genuine part we offer comes with a warranty straight from the manufacturer.
Kia Optima Shock Absorber Parts Questions & Experts Answers
- Q: How do you remove and install the front Coil Springs and shock absorber on Kia Optima?A:To remove the shock absorber assembly, first loosen the wheel lug nuts, raise the vehicle, and securely support it on jackstands before removing the wheel and supporting the lower Control Arm with a floor jack. Next, unbolt the brake hose bracket and wheel speed sensor bracket from the shock absorber fork, and disconnect the ABS wheel speed sensor wiring bracket if it interferes with your model. For 2006.5 and later models, disconnect the stabilizer bar link from the shock absorber fork. Remove the bolt that connects the fork to the lower control arm, then loosen the pinch bolt at the top of the fork and remove the fork. If disassembly of the shock absorber is necessary, loosen the damper shaft nut without removing it. Support the shock and spring assembly while removing the three nuts that secure the shock absorber to the shock tower in the engine compartment, then take the assembly out from the fender well. Inspect the shock absorber body for leaks, dents, cracks, and other damage, and check the coil spring for chips or cracks in the coating, as well as the spring seat for cuts and deterioration. If any issues are found, proceed with disassembly. For installation, guide the assembly into the fender well and insert the upper mounting studs through the shock tower holes, securing them with nuts to prevent the assembly from falling. Install the fork to the lower part of the shock absorber and the lower control arm, tightening all fasteners to the specified torque while raising the outer end of the lower control arm with a floor jack to simulate normal ride height before tightening. Reattach the brake hose bracket and ABS wheel speed sensor bracket, then install the wheel and lug nuts, lower the vehicle, and tighten the lug nuts to the specified torque.
