×
- Hello
- Login or Register
- Quick Links
- Live Chat
- Track Order
- Parts Availability
- RMA
- Help Center
- Contact Us
- Shop for
- Kia Parts
- Kia Accessories

My Garage
My Account
Cart
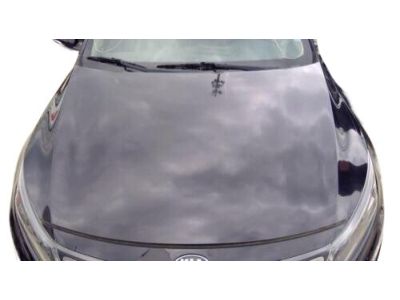
Genuine Kia Optima Hood
Engine Hood- Select Vehicle by Model
- Select Vehicle by VIN
Select Vehicle by Model
orMake
Model
Year
Select Vehicle by VIN
For the most accurate results, select vehicle by your VIN (Vehicle Identification Number).
7 Hoods found

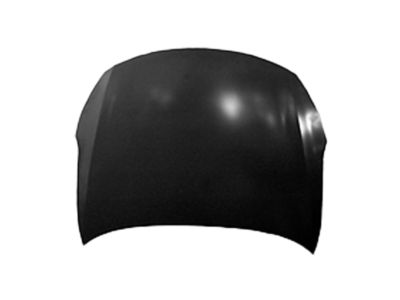
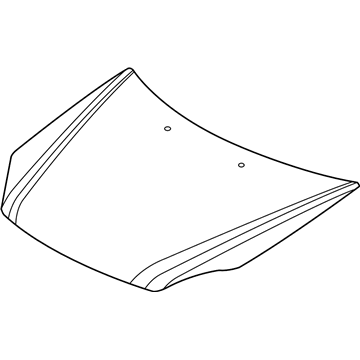
Kia Optima Panel Assembly-Hood
Part Number: 664002T000$638.98 MSRP: $914.14You Save: $275.16 (31%)Ships in 1-3 Business Days
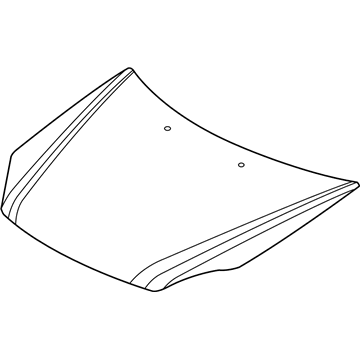
Kia Optima Panel Assembly-Hood
Part Number: 664002T010$619.78 MSRP: $914.14You Save: $294.36 (33%)Ships in 1-3 Business DaysKia Optima Panel Assembly-Hood
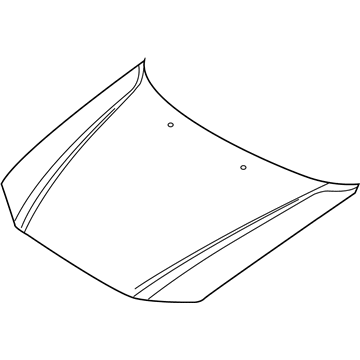
Part Number: 66400D5000$916.07 MSRP: $1310.55You Save: $394.48 (31%)Ships in 1-3 Business DaysKia Optima Panel Assembly-Hood
Part Number: 664002G010$656.53 MSRP: $968.33You Save: $311.80 (33%)Ships in 1-3 Business DaysKia Optima Panel Assembly-Hood
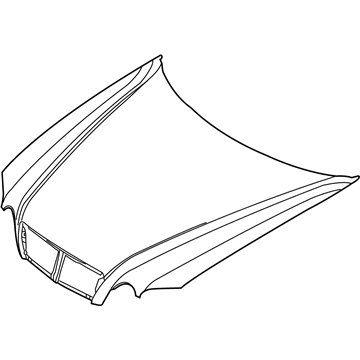
Part Number: 664002G500$618.22 MSRP: $911.84You Save: $293.62 (33%)Ships in 1-3 Business DaysKia Optima Panel Assembly-Hood
Part Number: 664003C300$586.00 MSRP: $864.30You Save: $278.30 (33%)Ships in 1-3 Business Days
Kia Optima Hood
The Hood of the Kia Optima functions as protective coverage for the engine compartment which protects these areas from the environment and gives access for maintenance needs. This hinged structure aids both aerodynamics by creating smooth airflow and it improves the vehicle's aerodynamics. Multiple Hood varieties have appeared throughout the Optima history with steel aluminium and fiberglass among the production materials. Four key characteristics should be evaluated during Hood replacement decisions: the Hood's quality standards together with its compatibility for the exact model year when combined with aesthetic preferences. Primer-coated Hoods are suitable for personal custom painting or lightweight options come from gelcoat finished fiberglass. The price range for new replacement units extends from reasonable prices for the parts alone with possible labor fees on top of it. The Kia replacement part stands as a vital automotive component since it delivers essential functionality and attractive appearance in the Kia Optima.
If you're in search of top-notch, reasonably priced OEM Kia Optima Hood, then you've found the perfect spot. Our website boasts an extensive inventory of Kia Optima Hood, all priced at the market's premier price. Rest assured, every genuine part we offer comes with a warranty straight from the manufacturer.
Kia Optima Hood Parts Questions & Experts Answers
- Q: How should the hood be removed and installed to ensure proper alignment and protection of the Kia Optima's body and paint?A:The hood is awkward to remove and install, so at least two people should perform this procedure. After opening the hood, it is important to protect the body and paint by placing blankets or pads over the Fenders and cowl area. Begin by disconnecting the windshield washer lines or detaching the line clips from the underside of the hood, setting the lines aside if replacing the hood. The upper ends of the hood support struts are secured to their brackets by small spherical bearings, which may be held in place by a metal clip that needs to be pried off before disconnecting the strut. Mark around the hood hinges to ensure proper alignment during reinstallation. With an assistant supporting one side, take turns removing the hinge-to-hood bolts and lift off the hood, supporting it with your shoulder while doing so. For installation, reverse the removal steps and align the hinge bolts with the marks. Fore-and-aft and side-to-side adjustments can be made by moving the hood in the hinge plate slots after loosening the bolts, marking around the hinge plate to track movement. After adjusting, tighten the hinge bolts and lower the hood to check its position. The Hood Latch assembly can also be adjusted up-and-down and side-to-side on the radiator support to ensure the hood closes securely and flush with the fenders; mark around the latch mounting bolts for reference before loosening and repositioning as necessary. Finally, adjust the hood bumpers at the front so that when closed, the hood is flush with the fenders, rotating each edge cushion for vertical height adjustment. Periodic lubrication of the hood latch assembly and hinges with white lithium-base grease is recommended to prevent binding and wear.
